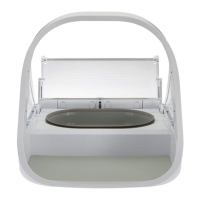
3
Important Notice
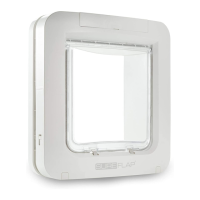
Please read all these instructions BEFORE tting the SureFlap Microchip Pet Door. Importantly,
please check whether there is metal in the substrate the door is to be tted into. Please follow the
metal mount instructions in section 7.4 if this is the case.
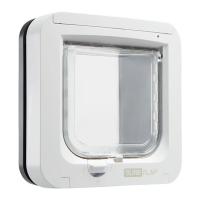
Under no circumstances should you cut or drill through the tunnel of the main
assembly of the unit as this contains the microchip reader and will prevent the
unit from working properly.
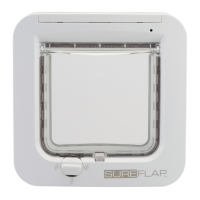
The SureFlap Microchip Pet Door operates with all 9, 10, and 15-digit microchips that are
commonly used for pet identication. Alternatively, you can use the pet door with the SureFlap
RFID Collar Tag (one included – packs of two sold separately), please see section 5 for more
information.
Every effort has been made to ensure that the SureFlap Microchip Pet Door operates with all
relevant microchips. However, there are a small number of circumstances relating to the position
of your pet’s microchip and the signal strength of the individual chip, which may mean that the
pet door does not operate reliably.
We therefore strongly advise that the following checks are carried out before permanent changes
are made to a door to install the pet door:
1. Insert batteries (for instructions see section 8) and leave for 10 seconds with nothing in the
tunnel so the sensors can settle.
2. Follow the learn process as in section 6, encouraging your pet to put its head up to the door in
order to learn the microchip’s number. Once a pet’s microchip number has been successfully
learnt, the ap reverts to normal operation and the LCD screen will stop ashing. Once your
pet moves away from the pet door the locks will close.
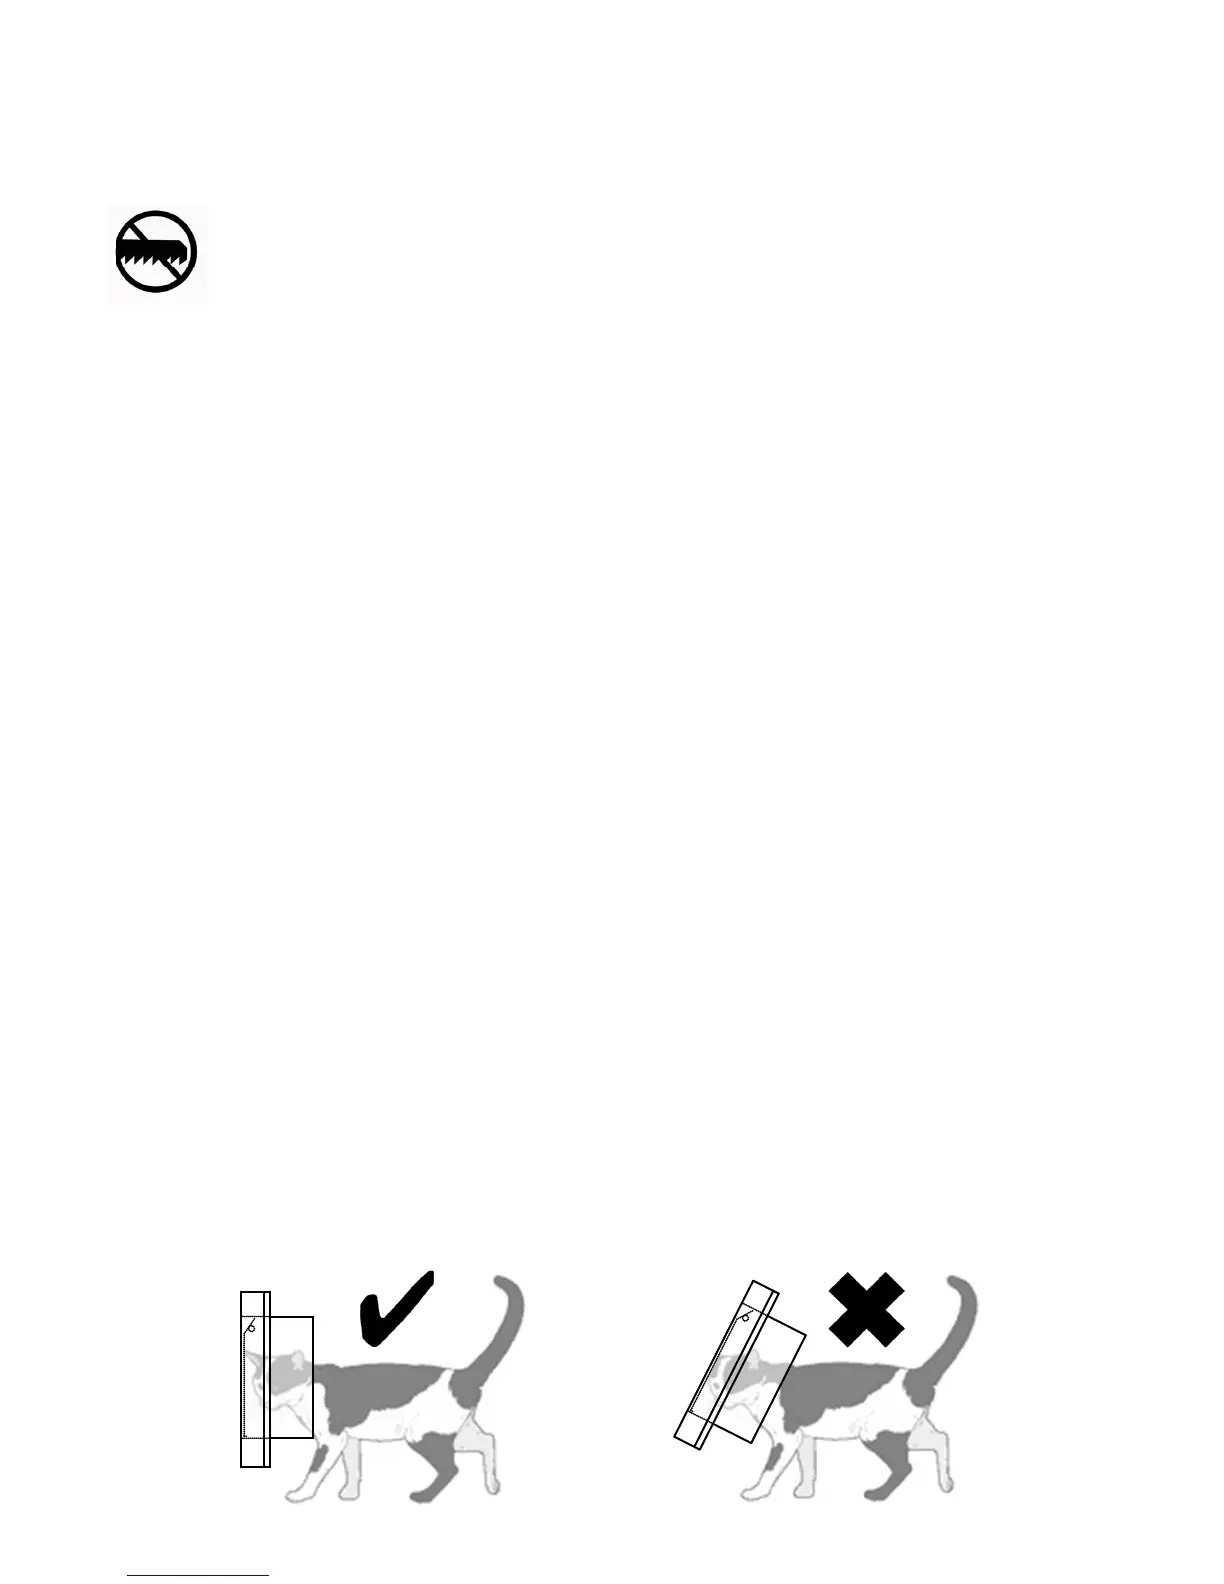
3. Finally, test the normal operation of the door. Again persuade your pet to put its head up to
the door from the tunnel side. Try to make sure this is similar to how your pet would use it in
practice, as shown below. The locks should open.
4. Repeat the learn process for each of your pets.
 Loading...