ELECTRICAL SYSTEM--Lamps
LAMPS
Head
Lamps
The lamps fitted to this vehicle have the reflector and glass sealed as a
unit. The bulb has a
"
pre-focus
"
cap accurately located and correctly
positioned relative to the
reflector, thus no adjustment to focusing is
required when a replacement bulb is fitted.
It is not possible with these types of lamps to alter the direction of
dip
entirely by fitting bulbs of the opposite dipping characteristics, as some of
the dip effect is produced by the shape
of
the glass in the lens.
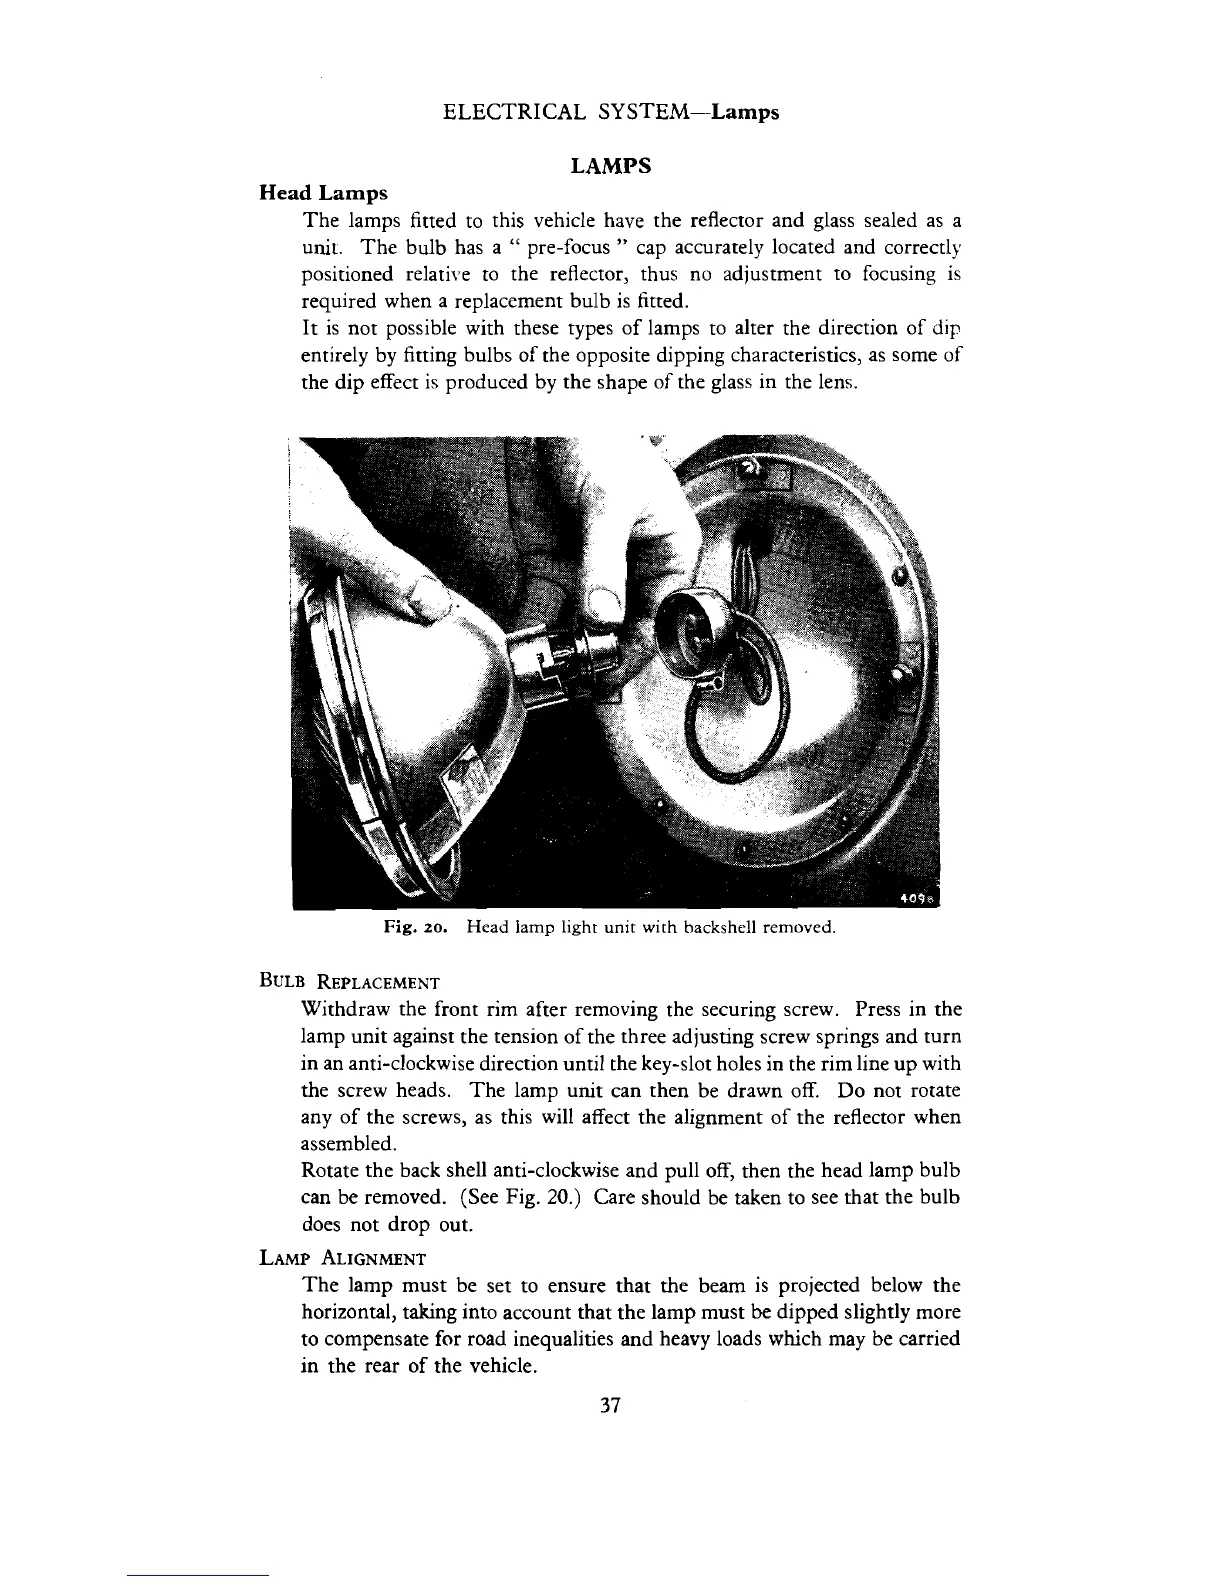
Fig.
20.
Head lamp light unit with hackshell removed.
BULB REPLACEMENT
Withdraw the front rim after removing the securing screw. Press in the
lamp unit against the tension of the three adjusting screw springs and turn
in an anti-clockwise direction until the key-slot holes in the rim line up with
the screw heads.
The lamp unit can then be drawn off. Do not rotate
any of the screws, as this will affect the alignment of the reflector when
assembled.
Rotate the back shell anti-clockwise and pull off, then the head lamp bulb
can be removed. (See Fig.
20.)
Care should be taken to see that the bulb
does not drop out.
LAMP ALIGNMENT
The lamp must be set to ensure that the beam is projected below the
horizontal, taking into account that the lamp must be dipped slightly more
to compensate for road inequalities and heavy loads which may be carried
in the rear of the vehicle.