2
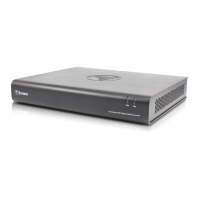
1. Audio Input
2. Audio Output
3. Camera Inputs
4. HDMI Port
5. VGA Port
6. Ethernet Port
7. USB Port
8. MicroSD Slot
9. PTZ Port
10. Power Port
11. Power LED
12. Hard Drive LED
13. USB Ports
Keep your DVR free from obstructions to
maintain optimal temperature.
Mantenga su DVR libre de obstrucciones
para mantener la temperatura óptima.
Gardez votre DVR libre d’obstructions
pour maintenir la température optimale.
This installation guide will assist you on getting your DVR up and running as soon as possible. To make sure nothing was
damaged during shipping, we recommend that you connect everything and try it before you do a permanent installation.
Español: Esta guía le ayudará a conseguir su DVR funcionando tan pronto como sea posible. Para asegurarse de que nada
se dañó durante el envío, le recomendamos que conecte todo y lo pruebe antes de realizar una instalación permanente.
Français: Ce guide vous aidera à mettre votre DVR en marche dès que possible. Pour vous assurer que rien n’a été
endommagé lors de l’expédition, nous vous conseillons de tout connecter et de l’essayer avant d’effectuer une installation
permanente.
Step/Paso/Étape: 1
PWRPWR HDDHDD
+ -+ -
12V12V
RS485RS485
LANLAN
1 3 5 7
2 4 6 8
VIDEO
INPUT
VIDEO
INPUT
AUDIO
INPUT
AUDIO
INPUT
AUDIO
OUTPUT
AUDIO
OUTPUT
VGAVGA
2
3 4 5 7
9
13
11
12
PWRPWR HDDHDD
1211 13
MicroSDMicroSD
8
10
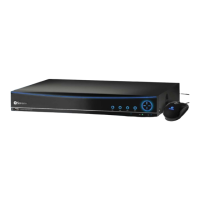
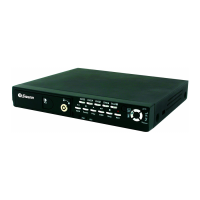
The 4 & 16 channel models have additional audio
inputs and may differ from the illustration above.
TIP