BASIC SETUP
BASIC SETUP
EN
BASIC SETUP
EN
BASIC SETUP
16 17
Setting up your Smartphone or Tablet
SwannView Link Software
Your NVR comes with powerful remote access and interface
software, called SwannView Link. You can setup and configure
almost all aspects of the NVR from the SwannView Link
interface.
The SwannView Link software will allow you to:
• view images from your NVR in real-time,
• playback recorded footage,
• copy footage to your local PC and
• adjust settings and configure the NVR.
In fact, the SwannView Link software is so powerful, you don’t
even need to connect a monitor to the NVR if there’s a computer
on the local network that you’re running SwannView Link on.
For quick and easy configuration of the NVR’s settings,
recording quality and schedule, we suggest using the remote
interface in SwannView Link.
How to install SwannView Link:
• Insert the included CD into your computer.
• Locate the file called SwannView Link and run this file.
• You may be asked by UAC (User Account Control) to allow
SwannView Link to “make changes” to your system. Select
Allow or Continue.
• You’ll see an installation wizard. Simply follow the prompts
to install the software.
• Once the SwannView Link software is installed, it should
automatically detect your NVR on your network.
Minimum PC Requirements:
2.0GHz or faster CPU (Dual-core recommended)
1GB or more RAM (2GB recommended)
10/100Mbps Network (1000Mbps recommended)
Internet connection (512kbps+ recommended)
1024x768 resolution (1280x720 recommended)
Supported Operating Systems
Microsoft Windows XP, Microsoft Windows Vista,
Microsoft Windows 7
NOTE: Windows XP, Windows Vista and Windows 7
are registered trademarks of Microsoft Corporation.
Setting up your PC
Got a Mac?
Check out www.swann.com/myDVRmac
for the latest Mac-based remote access software.
Have a Smartphone or Tablet?
Then head to the respective Apple App Store or Google Play, download the SwannView Link app (or SwannView Link HD for
tablets) for free and turn your iOS or Android device into a monitoring centre for your NVR. Have the peace of mind that you can
monitor your home at any time from any place. With “SwannLink” Peer to Peer technology, connecting your smartphone, tablet
or PC to your NVR is so easy - there’s practically no need to fiddle around with complicated network configuration. Best of all, it
only takes minutes to get it all up and running!
Important Note: As the SwannView Link app is constantly under development to improve your user experience, the
following screens may differ slightly from the actual app.
Configuring the SwannView Link App
After you have downloaded and installed SwannView Link (HD) on your smartphone or tablet, locate the app and tap the icon to
run. Take your smartphone/tablet to your NVR and follow the instructions below.
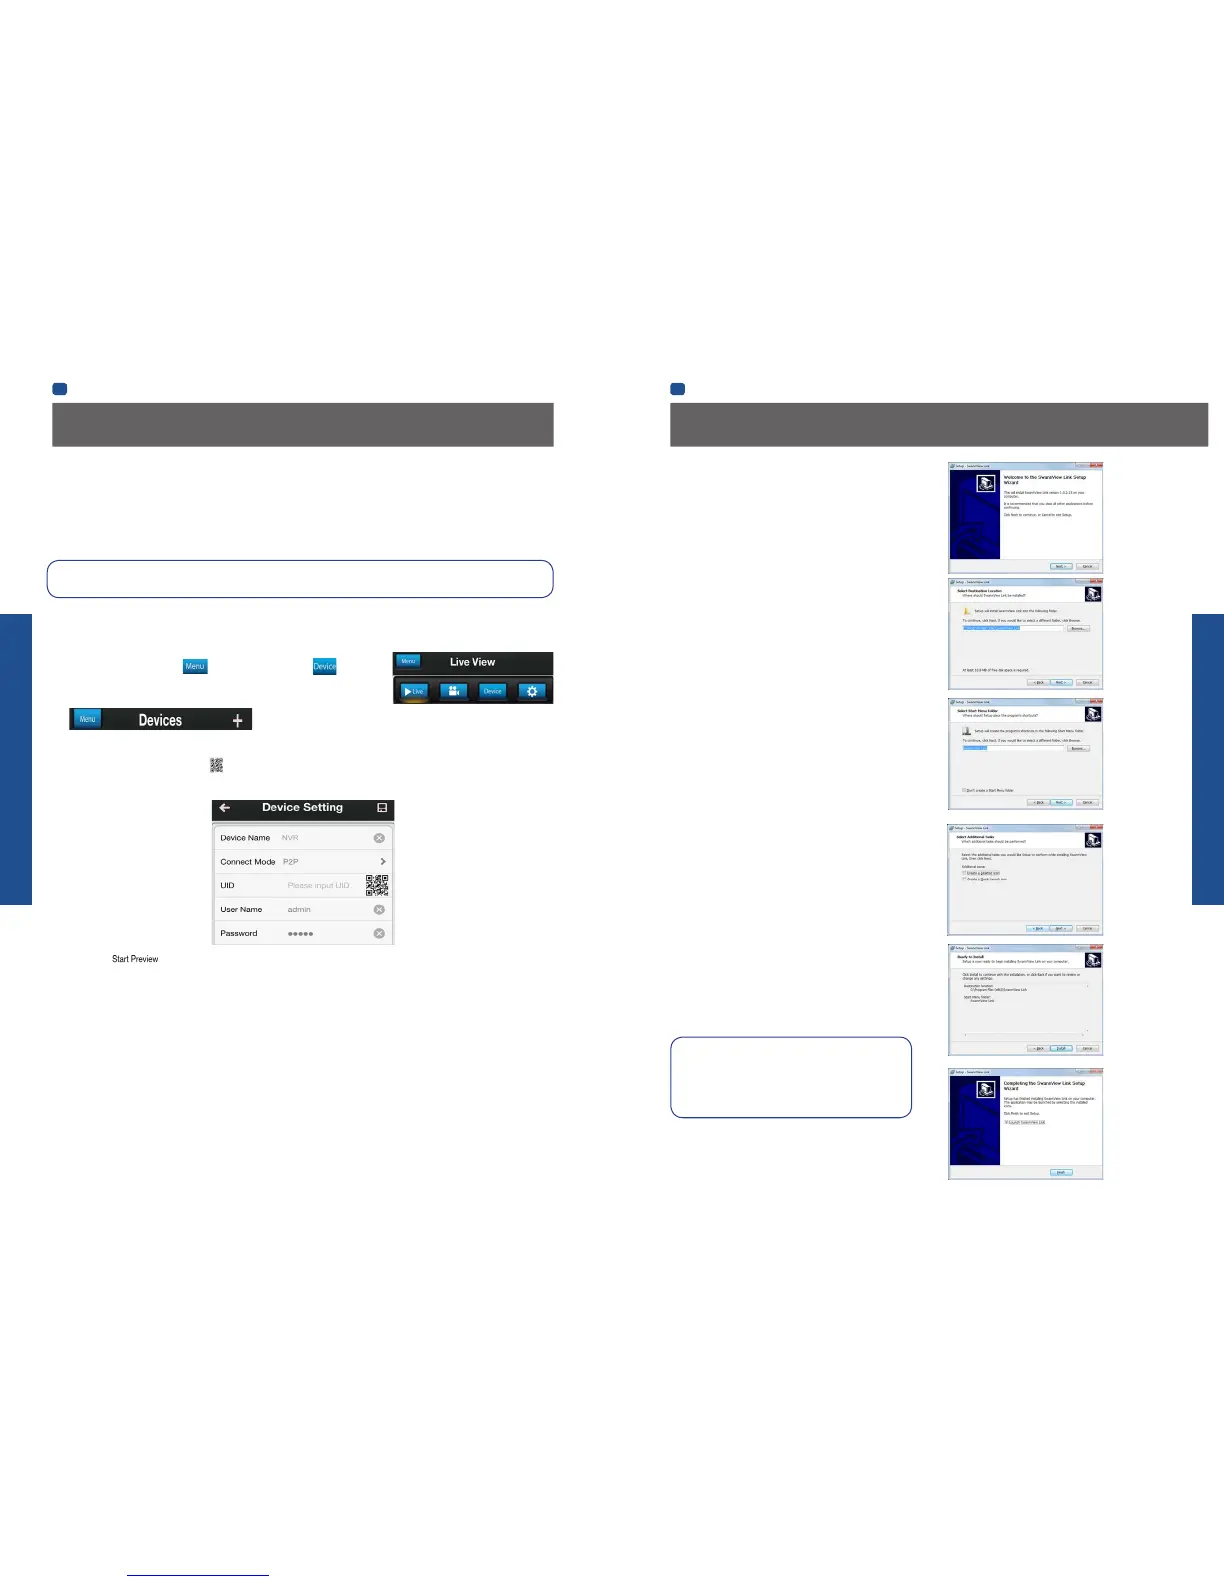
1. In the Live View screen, tap at the top left and then tap .
2. In the Devices menu, tap + to add a new Device as shown below.
3. On the NVR you will see a sticker with a QR Code and your UID number (the sticker will be on the top or bottom of the NVR
case depending on which NVR model you have).
On the app, tap the QR Code button and use your smartphone’s camera to scan the QR sticker on the NVR. This
automatically populates the UID box with the NVR’s UID. Enter a Device Name (anything you like), the username and
password for your NVR as shown below and tap to save your settings.
4. Next, tap to automatically check the number of channels and then you will see your cameras on screen and
that’s it, you’re connected!
Remember to check the Swann website for updates and more information: www.swann.com
 Loading...