©2016 SwellPro All Rights Reserved
30
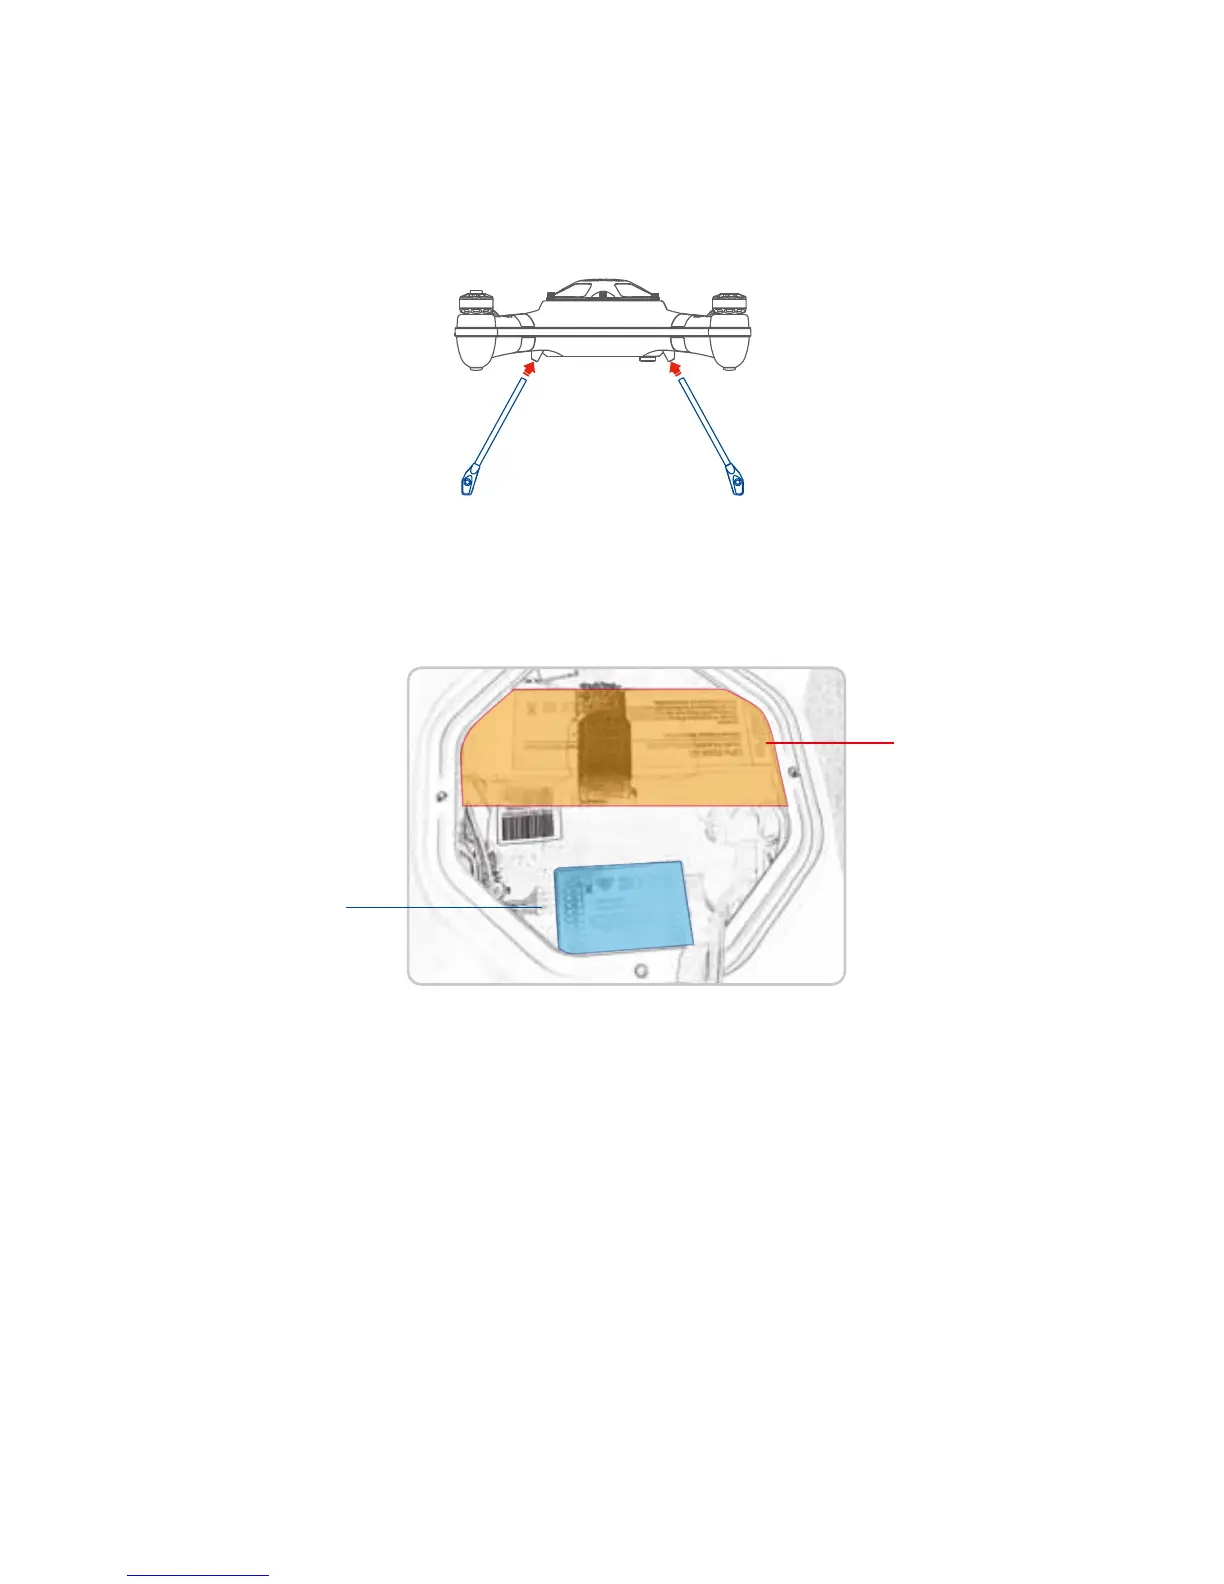
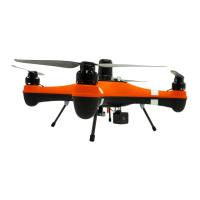
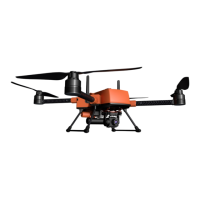
Remove the carbon ber landing gears from the case and insert them into the aluminum supports
under the aircraft, assure they are fully inserted the drone should set level on a horizontal surface
without rocking.
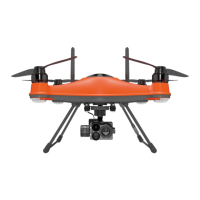
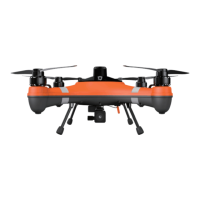
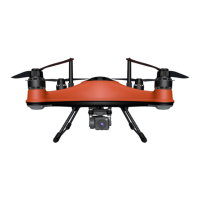
Be sure to install the parts according to thelocations pictured.( NOTE New version of Auto drone GPS is
located on the Drone Lid) But some senior pilots can change the location, like putting the GPS outside
etc.
Module Installation Location
4.6 USING VARIOUS ACCESSORIES
4.6.1 DETACHABLE LANDING GEAR
1. Screw out the waterproof screw nut. (Note: newer Auto / Fisherman version comes with the
waterproof quick connect plug installed)
2. Mount the gimbal under the drone, choose the right position, then ax it with two screws be sure not
to over tighten or cross thread the screws, a snug t is ne.
3. Plug the waterproof plug to the corresponding socket, you will note the male / female plugs are keyed
so that the plug will only t in one position, do not attempt to forceit, tighten the threads to assure water
tight t.
4. Open the water proof dive-box on the gimbal, plug the usb plug to the zero camera usb port, t the
camera into the case. (Note: 1. please sort out the cable inside the dive-box; 2. try to choose the right
cameramode before ying if using a GoPro camera. The HD Zero camera sold by SwellPro can be
controlled to take video or still pictures from the controller while in ight, see section 4.6.8
4.6.2 WATERPROOF GIMBAL INSTALLATION
Flight controller
Battery