The Towing Code
11
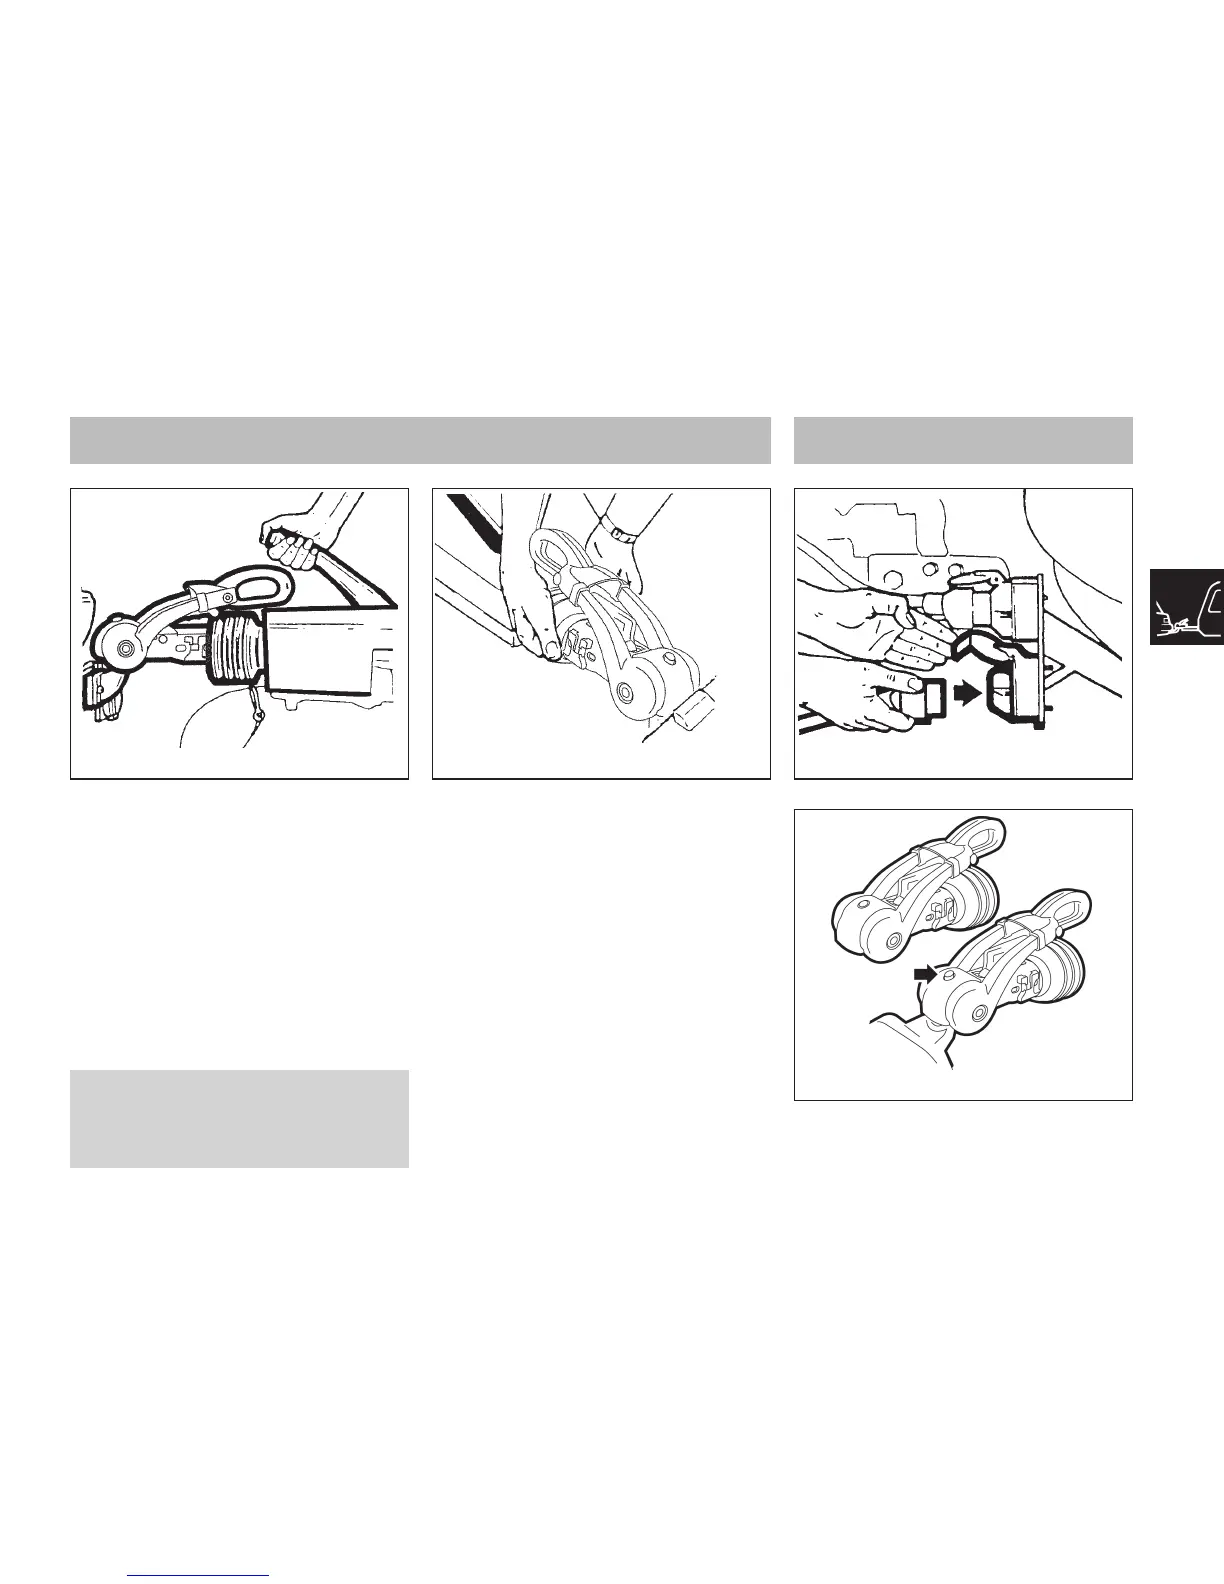
Fig. B Checking Secure Attachment Fig. C Connections - 7 pin PlugFig. A Handbrake
Adjust jockey wheel to lower cup on to the
ball. A click indicates it is fully engaged. Ensure
black handle has returned to its free position.
Secure caravan handbrake. (Fig. A)
Connect breakaway cable as described on
page 13.
Ensure that the jockey wheel is fully wound
up and properly located in the slots, then
release the clamp handle, lift the whole unit
as high as possible and retighten the clamp
handle.
Note: Ensure jockey wheel locates in recess
provided.
Take hold of the caravan under the rubber
gaiter behind the coupling and lift to
ascertain whether the caravan is properly
attached. (Figs. B & D.)
Fig. D Hitch Head Visual Indicator
Release caravan handbrake.
Position cup over the ungreased towball,
release and lift forward the large red
stabiliser handle (Fig. B, Page 10), lift forward
the exposed smaller black handle (Fig. B,
Page 10), until it clicks up. The hitch head is
fitted with a visual indicator to show whether
or not it is properly connected to the towball.
A green band will show immediately below
the red indicator button on the hitch head
when a proper connection has been made.
(See Fig. D)
WARNING: If the green band is showing
when the hitch head is not connected
to the towball there is a fault - contact
your Dealer.