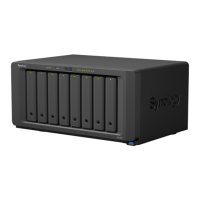
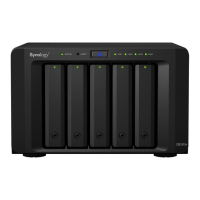
7 Chapter 2: Hardware Setup
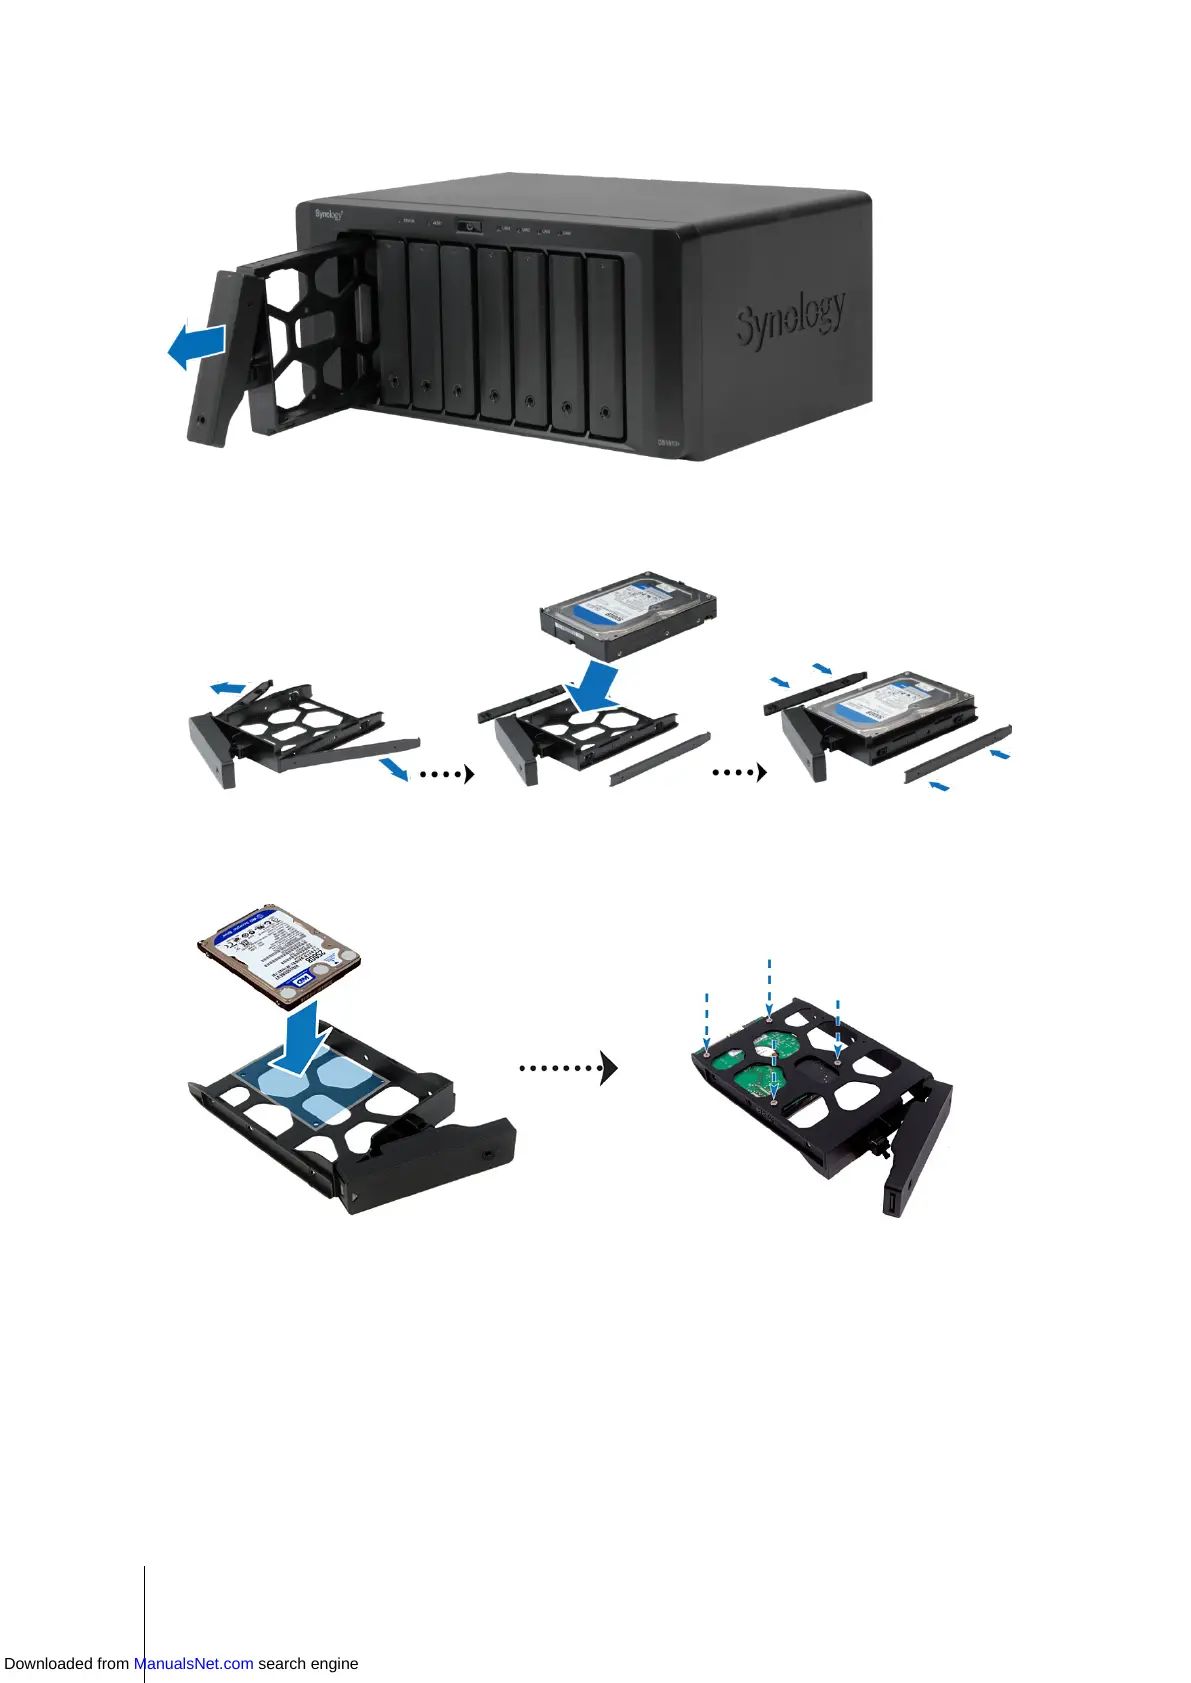
3 Pull the hard drive tray handle in the direction as indicated below to remove the hard drive tray.
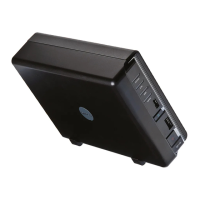
4 Load the hard disk in the hard drive tray.
For 3.5” Hard Disk: Remove the fastening panels from the sides of the hard drive tray. Place the hard disk
in the hard drive tray. Then insert the fastening panels to secure the hard disk in place.
For 2.5” Hard Disk: Remove the fastening panels from the sides of the hard drive tray. Place the hard disk
in the blue area (shown below) of the hard drive tray, turn the tray upside down, and then tighten the screws
to secure the hard disk.
Downloaded from ManualsNet.com search engine