10
Chapter 2: Hardware Setup
Add a RAM Module on DiskStation
The optional Synology DDR3 RAM module is designed for DiskStation memory expansion. Follow the steps
below to install, check, or remove a RAM module on your DiskStation.
To install the RAM module:
1
Shut down your DiskStation. Disconnect all cables connected to your DiskStation to prevent any possible
damages.
2
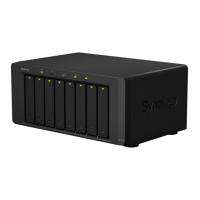
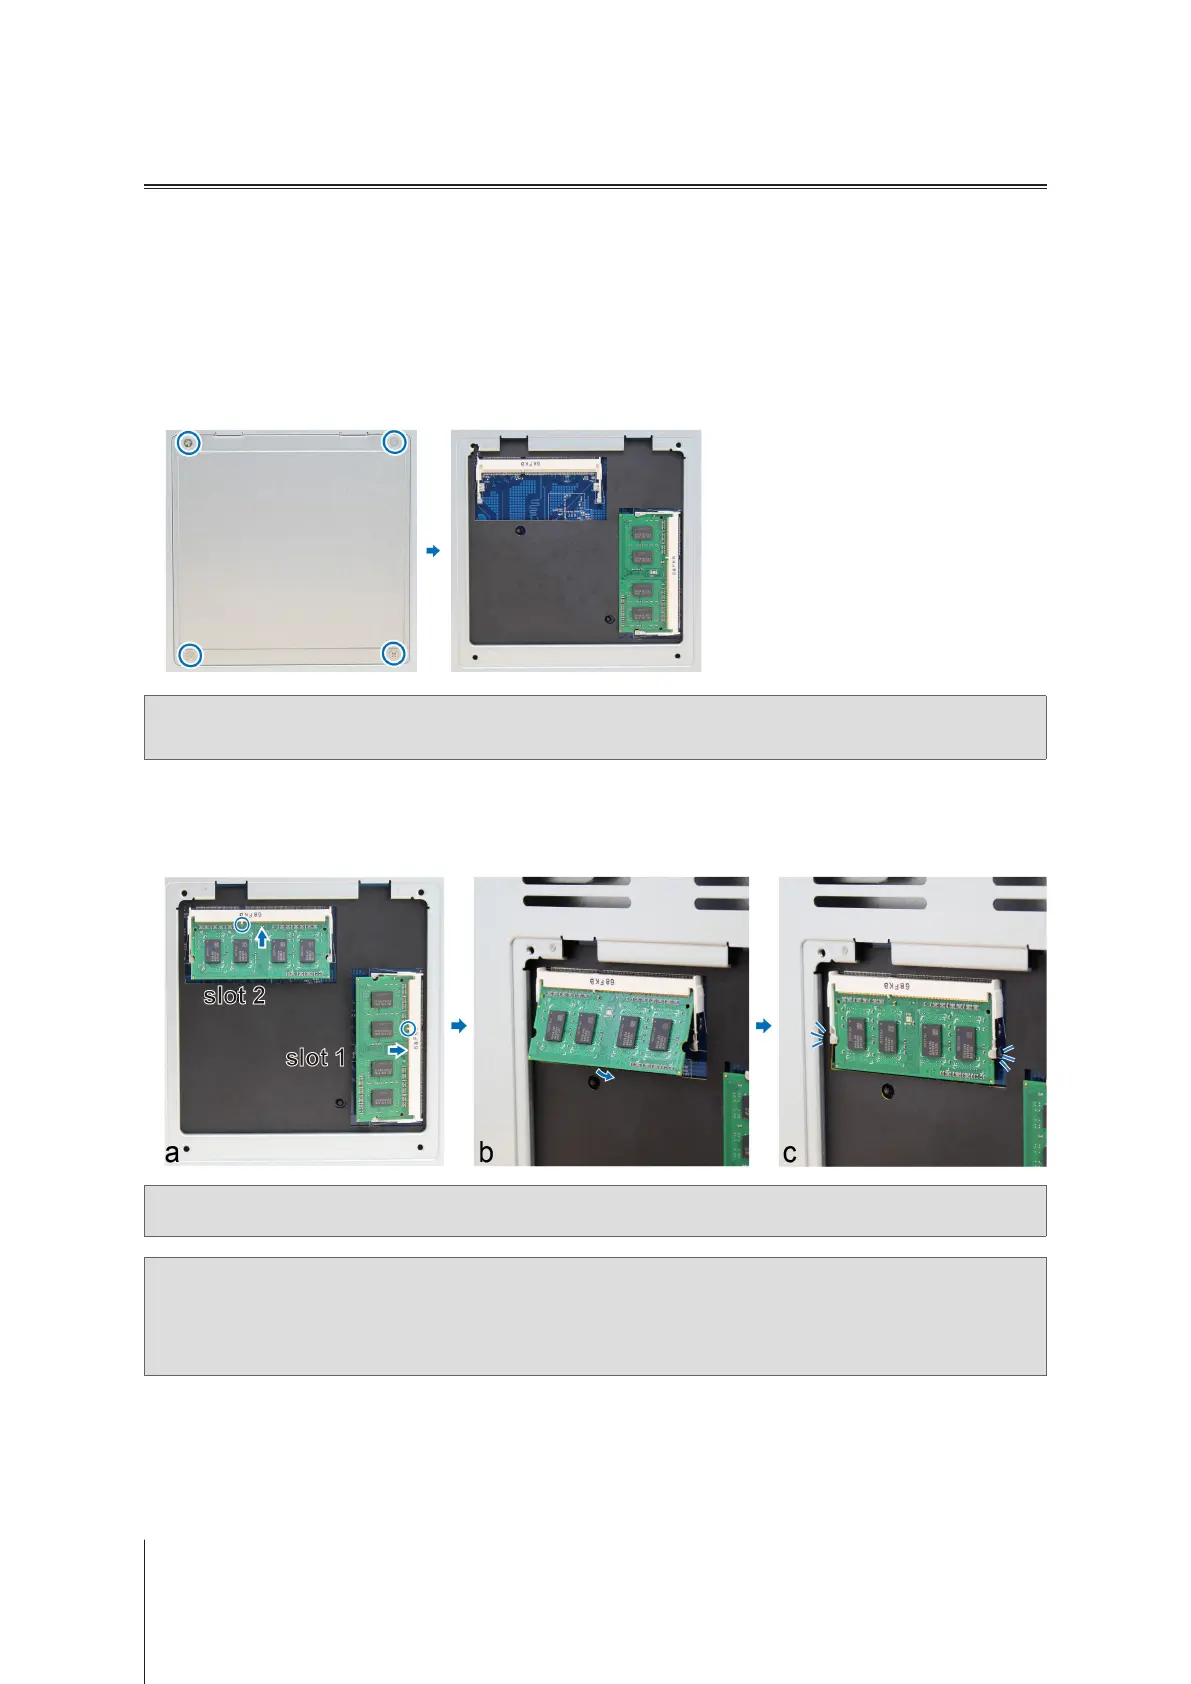
The RAM modules are located at the bottom of DS1817+.
3
Remove the 4 screws that secure the bottom panel. Lift off the panel and place it to the side. You will see there
is one pre-installed 2G RAM module.
Important:
When you remove the panel, you expose sensitive internal components. Avoid touching anything other than
the memory assembly when you remove or add memory.
4
Insert the new memory module in the slot:
a
Align the notch on the gold edge of the module with the notch in the slot.
b
Tilt the card and insert the module into the slot. Make sure the module is properly inserted.
c
Push down on the memory module with moderate pressure until you hear a click.
l
Important:
Always hold RAM by their edges and never touch the golden electronical components.
Note:
1. The installation of RAM modules should always start from Slot 1.
2. The specication of the two installed Synology RAM modules must be identical.
3. Synology will not provide complete product warranty or technical support if non-Synology RAM modules are used
for memory upgrade.
5
Replace the bottom panel. Replace and tighten the 4 screws you removed in step 3.
6
Reconnect the cables you removed in step 1, and then press and hold the power button to turn on your
DiskStation.