Discovery DSC™ Getting Started Guide Page 31
Connecting the Power Cable
NOTE: A <HAR>-marked (harmonized) power cable meeting the standards of the country of installation
is required for the European Economic Area.
Install the power cable as follows:
1 Make sure the power switch is in the Off (0) position, as shown in Figure 10
.
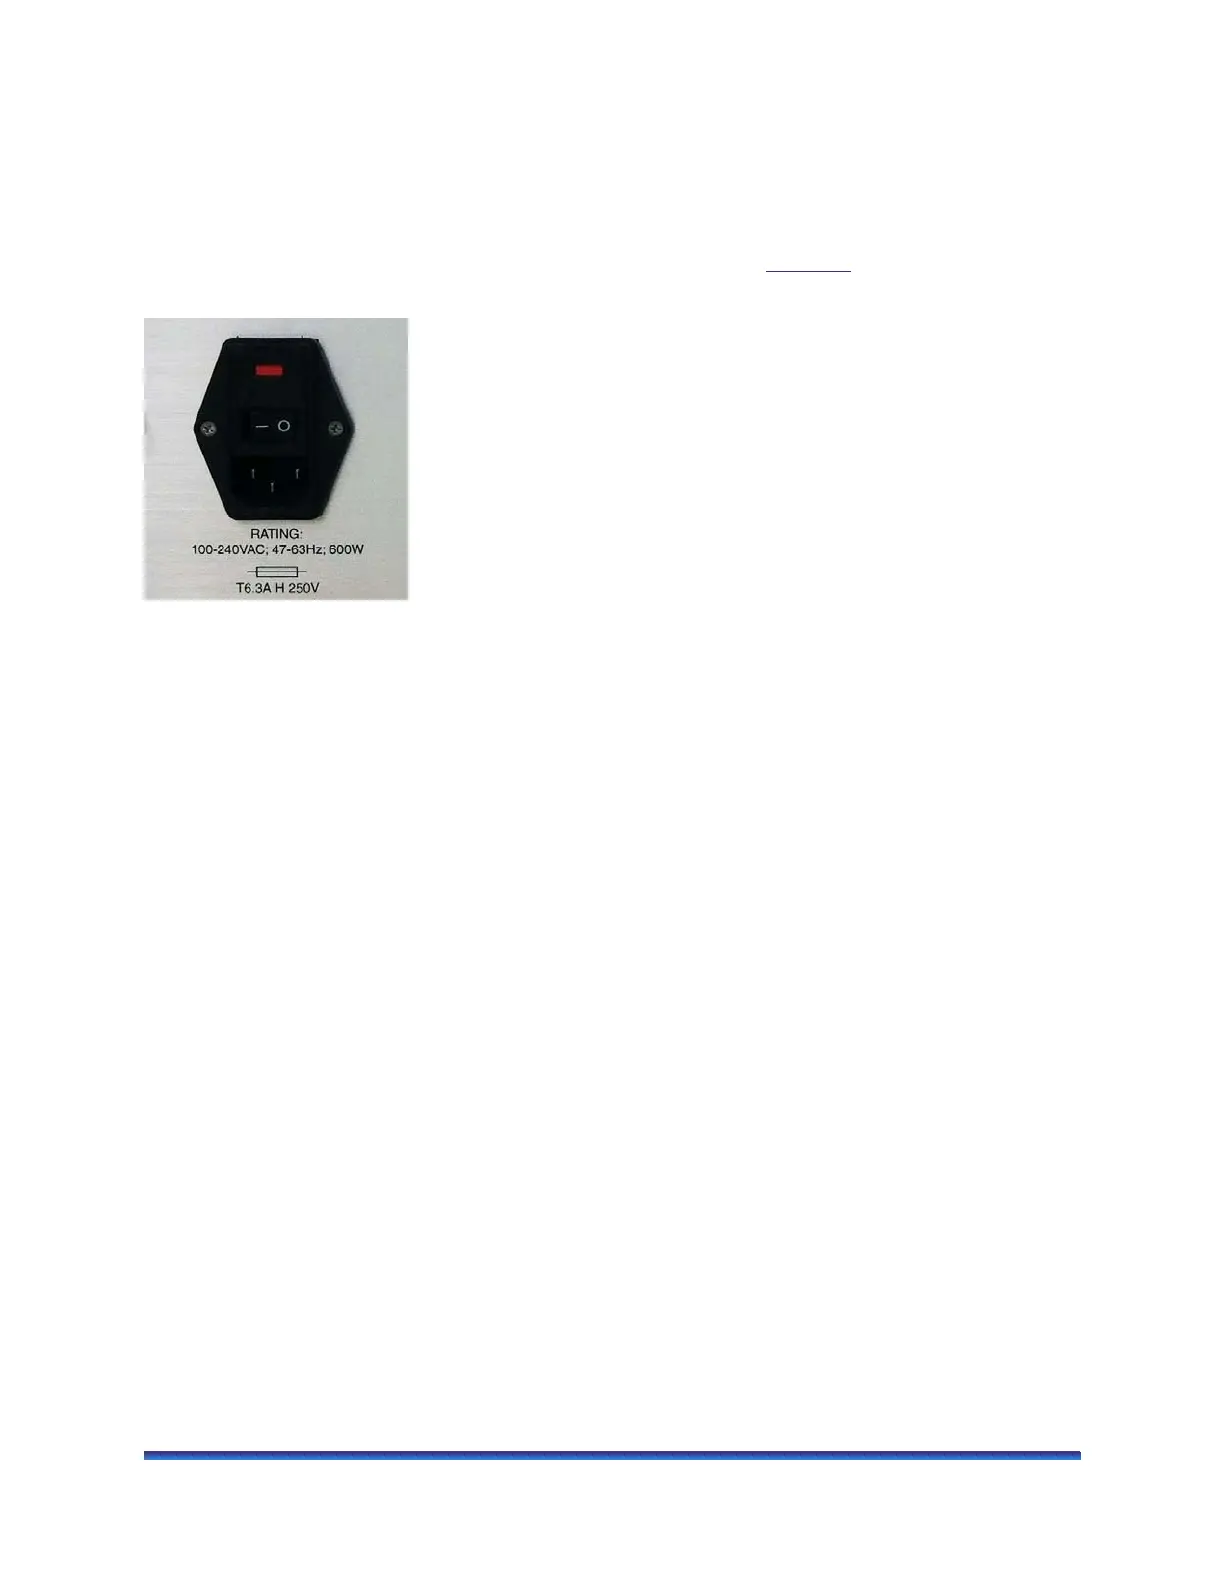
2 Plug the power cable into the power entry module (shown below).
Figure 10 Power entry module on the back panel of the instrument.
3 Plug the power cable into a properly grounded wall outlet on a branch circuit of 20 amps or less.
Starting the Discovery DSC System
The power switch is located at the back panel of the instrument. It is part of the assembly called the power
entry module, which also contains the power cord connection and fuses. The power switch is used to turn
the DSC system on and off.
To power on the system:
1 Check the connection between the DSC, Ethernet switch, and the controller. Make sure each component
is plugged into the correct connection port.
2 Set the power switch to the ON (I) position.
3 After the proper power up sequence, the instrument user interface displays; this indicates that the
instrument is ready for use.
NOTE: Allow the Discovery DSC to warm up for 60 minutes before performing an experiment in order to
allow time for the temperature-controlled measurement circuitry to stabilize.