Discovery DSC™ Getting Started Guide Page 34
4 Place the FACS over the cell, aligning the orientation hole in the FACS with the pin on the instrument
cell plate.
Figure 12 Placing the FACS over the cell.
5 Obtain a long 5/32-inch hexagonal (Allen) wrench from the accessory kit.
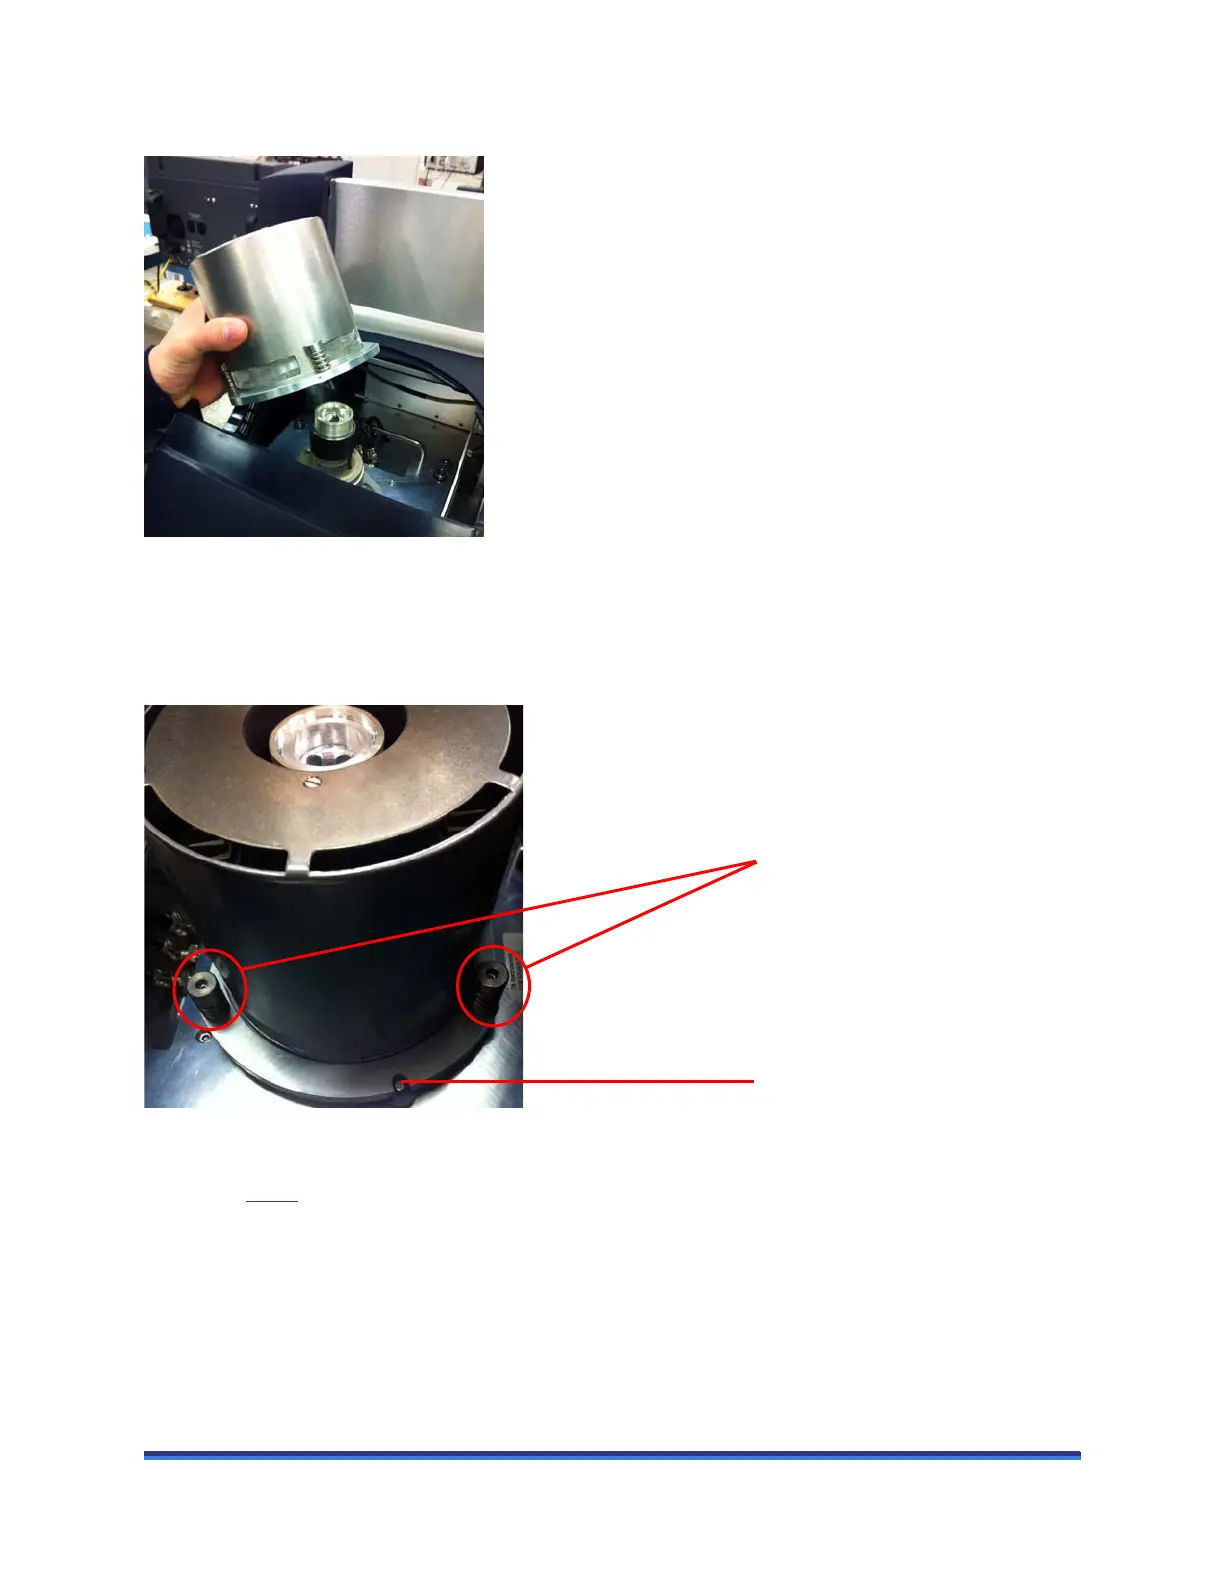
6 Insert the tip of the wrench into any one of the three captive screws in the FACS plate and begin to
tighten (3 to 4 turns). DO NOT fully tighten yet.
Figure 13 Securing the FACS to the cell (2 out of 3 screws shown).
7 Repeat step 6
for the two remaining captive screws. After you have started each screw, go back and
tighten down all three screws (3 to 4 turns at a time) until you feel them touch the bottom. Do not over
tighten.
Captive screws
Alignment pin