EC-HYDROGEN
Installation Instructions
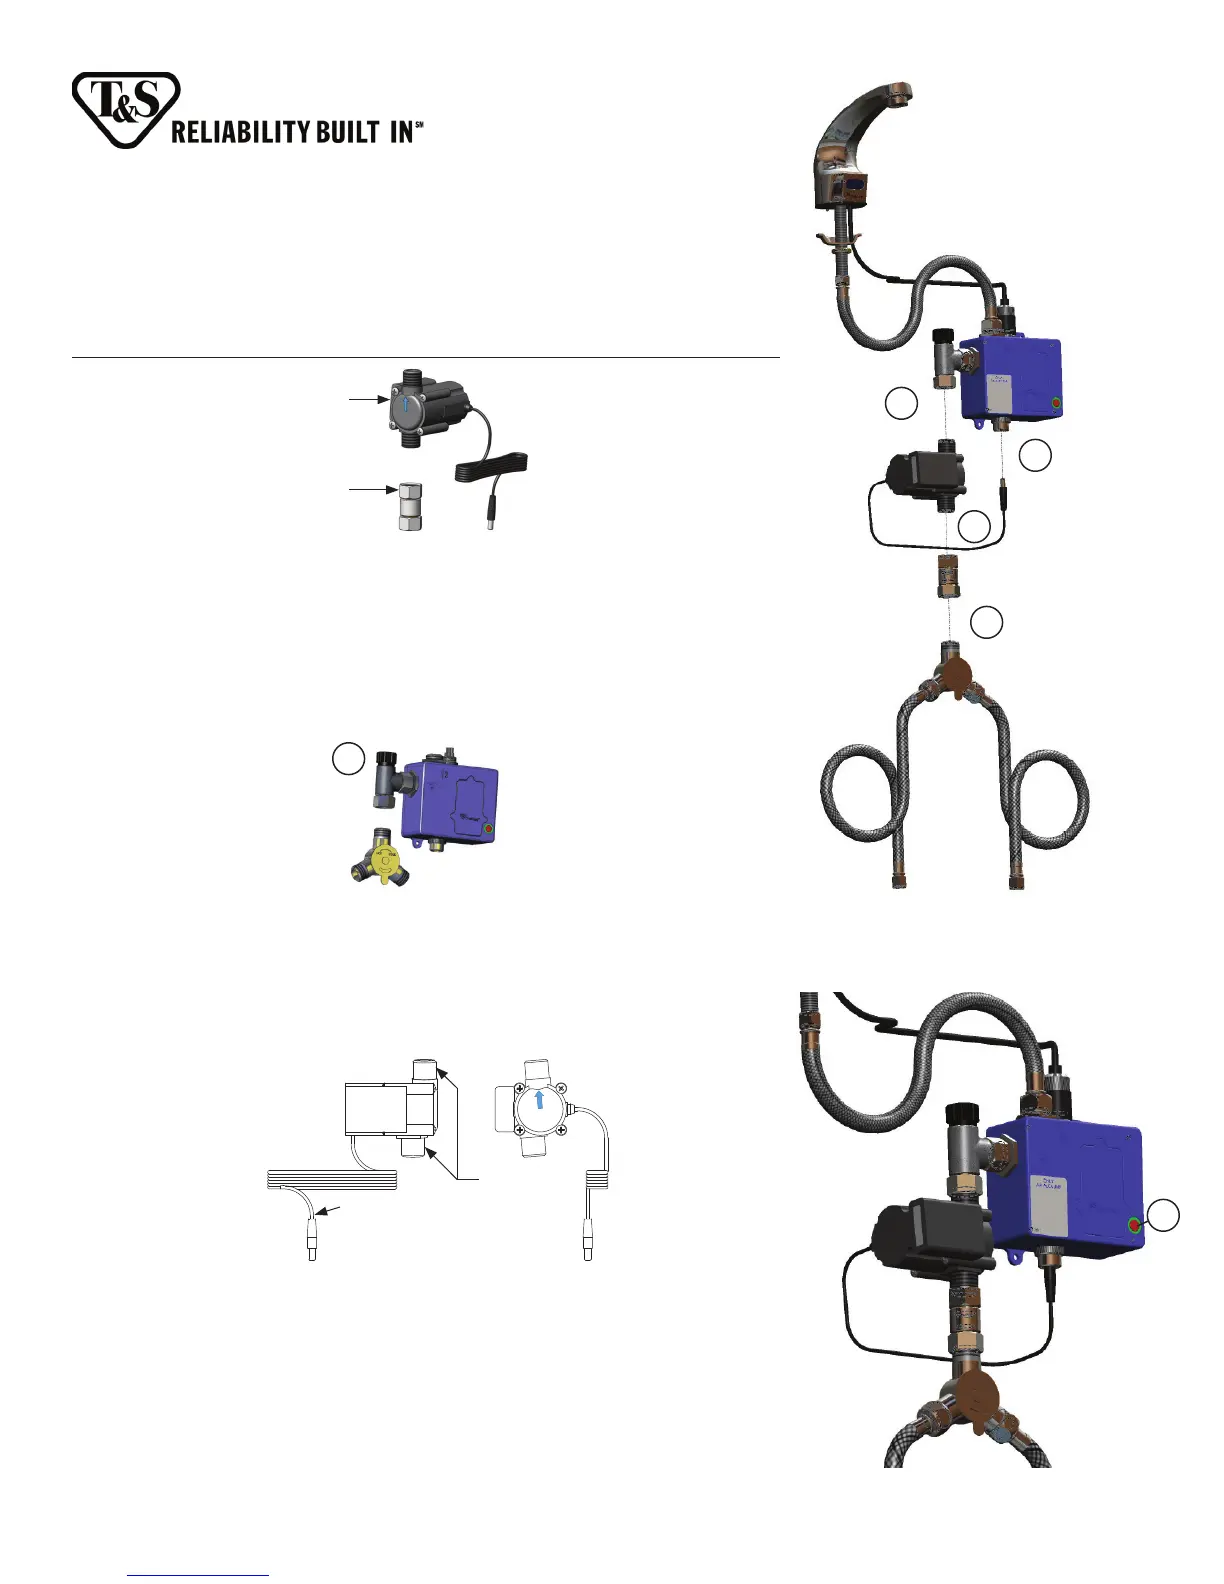
1
4
5
3
2
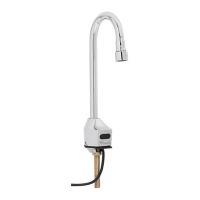
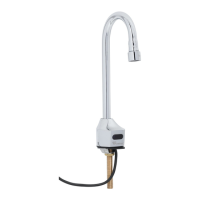
NOTE: If installing to an existing ChekPoint faucet which is in use, shuto the
NOTE: If installing to an existing ChekPoint faucet which is in use, shuto the
water at the supply stops and unplug and disconnect the power supplies (the
water at the supply stops and unplug and disconnect the power supplies (the
plug-in wall transformer) and disconnect any external power sources to the
plug-in wall transformer) and disconnect any external power sources to the
control module. The 4 AA batteries may be left installed if desired.
control module. The 4 AA batteries may be left installed if desired.
1. Disconnect the mixing valve from the tting on the control module.
2. Install the ½ NPSM swivel coupling onto the outlet (top) of the mixing
valve.
3. Install the Hydro Generator to the coupling making sure the blue arrow
on the side of the unit is pointing up or toward the control box tting.
4. Install the outlet end of the Hydro Generator to the tting on the control
module.
5. Plug in the power cable for the Hydro Generator into the bottom of the
controller (where the wall transformer previously plugged in).
6. Open the supply stops. The faucet should be ready for service.
7. The sensor distance may need to be readjusted on your ChekPoint unit
should the range seem inadequate. See next page for sensor range setup.
7
For ChekPoint Models with Below Deck Temperature Mixing Valves
1/2” NPSM Male
Inlet and Outlet
Threads
71” (1800mm) Power
Cord with Male Plug
to Connect to Control
Module
Hydro Generator
1/2” NPSM Swivel
Coupling
 Loading...