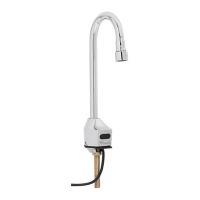
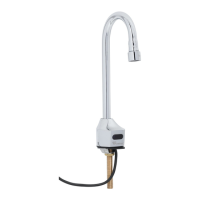
SENSOR RANGE SETUP
1. AF-serial sensor range can only be set by using the on/o button situated
on the bottom right corner of the control box. Do not attempt to open
control box.
2. Push and hold the on/o button for 5-7 seconds. Water ow will stop
and the red LED light inside the electronic eye will blink on. Release the
on/o button. The LED should turn itself o , signaling that the faucet is
ready for setup.
3. Place and hold your hand at the desired sensor distance. The LED will
turn “ON”.
4. Use the other hand to press the on/o button. The LED will ash 5 times
to save the new sensor range setting.
5. The default sensor range is 5-1/2” (14cm). Sensing distance is adjustable
from 3/4” (2cm) to 5-1/2” (14cm).
For ChekPoint Models with Above Deck Temperature Mixing Valves
Note: If installing to an existing ChekPoint faucet which is in use, shut
Note: If installing to an existing ChekPoint faucet which is in use, shut
o the water at the supply stops and unplug and disconnect the plug-in
o the water at the supply stops and unplug and disconnect the plug-in
wall transformer if in use. The batteries located within the body may be
wall transformer if in use. The batteries located within the body may be
left installed if desired. (See the applicable ChekPoint faucet manual for
left installed if desired. (See the applicable ChekPoint faucet manual for
instructions on accessing the batteries.)
instructions on accessing the batteries.)
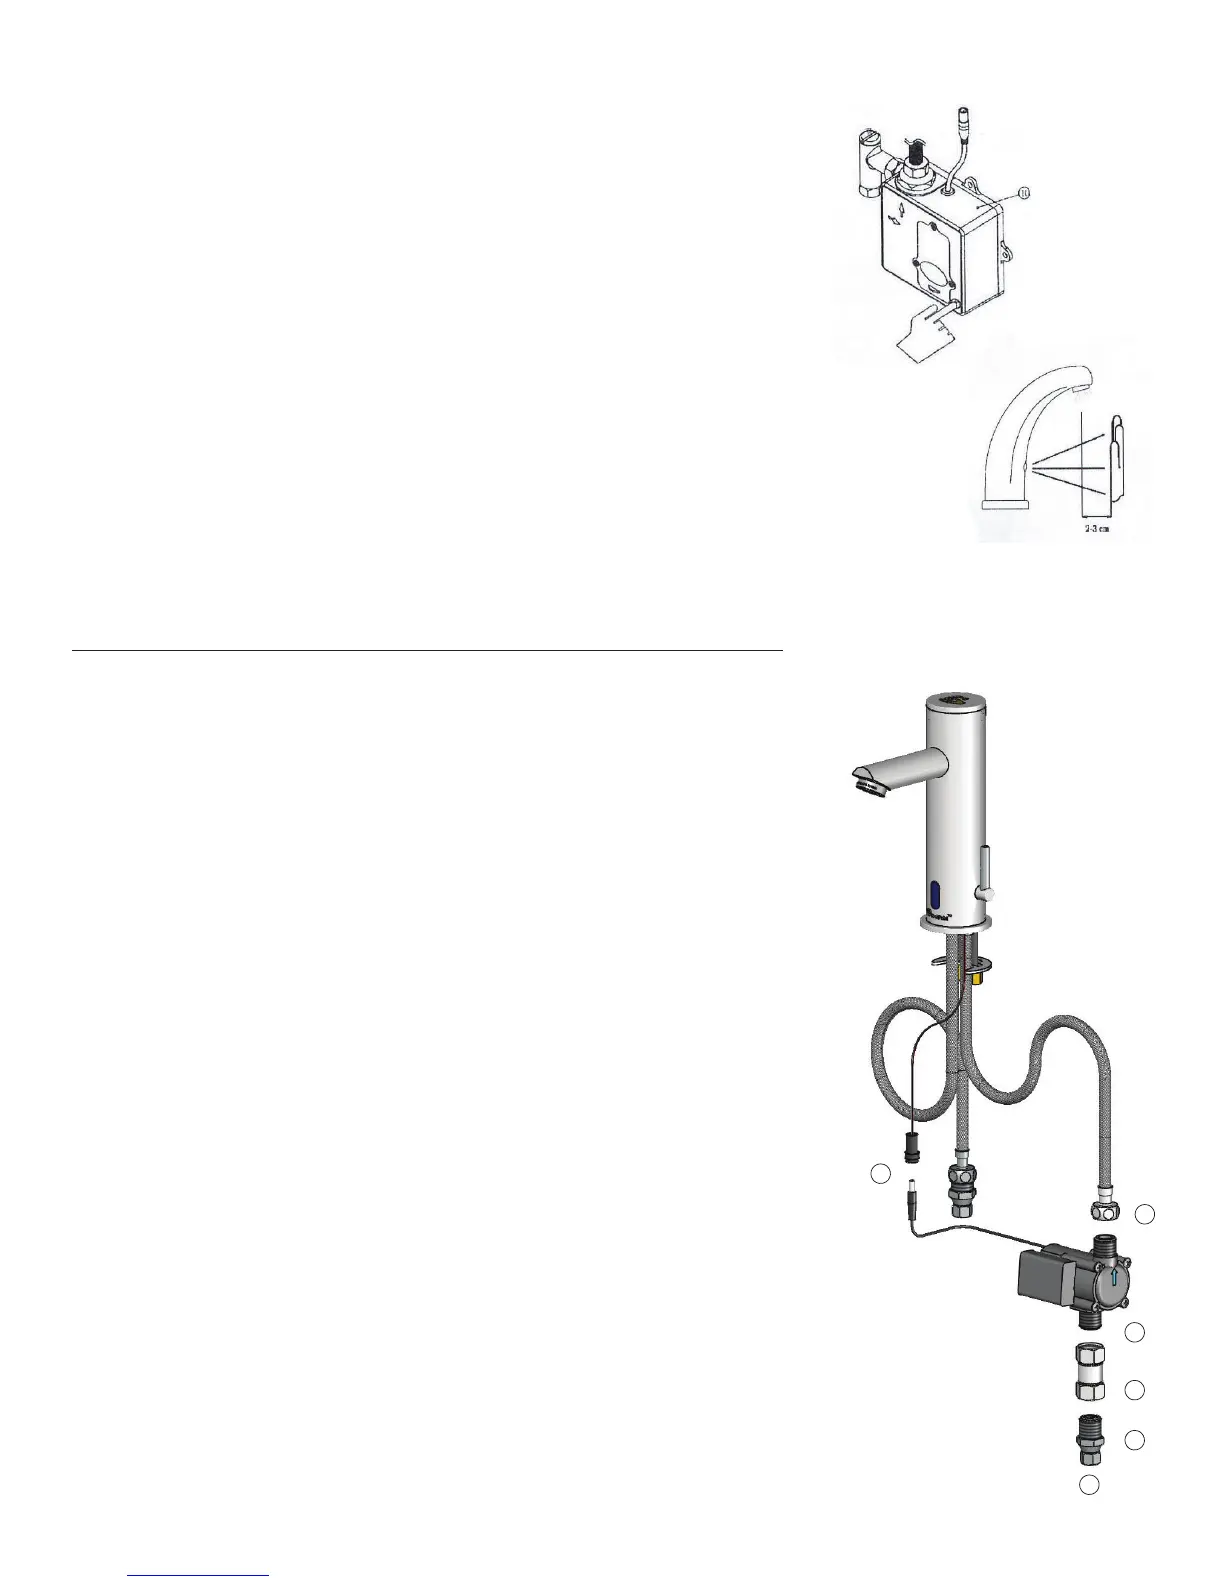
1. Disconnect the faucet cold water exible supply line from the check valve
adapter. The check valve adapter can stay connected to the cold water
supply stop if already connected.
2. Connect the check valve adapter to the ½” NPSM swivel coupling supplied
with the Hydro Generator.
3. Connect the other end of the ½” NPSM swivel coupling to the inlet on the
bottom of the Hydro Generator. Note the blue ow direction arrow on the
side of the Hydro Generator.
4. Connect the check valve adapter swivel end to the cold water supply stop
if not already connected from step 1.
5. Connect the outlet on top of the Hydro Generator to the faucet cold water
exible supply line.
6. Connect the power cable from the Hydro Generator to the wire connector
coming from the faucet bottom (wire may be wound and tucked into the
opening in the faucet bottom).
7. Should the ChekPoint faucet sensor range need adjustment, refer to the
applicable ChekPoint faucet manual for instructions.
6
5
4
4
2
1
5
3
6
 Loading...