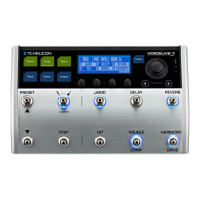
Making connections
Getting started – English quick guide 7
Making connections
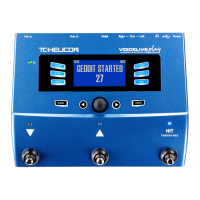
SWITCH-3
4
2 3 6 57 1
Inputs
1. Connect the supplied power adapter to the
12 V DC jack of your VoiceLive3 Extreme and
plug the adapter into a wall outlet. Do not
power up your VoiceLive3 Extreme yet.
2. Plug your microphone into the MIC / LINE jack
using an XLR cable.
3. Connect your guitar to the GUITAR IN jack us-
ing a ¼” Tip Sleeve (TS) cable (i.e., a regular
guitar cable).
4. Connect your MP3 player or smartphone to
the AUX jack using a 1/8” cable.
5. Connect your MIDI master keyboard or syn-
thesizer to the MIDI IN jack using a MIDI cable.
6. Plug your Switch-3 into the FOOTSWITCH
jack using a ¼” Tip Ring Sleeve (TRS) cable
(the cable that came with the Switch-3).
7. Plug your Expression pedal into the EXPRES-
SION jack.
! Do you have a condenser, MP-75 or e835FX
microphone? When the unit is powered up
(there’s a few more steps before that hap-
pens), you’ll need to enable Phantom Power.
To enable Phantom Power, press SETUP and
navigate to the INPUT tab using the < and >
buttons below the large control knob. Find the
Mic Type parameter and change it to Con-
denser. Press SETUP to exit. These instruc-
tions are also printed on the bottom of your
VoiceLive3 Extreme.
Outputs
Depending on what kind of amplification system
you are using, there are lots of options. We cover
a few common setups on the following pages.
In the reference manual, we’ll show many more
connection options, including incoming monitor
mixes.
 Loading...