4. DIP SWITCH FUNCTION
EO18-13004
4.1 DIP Switch
4- 1
4. DIP SWITCH FUNCTION
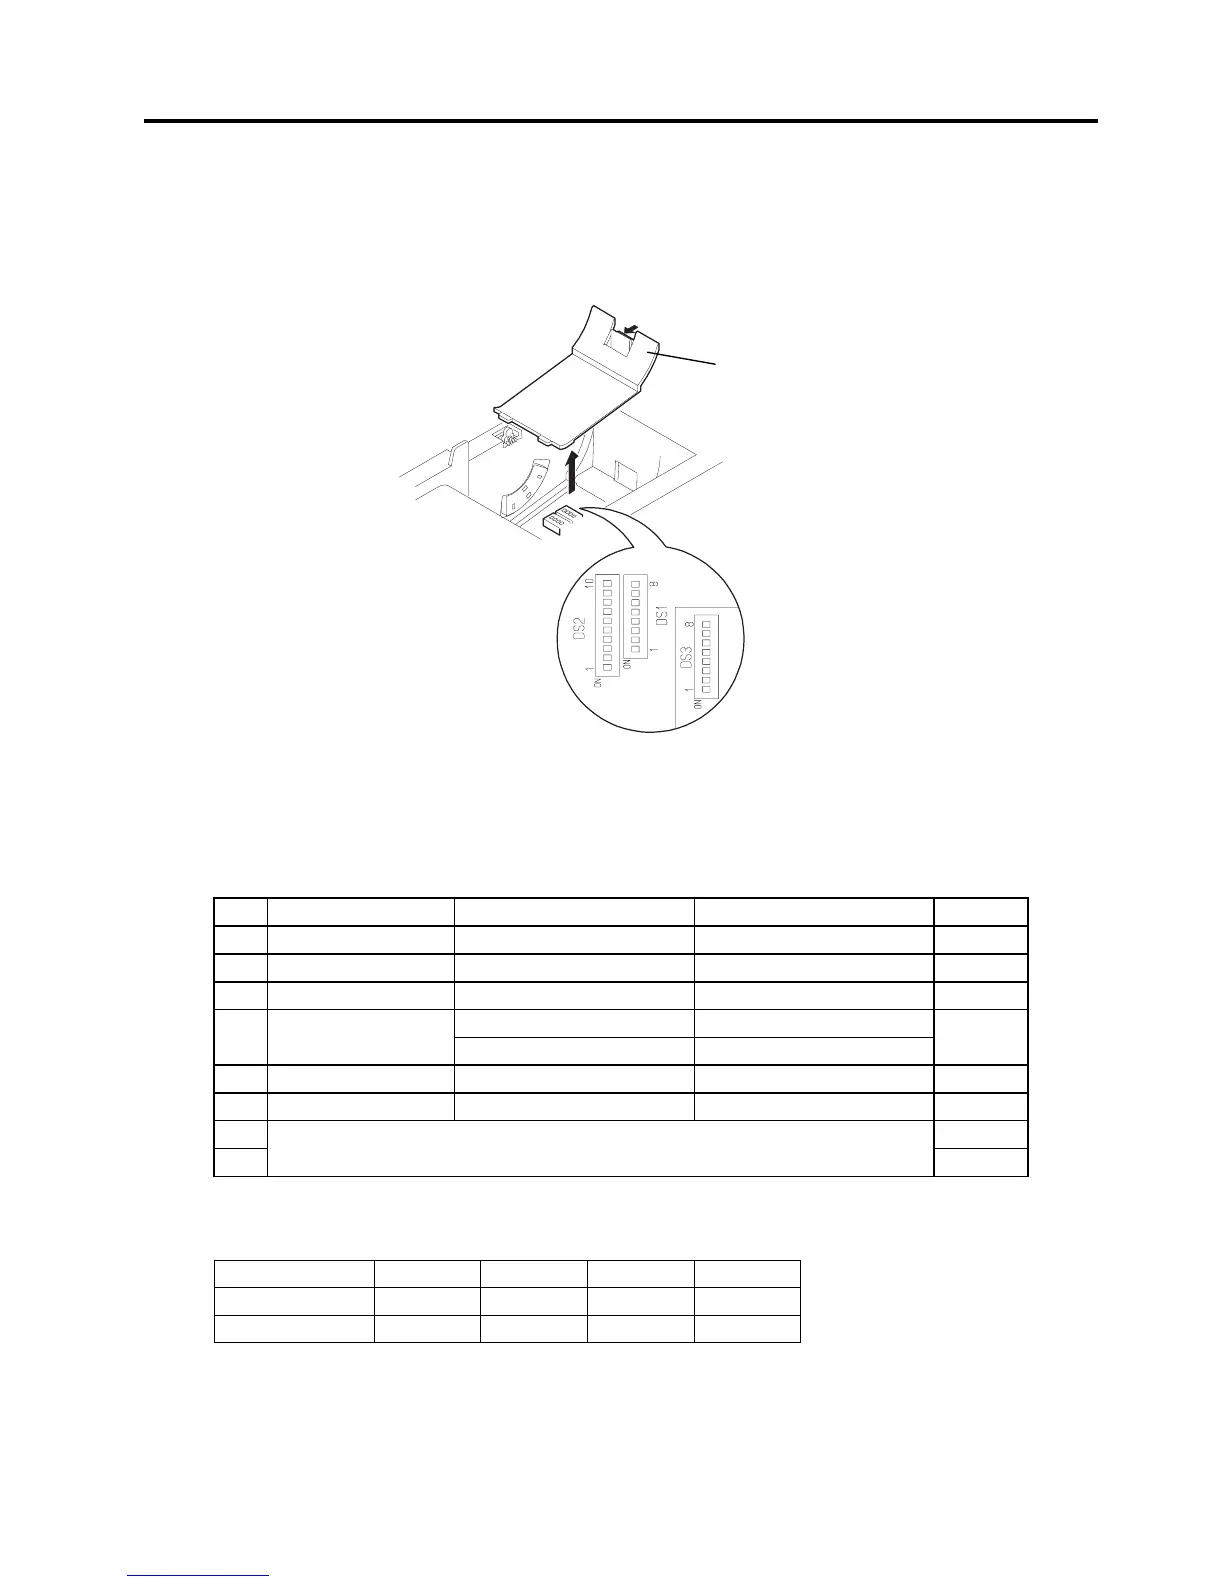
The DIP switch locates under the DIP switch cover.
Open the printer cover. Then, remove the receipt roll and DIP switch cover.
The function of each DIP switch is shown below.
NOTE: DIP Switch 3 is provided on the serial interface model only.
4.1 DIP Switch
4.1.1 DIP Switch 1
No. Function ON OFF Default
1-1 Auto cutter With cutter Without cutter ON
1-2 Reserved --- --- OFF
1-3 Paper width 58 mm 80 mm OFF
42 (80 mm paper) 48 (80 mm paper) 1-4
Printing columns
30 (58 mm paper) 36 (58 mm paper)
OFF
1-5 CR mode LF Ignored OFF
1-6 Input buffer 72 bytes 4K bytes OFF
1-7 ON
1-8
Print tone (Refer to the table below.)
OFF
NOTE: The printing columns differ depending on the paper width (DIP Switch #1-3).
Print tone
Print tone Level 1 Level 2 Level 3 Level 4
DIP Switch 1-7 OFF ON OFF ON
DIP Switch 1-8 OFF OFF ON ON
NOTES:
1. When the print tone is set to Level 2 or above, the printing speed may become slower.
2.
As the level number gets bigger, the print tone becomes darker.
Fig. 4-1
DIP