11
Model: TX-203,TX-204 Article No. 5012,5013, 10/2022
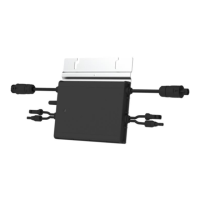
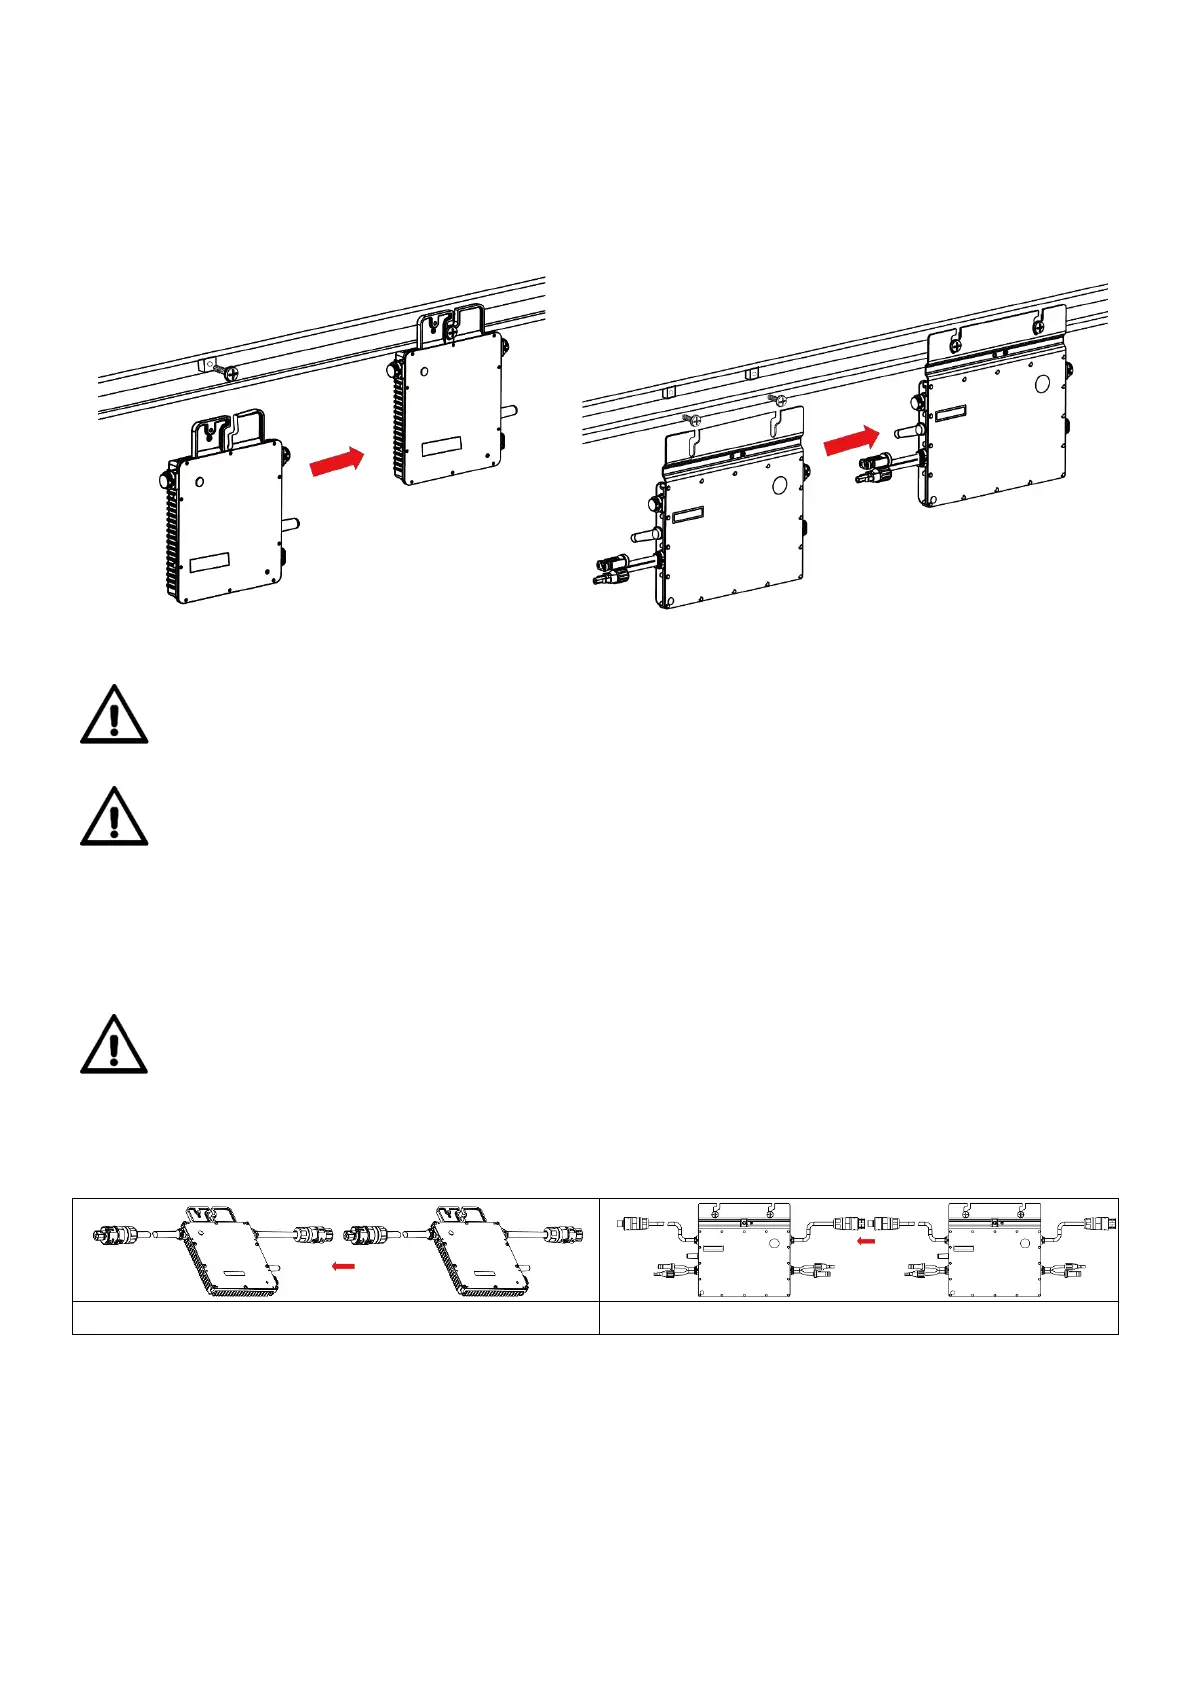
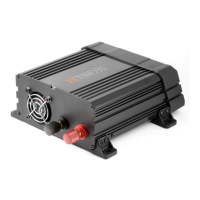
Mount the micro inverter
1. Mark the location of the micro inverter on the racking system or panel frame.
2. Consider the location of the distribution box of the solar panel and other obstacles.
3. Fix the screw on the rail.
4. Hang the micro inverter on the screw (shown as picture below), and tighten the
screw. The silver cover side of the micro inverter should be facing the panel.
CAUTION!
Before installing the micro inverter: Check that the supply mains voltage at
the common connection point matches the rated voltage of the micro inverter.
CAUTION!
DO NOT install the micro inverter (including DC and AC connections) where
it will be exposed to sun, rain or snow. DO NOT mount it in gaps between
panels. Leave a minimum clearance of 2cm between the solar panels above
it and the micro inverter to allow proper airflow.
Connect micro inverter in parallel
CAUTION!
Do not connect more micro inverters together than allowed for each AC
branch circuit (see technical data)!
1. Connect the male AC connector of the first micro inverter with the female connector
of the second micro inverter, to form a continuous AC branch circuit.