Do you have a question about the Technics SL-1600MK2 and is the answer not in the manual?
Lists all components included with the turntable system for user verification.
Instructions for correctly placing the turntable platter onto the center spindle.
Guidance on how to install a cartridge onto the headshell, including stylus protection.
Steps for adjusting cartridge overhang using a gauge for optimal tracking error.
Procedure for inserting and securing the headshell into the tonearm.
Instructions for mounting the balance weight onto the tonearm's rear shaft.
Detailed steps for achieving horizontal balance and setting stylus pressure.
How to set the anti-skating control knob to match the stylus pressure value.
Process for adjusting tonearm height using the adjust ring scale for optimal performance.
Correcting the tonearm's descent point for automatic play mode on records.
Step-by-step guide for playing records automatically using the tonearm's functions.
Detailed instructions on using the cueing button and lever for tonearm control.
Guide for manually starting and playing records on the turntable.
How to set up and activate the repeat play function for continuous playback.
Procedure for safely stopping the turntable operation and returning the tonearm.
Method for temporarily lifting the stylus from the record during playback.
Information about the built-in stylus illuminator for visibility.
How to fine-tune the turntable's rotational speed using the pitch control knob.
Adjusting the arm lift height to control muting timing and prevent noise.
Fine-tuning the tonearm's auto-start descent point for accurate record placement.
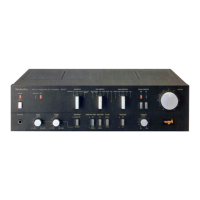
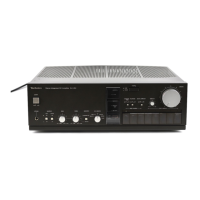
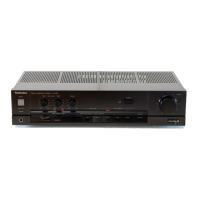
Overview of the convenient, in-line control layout on the front panel.
Description of the tonearm's precise gimbal design and low effective mass.
Details on the quartz-controlled strobe for accurate speed indication.
Information about the integrated stylus illuminator for better visibility.
Highlights additional features like high torque, electronic braking, and soft-touch switches.
Important safety warning regarding using the correct voltage for the unit.
Safety precautions for connecting and disconnecting the power cord.
Recommendations for optimal unit placement, avoiding direct sunlight and ensuring ventilation.
Safety advice to prevent children from inserting objects into the unit.
Immediate actions to take if water spills on the turntable to prevent hazards.
Warning against unauthorized remodeling, reconstruction, or repair of the unit.
Reminder to ensure the power is turned off after use to prevent damage or accidents.