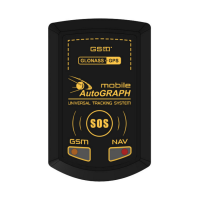
Getting Started
Before turning on the tracker, it is recommended to insert the SIM cards and charge the
battery.
Installation of SIM-cards
The AutoGRAPH-Mobile is equipped with a dual SIM holder.
Do a test of a new SIM card in a cell phone before you install it into the controller. This ensures that GPRS
/ SMS / USSD services are enabled and operate properly, the PIN code matches the code preset in the
controller (in order to prevent locking), and the personal account associated with the SIM card has the
sucient balance for successful operation of the services.
IMPORTANT
The SIM card installed in the lower retaining slot of the SIM holder is the main card. When
switched on, the AutoGRAPH-Mobile will operate with this SIM card. The SIM card installed
in the upper retaining slot of the SIM holder is the backup card. The tracker will switch to the
backup SIM card, when the primary one is unavailable (disabled, damaged or not inserted).
For proper operation it is quite sufcient to insert main SIM card in AutoGRAPH-Mobile. But
the backup card provides the appropriate operation of the tracker even if the main SIM card is
damaged. Due to this the tracker will stay connected and be able to transfer data.
To install a SIM card:
• Unscrew the four fastening
screws and remove the back cover
of the tracker.
• Insert a SIM card into the lower
retaining slot of the holder with the
card’s contacts facing the PCB
(see g.1). Be sure that the card’s
keying matches the key on the
PCB.
• If necessary, insert a second SIM
card in the upper retaining slot of
the holder with the card’s contacts
facing downwards (see g.3).
Be sure that the card’s keying
matches the key on the PCB.
• When the SIM cards are inserted,
replace the back cover and tighten
the four fastening screws.