4
56
approximately50%and70%,dependingonthesettingofthecontrolbutton.
c)Continuous:theunitworkscontinuously,independentoftheairhumidityinthe
room.
OPERATION
1. Ensure that the control button is in the Off position.
2. Insert the plug into the wall socket.
3. Ensurethatthewaterreservoirisplacedintheunitinthecorrectmanner.Iflight2
inthedisplayswitchesonduringthestart-up,removethewaterreservoirfromthe
unitandthenputitback.Checkthatthelightswitchesoff.Repeattheseactionsif
the light does not switch off.
4. Switchthecontrolbutton(4)tothedesiredhumidity.Themostcommonlychosen
position is normal.
5. Whenthesethumidityhasbeenachieved,thede-humidifierstopsautomatically.
6. Whenthehumidityintheroomexceedsthesethumidity,thede-humidifierstarts
automatically.
7. Set the control button (4) to continuous in order to operate the humidifier
continuously,regardlessofthehumidityintheroom.
WATER DRAINAGE
When the water reservoir is full, light 2 switches on and the de-humidifier switches off
automatically.Emptythereservoirandthenputitbackintopositioninthecorrectmanner.
Thedevicewillthenrestartautomatically.
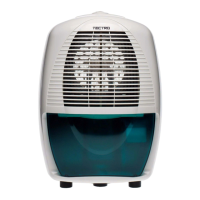
If desired, it is possible to connect a drainage hose to the device for permanent water
drainage.Takethefollowingactions:
1. Removethecap at the back of the unit. See illustration 5.
2. Removetherubberstopbehindthecap.
3. Connectadrainagehosetothewaterdrainageholeofthedevice.Ensurethatthe
hoseisfirmlyconnectedanddoesnotleak.
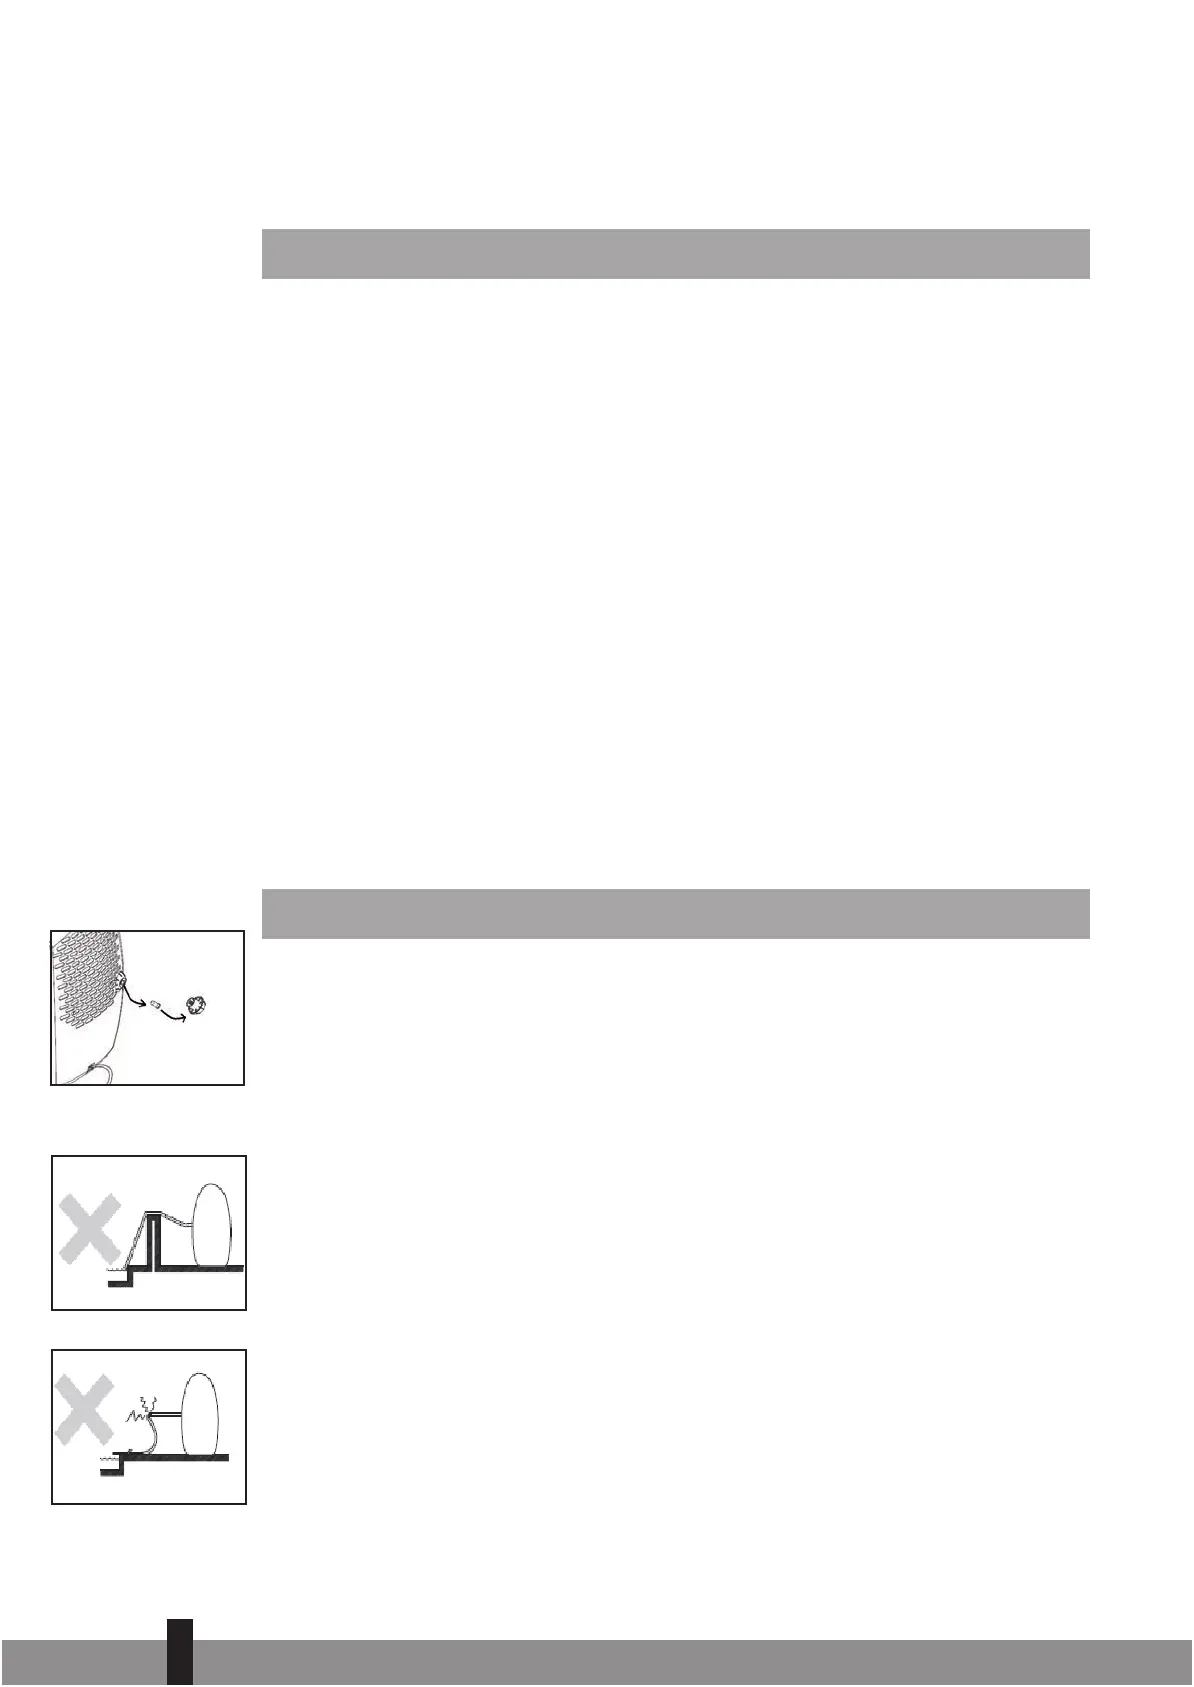
4. Lead the water hose to a drain or another point suitable for the drainage of water.
5. Ensure that the water hose runs down. So not as shown in illustrations 6 and 7.
6. When the permanent drain is no longer in use, remove the hose and insert the
rubberplug.Thenputthesealingcapbackontotheunit.
Fig. 6
Fig. 7
Fig. 5
man_TD310 ('13).indd 56 13-05-13 10:47