4
ASSEMBLY
Step One
Assemble the A-frame Base
(EP-1100) and Install the
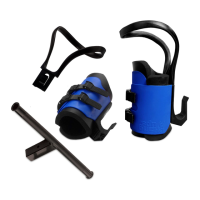
Handles (GL-9518, GL-9522)
and Shrouds (GL-9524)
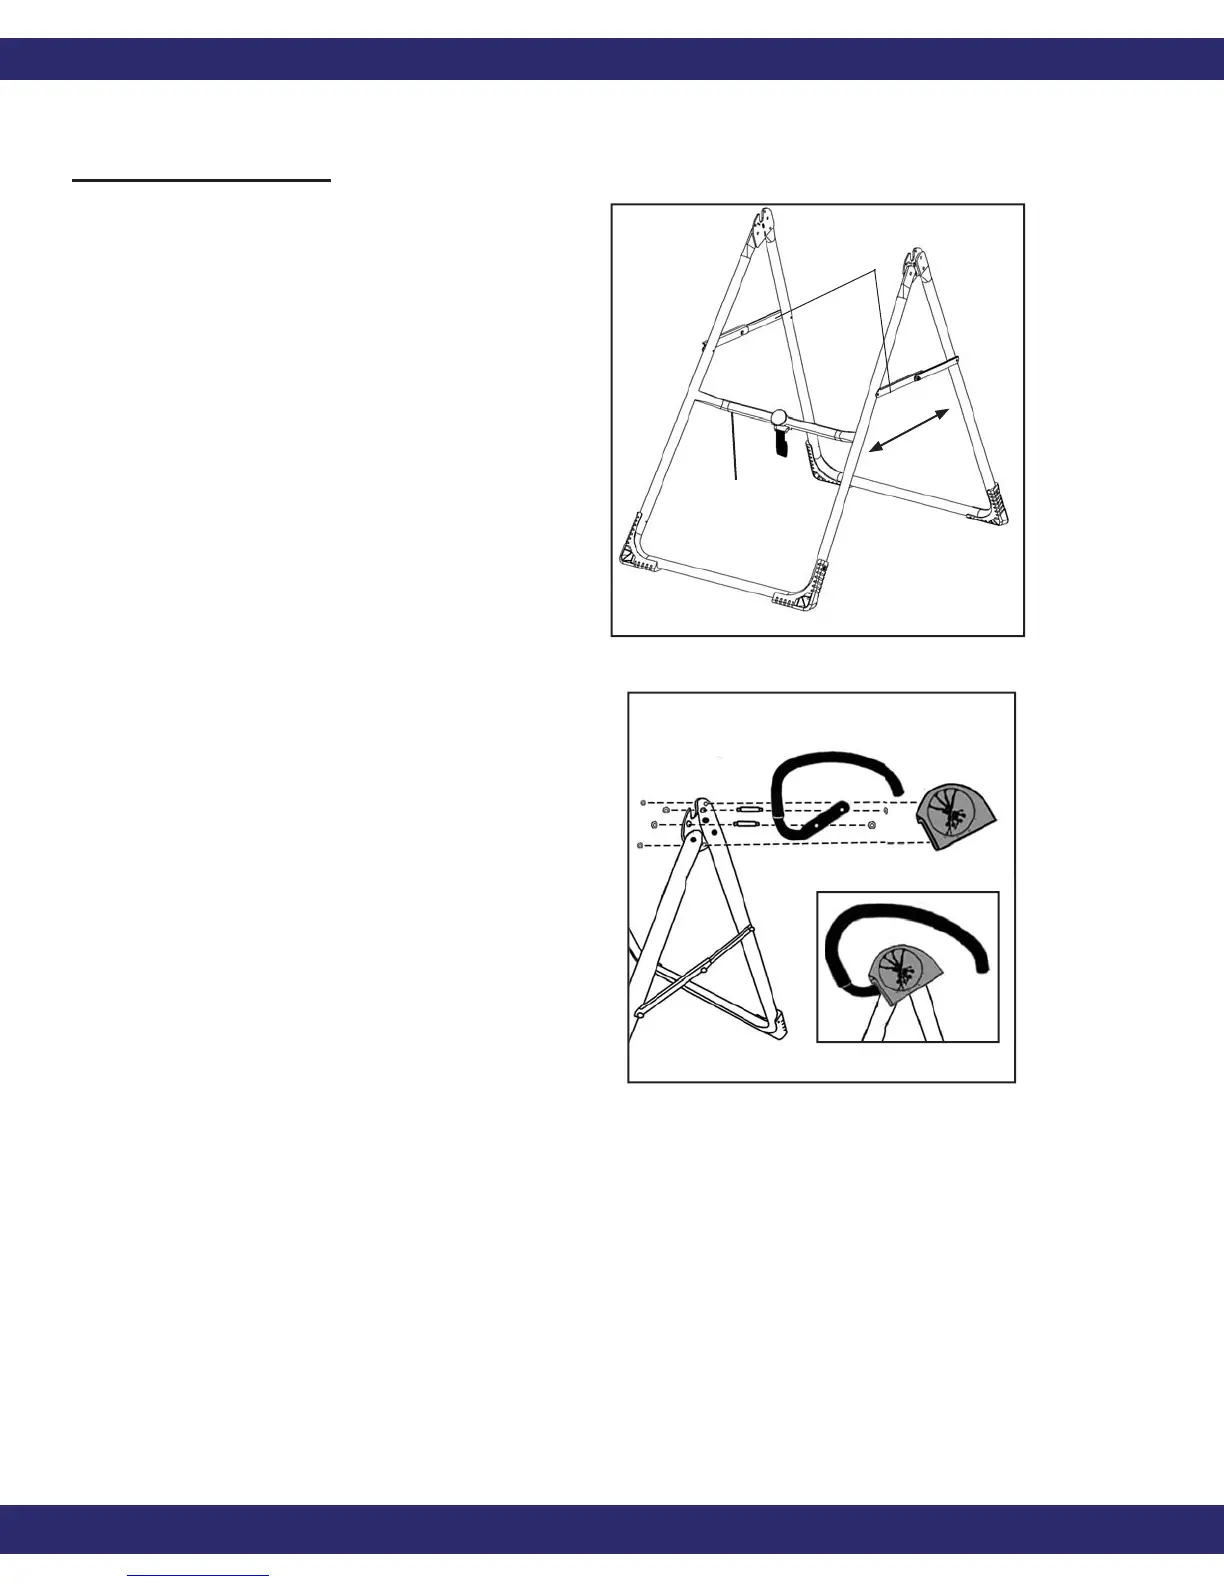
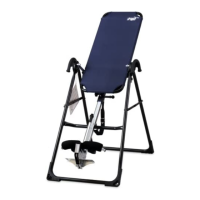
• Open the A-frame and make sure
the spreader arms are locked.
Rest the A-frame on the fl oor
(Figure 1). The Crossbar is at the
front.
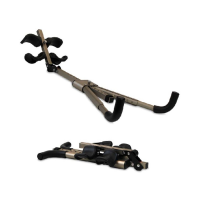
• Insert two double threaded bolts
(GL-9523) through the base of
the Left Handle (marked with
an “L”) and hand tighten on the
outside with the nuts provided.
(See Figure 2) Line up and insert
the opposite end of the bolts
through the corresponding 1/3”
holes on the outside of the hinge
plate. Loosely tighten with nuts,
then use the wrenches provided
to tighten both sets of nuts,
being careful not to over tighten.
Repeat with the Right Handle.
• Place each shroud over the
outside edge of the corresponding
handle. Line up and insert the
shroud bolts (GL-9525) through
the smaller 1/4” holes in the
hinge plate (See Figure 2). Use
the wrenches provided to tighten
the nuts, being careful not to over
tighten.
Figure 1
Figure 2
spreader arms
front
back
Teeter Hang Ups EP-950
Crossbar
Right
Left
Figure 2A
NOTE: Nuts and bolts may
be packaged separately or
assembled in
handles and shrouds.
(L)