ITEMS FOR ASSEMBLY ITEM #’s
Leg Roller Assembly D11007
Two (2) flat washers (M8) H14108
Two (2) hex bolts
(M8 x 25mm) H11412
Support Post Assembly D11003
Four (4) hex bolts
(3/8-16) H11502
Eight (8) flat washers
(3/8) H11302
Four (4) lock washers(3/8) H11301
Four (4) capped nuts
(3/8-16) H13504
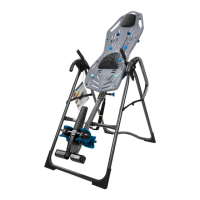
Frame Assembly D11002
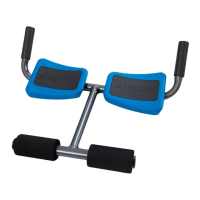
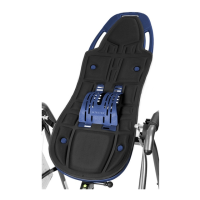
Lap Pad Assembly D11004
Two (2) flat washers
(3/8) H11302
One (1) hex bolt
(3/8-16) H11303
One (1) hex nut (3/8-16) H11304
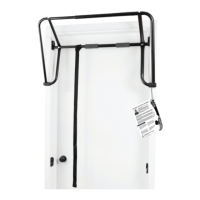
Cane Shaped Handle Assembly R12038
Eight (8) flat washers
(M8) H14108
Four (4) hex bolts
(M8*50mm) H11410
Four (4) capped nuts
(M8 nylon) H13009
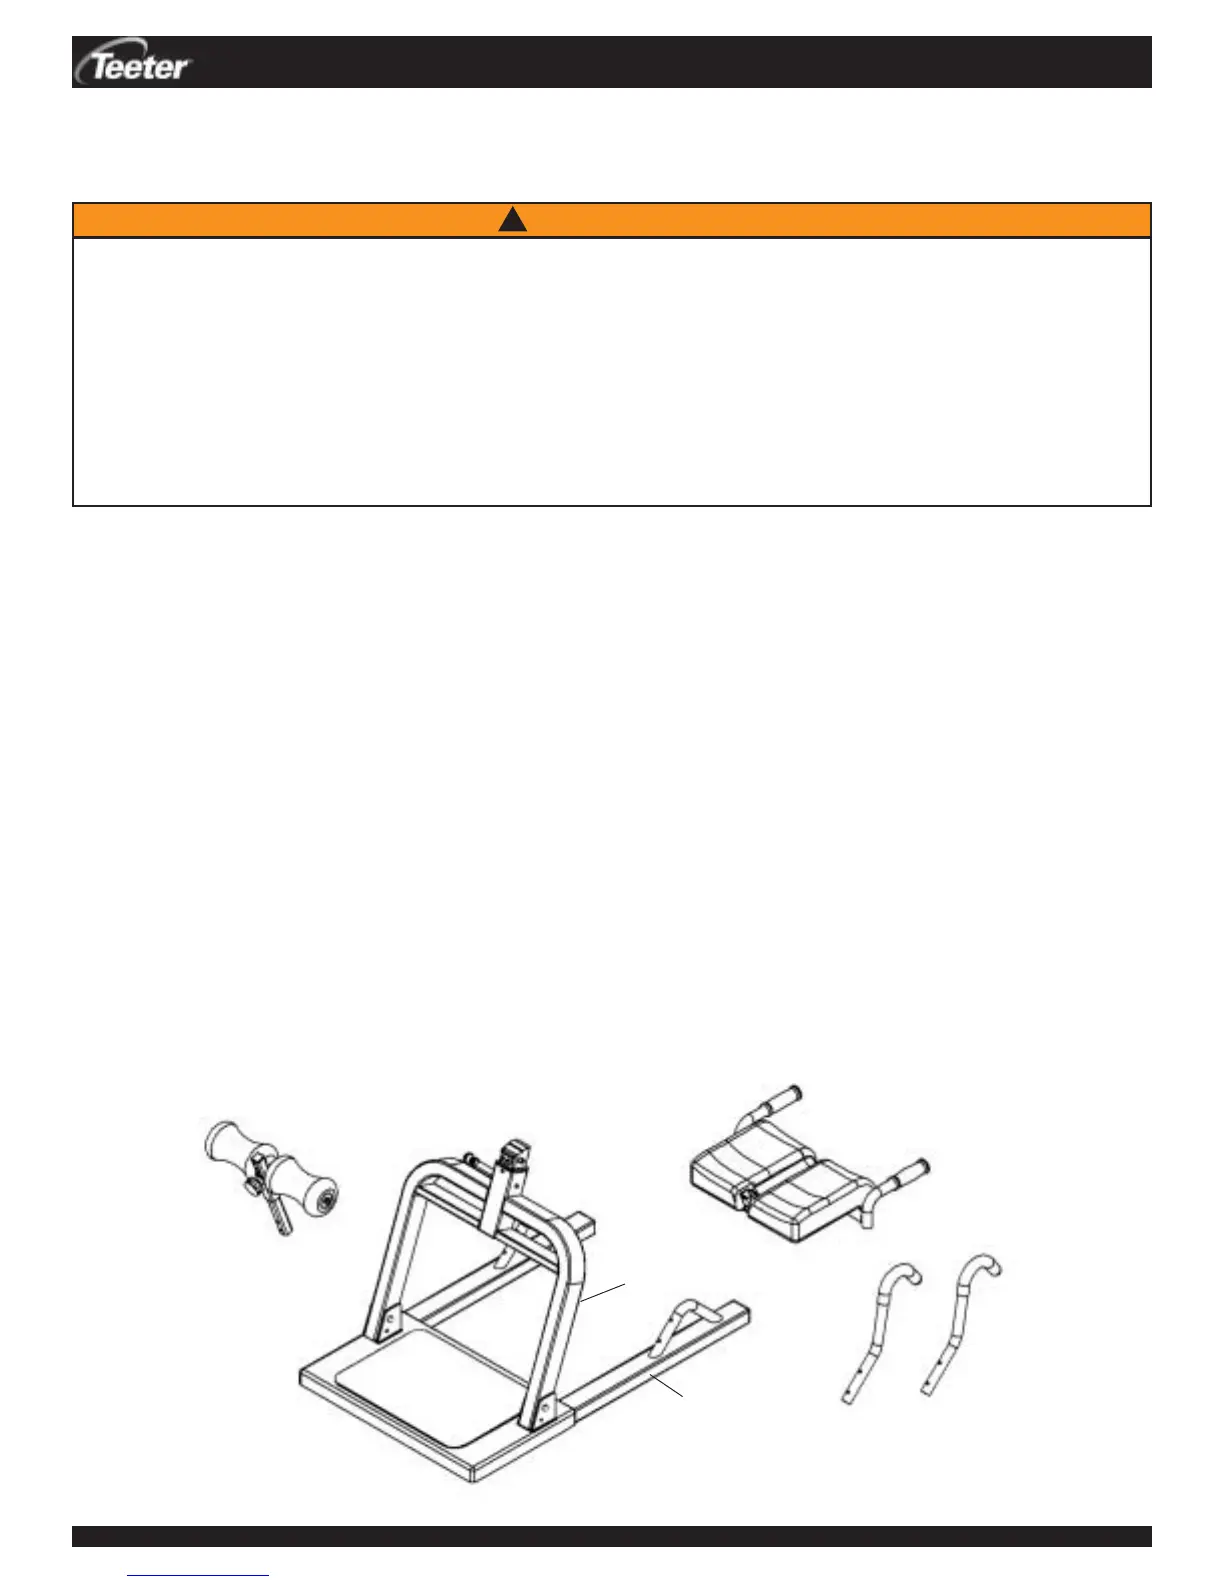
Carefully remove the individual parts from the carton. You should have all of the items listed below. If any items are
missing or damaged, contact your retailer or the manufacturer directly (See Pg. 4 of the Instructional Training Manual).
Required tools: 13mm box wrench, 9/16” box wrench and/or adjustable wrenches
* all hardware arrives pre-assembled to the corresponding parts
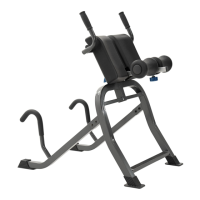
ASSEMBLY INSTRUCTIONS
R12038
D11007
D11004
D11002
D11003
DEX
TM
Assembly Instructions #LD-1001 Pg. 1
Before you begin: These instructions will guide you in properly assembling the unit. Please review all the steps before
beginning assembly. Carefully adhere to the Assembly Instructions and Instructional Training Manual to help ensure user
safety and product integrity.
1. Failure to assemble and/or use the equipment as directed may void the manufacturer’s warranty on this product and could
result in injury or death.
2. It is your responsibility to familiarize yourself with the proper use of the equipment and the inherent risks of inversion, such
as falling on your head or neck, pinching, entrapment or equipment failure.
3. Do not use the DEX
TM
until you have thoroughly and carefully read the Instructional Training Manual, reviewed all other
accompanying documents, and inspected the equipment.
4. Choose a level surface for assembling and operating the DEX
TM
.
5. Follow each step in sequence. Do not skip ahead.
6. Make sure that all fasteners are secure.
7. Schedule daily, weekly and monthly equipment inspections. Make sure that the parts rotate smoothly and that all fasteners
are secure.
!
WARNING