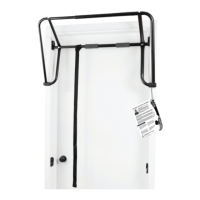
STEP FOUR
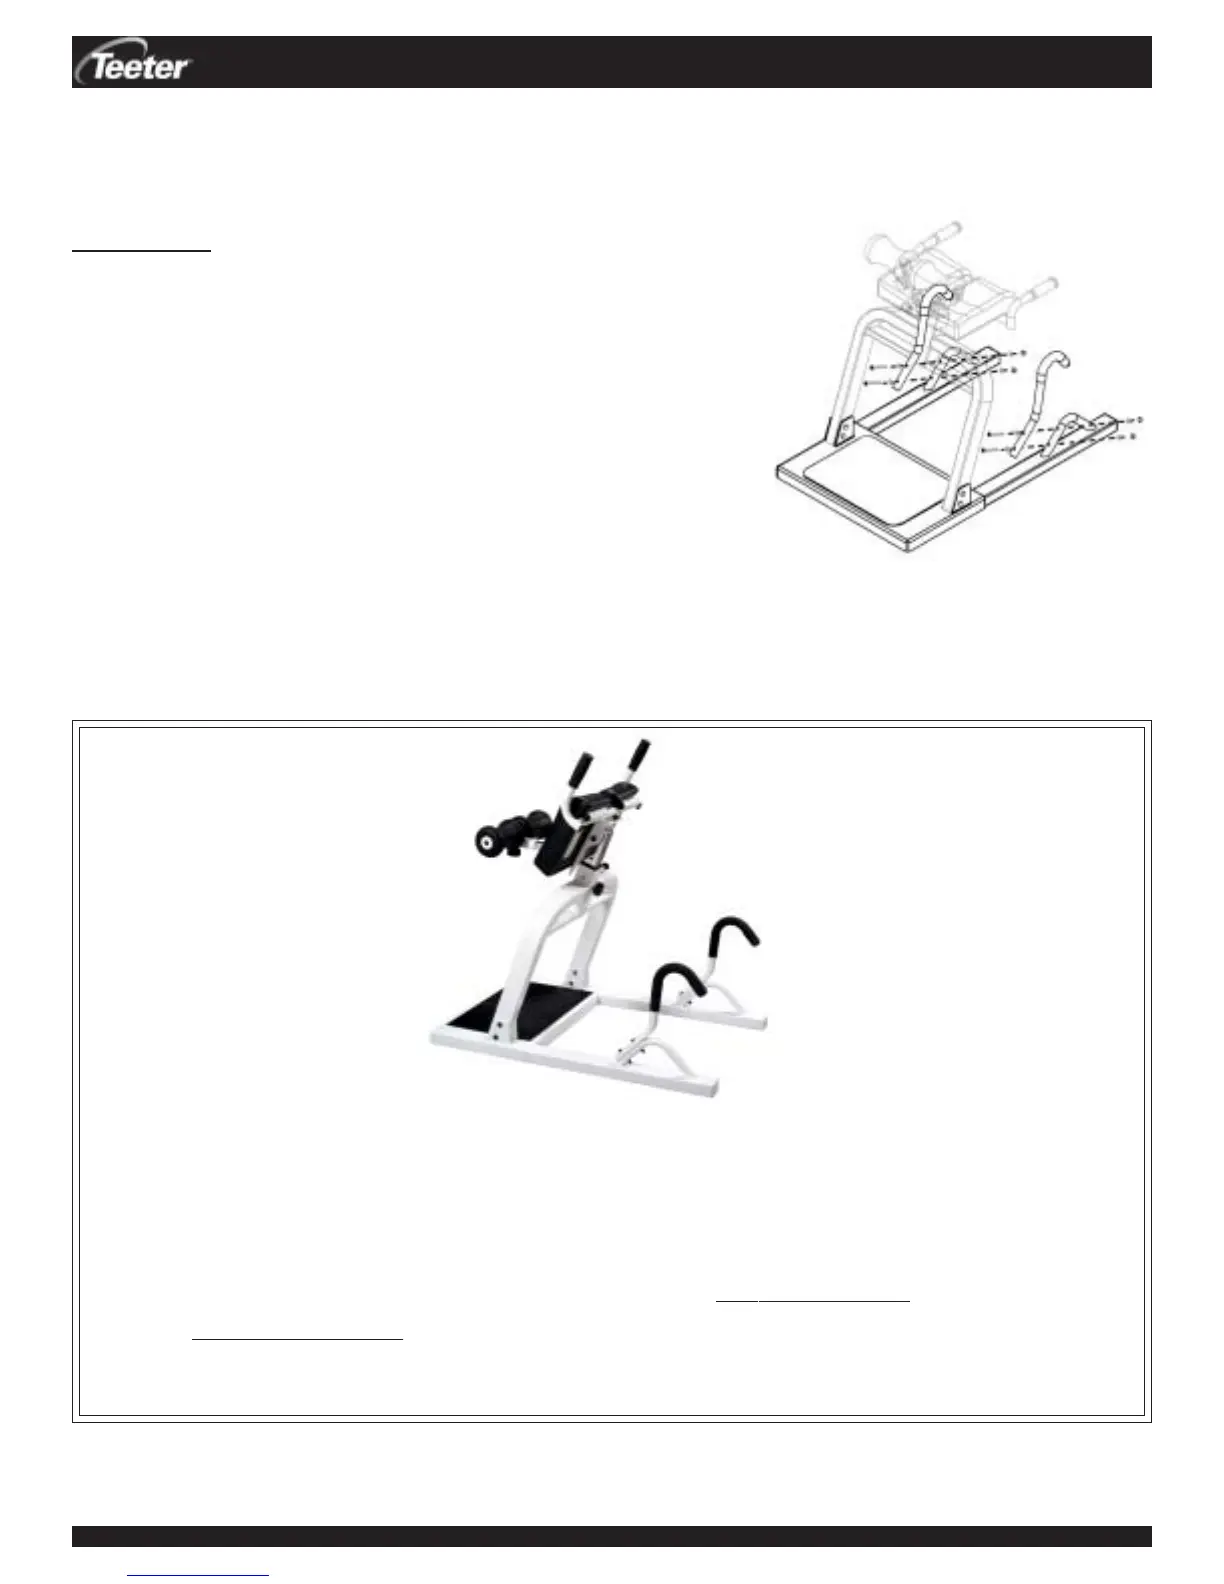
Attach the Cane Shaped Handles (R12038) to the Frame
Assembly (D11002)
• You must remove the hex bolts, curved washers and capped
nuts from the handle supports on the Frame Assembly before
proceeding.
• Align the two holes in the Cane Shaped Handles to the holes in
the handle supports on the Frame Assembly. (See Figure 4)
• Insert a hex bolt with curved washer through both holes on each
Cane Shaped Handle. Finish with another curved washer and
fasten with a capped nut using a 13 mm wrench.
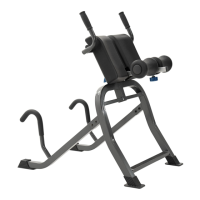
The assembly of the DEX • decompression & extension
TM
is now complete! Please remember:
• Read the Instructional Training Manual, including the Important Safety Instructions, and accompanying
materials thoroughly before using the DEX
TM
. Improper use could result in serious injury or death.
• Prior to using, test that the parts rotate smoothly and that all fasteners are secure.
• Please complete and mail the warranty card, or register on-line at www.ProInversion.net.
• Visit www.ProInversion.net for information on the Power VI
TM
Inversion Table, another valuable tool for
core training offering unique and complimentary benefits.
Figure 4
DEX
TM
Assembly Instructions #LD-1001 Pg. 3
ASSEMBLY INSTRUCTIONS