CHOKING HAZARD: Small parts - keep out of reach of children.
Assembly & User Instructions
WARNING
!
Posture Restore
How to Assemble
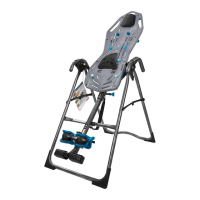
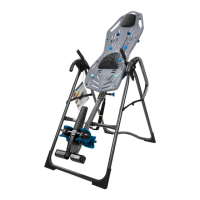
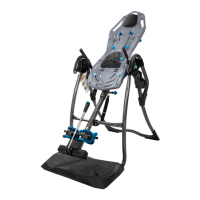
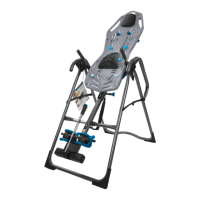
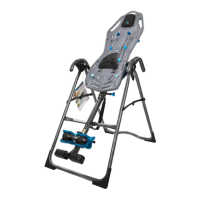
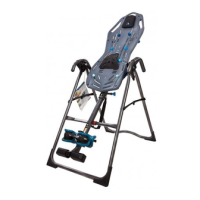
Used with Teeter FitSpine
™
Inversion Tables, the Posture Restore provides additional
posture correction benefits by stretching the muscles that have shortened and adapted
to a hunched posture, helping to open the chest, shoulders and hips while gently
decompressing and elongating the spine.
Customize your relief! How you use the Posture Restore depends on your body type and
preferences. For best results, experiment between the Moderate or Advanced Stretch
positions and with using one or both cushions.
Figure 3
• Locate the fastening nodes included with the Posture Restore and unscrew the
backings from each.
• Place the Upper Cushion onto the Table Bed aligned with the desired hole position.
If you are just starting out, use the Moderate Stretch position (Figure 4).
Note: The Table Bed Head Pillow must be removed in order to access the
upper hole setting for the Moderate Stretch position.
• Insert a node top into the hole of the cushion (Figure 1) and Table Bed slot. Secure
with a node backing by turning clockwise at the back of the Table Bed (Figure 2).
If you are using the Moderate Stretch position, you will fasten both the top and
the bottom nodes into the designated hole settings (Figure 4). If you are using
the Advanced Stretch position, then you will only fasten the bottom node in the
designated hole setting (Figure 5).
• Ensure that the final position of the backing is perpendicular to the slot (Figure 3).
• Repeat the steps above for the optional lower cushion, fastening both the top and
bottom nodes into the designated hole settings.
* Posture Restore is only compatible with Teeter FitSpine™ models which include: X1, X2, X3, LX4, LX7, LX9.
Figure 4: Insert (4) nodes into the
positions shown for a Moderate
Stretch.
Moderate Stretch
Figure 5: Insert (3) nodes into the
positions shown for an Advanced
Stretch.
Advanced Stretch
Figure 6: In the Advanced position,
the cushion has the freedom to
angle left or right to target larger
areas between your shoulder blades.
Upper
Cushion
Figure 2
Figure 1
Use Instructions continue on page 2
Lower
Cushion