5
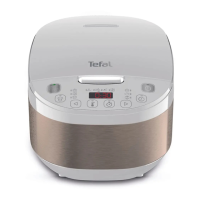
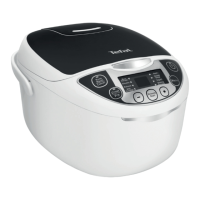
DESCRIPTION
BEFORE THE FIRST USE
1 Steam basket
2 Graduation marks for water
3 Removable ceramic bowl
4 Measuring cup
5 Rice spoon
6 Soup spoon
7 Lid
8 Removable inner steam shield
9 Micro pressure valve
10 Lid opening button
11 Handle
12 Rice spoon support
13 Control panel
a “KEEP WARM/CANCEL”
b “CRUST/FRY”
c “–”
d “START”
e “MENU”
f “+”
g “DELAYED START”
14 Function indicators
a “RICE/CEREAL” function
b “RISOTTO” function
c “REHEAT” function
d “MILK PORRIDGE” function
e “STEW” function
f “STEAM/SOUP” function
g “YOGURT” function
h “BAKING/DESSERT”
function
15 Housing
16 Heating element
17 Power cord
Unpack the appliance
• Remove the appliance from the packaging and unpack all the accessories
and printed documents.
• Open the lid by pushing the opening button located on the housing –
fig.1.
Read the instructions and carefully follow them.
Clean the appliance
• Remove the bowl – fig.2, the steam shield and the pressure valve –
fig.3a and 3b (see “Cleaning and Maintenance” section for detailed
instructions on removal).
• Clean the bowl, the valve and the steam shield with a sponge and
washing up liquid.
• Wipe the outside of the appliance and the lid with a damp cloth.
• Dry off carefully.
• Put all the parts back in their original position. Install the steam shield in
the correct position on the top of machine. Then, put the steam shield
behind the 2 ribs and push it onto the lid until it’s fixed. Install the
detachable cord into the socket on the cooker base.
• Insert the spoon support on the base of the appliance – fig.4.