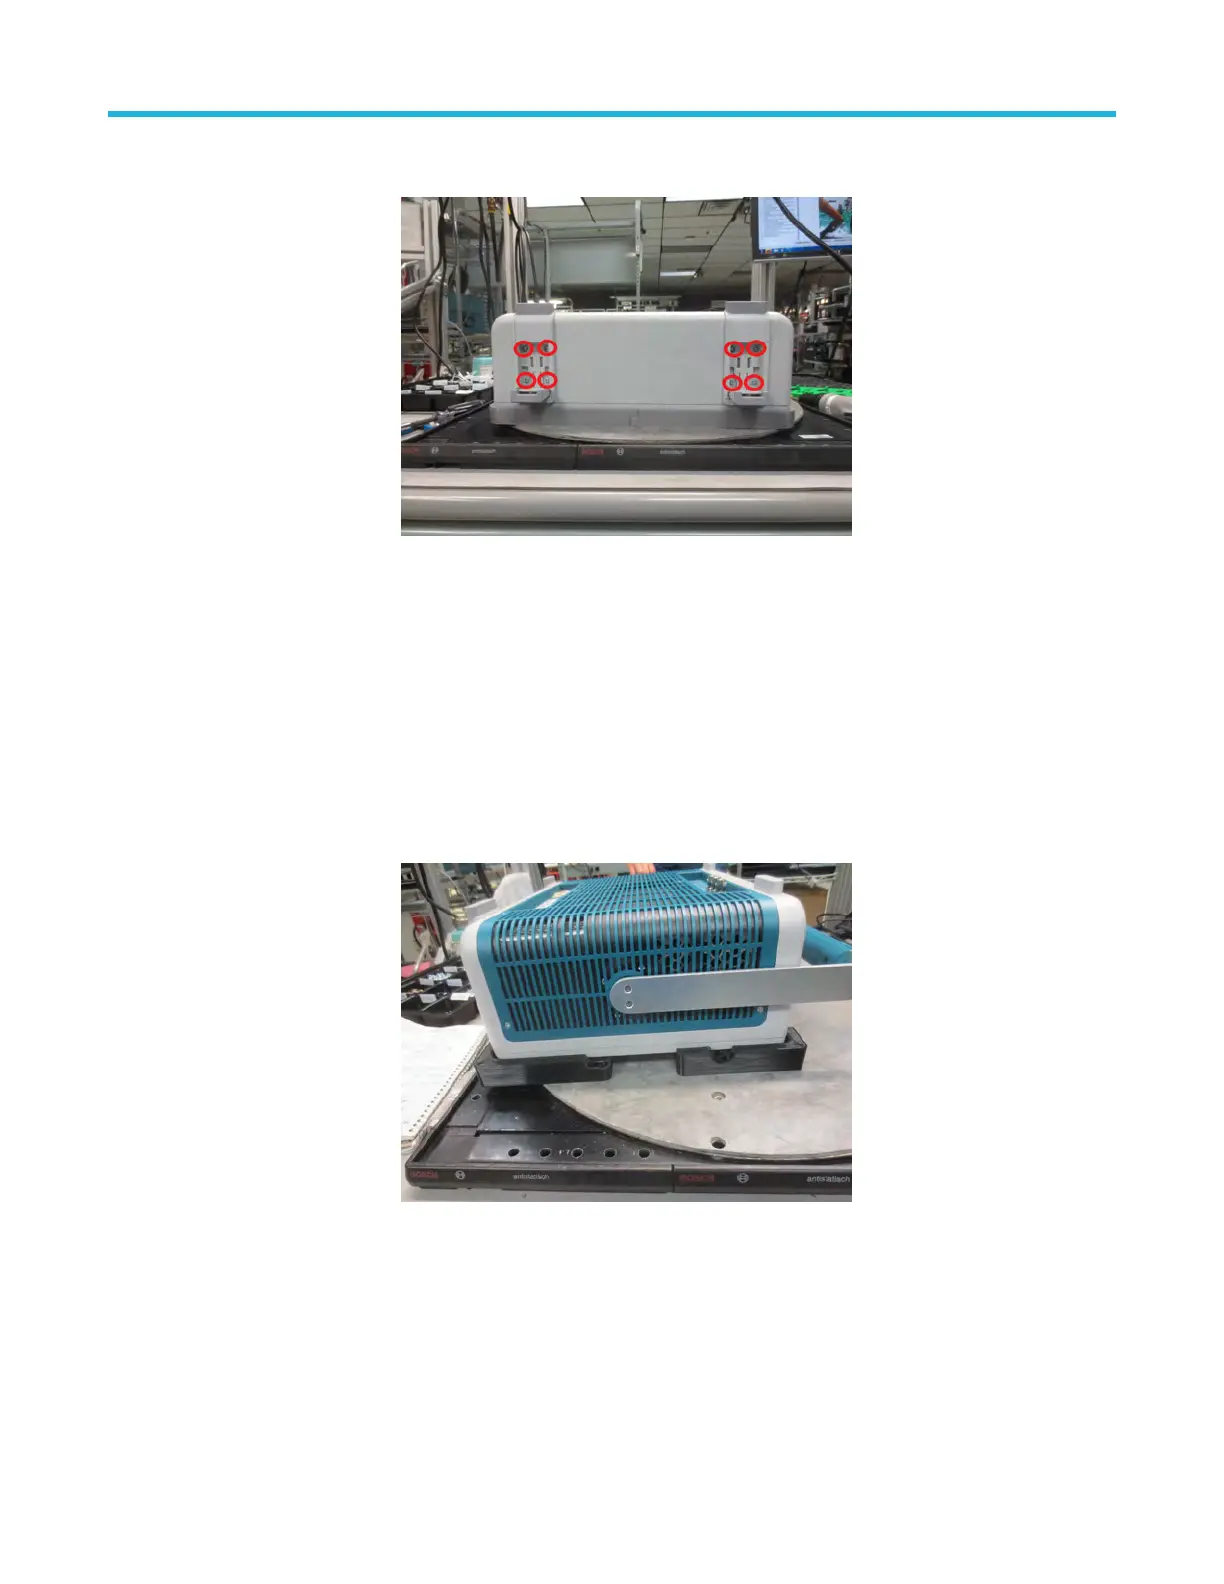
4. Use a screwdriver with T
-10 Torx tip to remove the four screws from each foot assembly.
5. Remove the feet assembles.
6. T
o reinstall, reverse the above steps. Use a screwdriver with T-10 Torx tip to secure the eight screws. First insert and tighten the
screws that are near the front edge of the instrument, then insert and tighten the screws that are near the rear edge of the instrument.
Tighten to 0.65 N·m.
Removal of the handle
The following procedure describes the removal and replacement of the handle.
Prerequisite:
• To prevent electrostatic damage to components whenever you work on the instrument, wear properly-grounded electrostatic prevention
wrist and foot straps, and work in a tested antistatic environment on an antistatic mat.
Procedure:
1. Use a screwdriver with T-10 Torx tip to remove two screws from each side of the handle.
2. Disengage the handle from the pins on the couplers and remove the handle.
Maintenance
4 Series MSO (MSO44, MSO46) Service 19

 Loading...


