Replacing the Battery
The meter uses a single 9 V battery. Refer to Figure 4,
and use the following procedure to replace the battery:
1.
Disconnect the test leads from any circuit under test
and turn off the meter.
2.
Remove the test leads and the protective holster from
the meter.
3.
Lay the meter face down on a work surface that will
not damage the meter face.
4.
Remove the screw from the case bottom using a small
Phillips screwdriver.
5.
Gently lift the case bottom at the end nearest the LCD
until it unsnaps from the case top.
6.
Lift the battery from the case top, and carefully
disconnect the battery connector from the battery.
7.
Snap the battery connector to the terminals of the
replacement battery, and replace the battery in the
case top.
8.
Replace the case top. Make sure the battery leads do
not get pinched between the case top and case
bottom. Make sure all the gaskets properly seat and
the two snaps on the case top engage.
9.
Reinstall the screw in the case bottom.
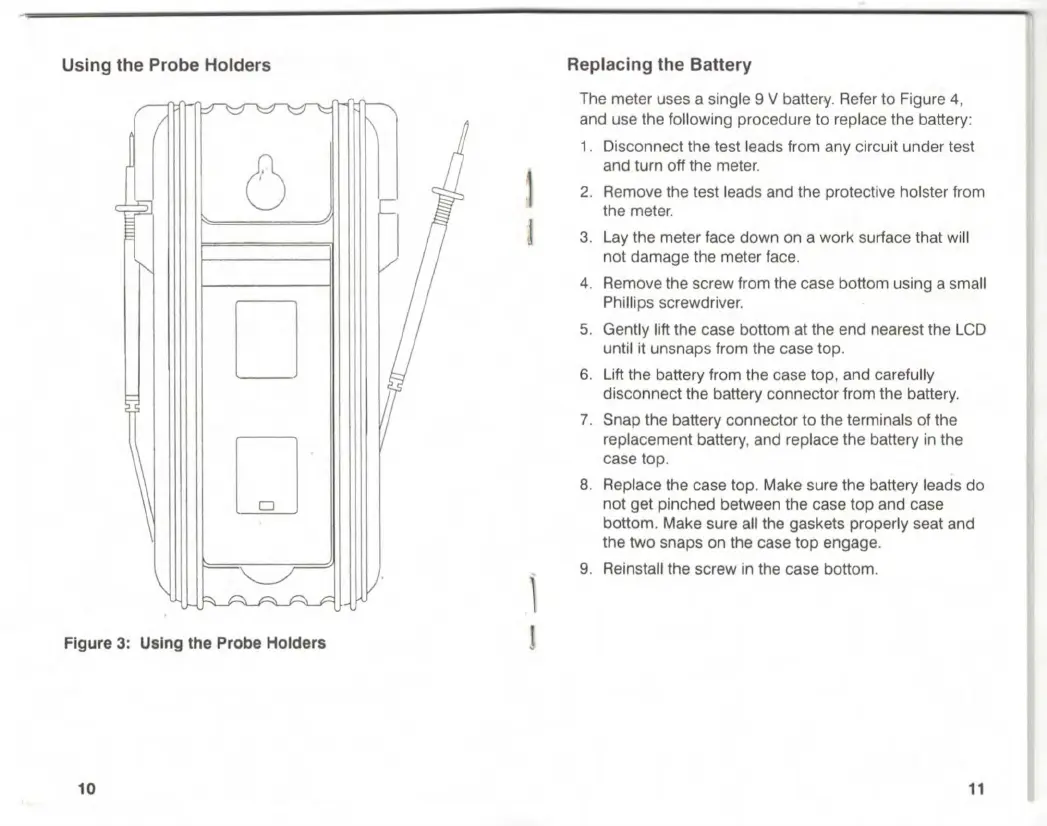
Using the Probe Holders
(
1
Figure 3: Using the Probe Holders
10
11