Warning
Make sure that there are no concealed pipes and cables at the desired drilling location before drilling
any mounting holes. Damage to electricity cables, gas, water and sewage pipes can result in death or
material damage. Choose the installation location so that as few obstacles or electrical appliances as
possible disturb the connection.
Note
The screws and anchors are not delivered with the router.
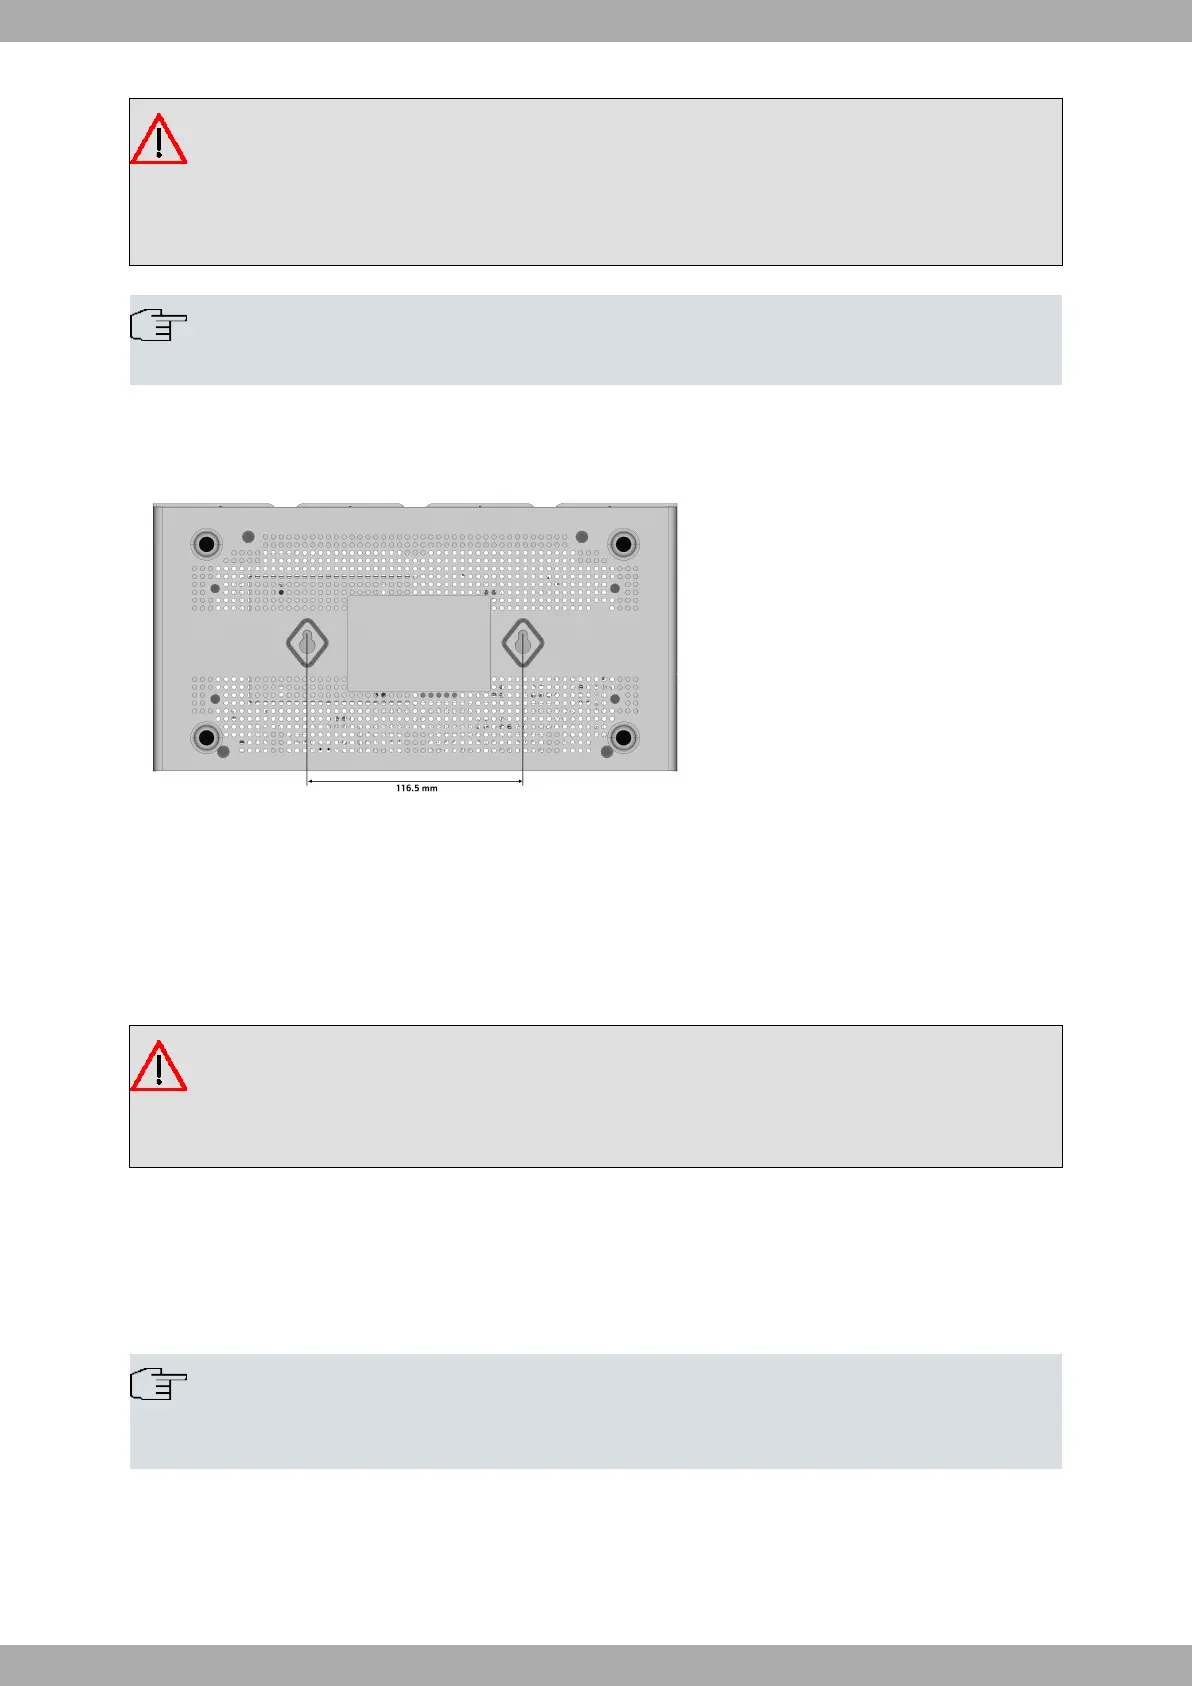
There are two slots on the underside of the device that can be used to fix it to the wall. You can see this in the follow-
ing figure:
To mount the router on a wall or another surface, follow these steps:
Procedure
Step 1. Align the two screws (3.5x30 mm) horizontally on a wall (or any other vertical surface) and install them 116.5
mm (4.56 inches) apart.
The screws should protrude 6 mm (0.25 inch) from the wall surface.
Warning
If you are installing the screws into drywall, use hollow-wall anchors (8 mm – 5/16 inch) to secure the
screws. If the screws are not properly anchored, the strain of the cables connected to the router's back
panel could pull the router from the wall.
Step 2. Hang the router on the screws.
3.3.3 19'' Rack installation
The Teldat M2 router family can be installed in a 19” rack.
Note
The rack mount kit, composed of strips and screws, is not delivered by default with the router and must
be acquired separately.
Teldat S.A.
3 Components and Power Supply
Teldat M2/M2L 9