3434
3434
34
3535
3535
35
DOMO DOMO
DOMO DOMO
DOMO
MessaMessa
MessaMessa
Messa
gg
gg
g
es Hands Fes Hands F
es Hands Fes Hands F
es Hands F
rr
rr
r
eeee
eeee
ee
DOMO DOMO
DOMO DOMO
DOMO
MessaMessa
MessaMessa
Messa
gg
gg
g
es Hands Fes Hands F
es Hands Fes Hands F
es Hands F
rr
rr
r
eeee
eeee
ee
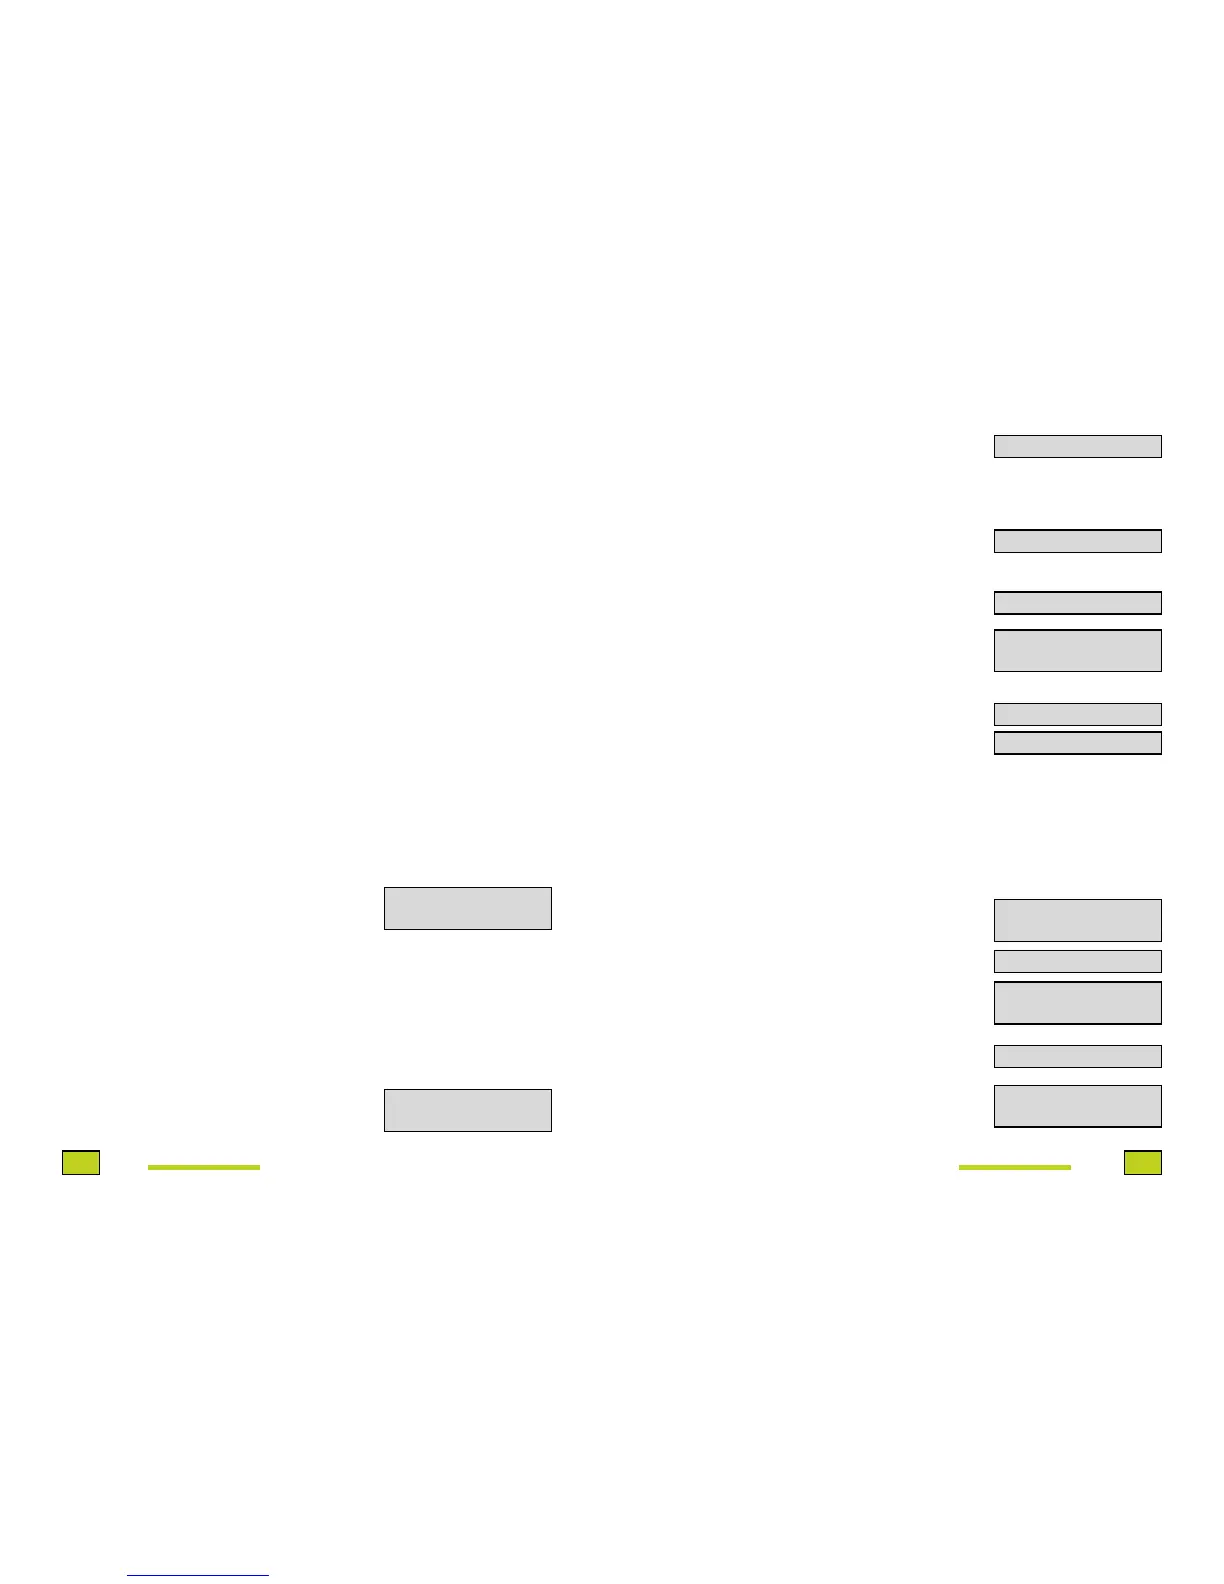
of the viewer (e.g. 1 of 4). Once you
have typed over 160 characters, a
double envelope will also be displayed
in the main part of viewer. The
assignment of characters and
symbols on the keyboard are as
follows -
Key 1: 1 . - > 1 i Key 7: P Q R S 7
Key 2: A B C 2 “ Ç Key 8: T U V 8 ? ü
Key 3: D E F 3 $ Key 9: W X Y Z 9 ¿
Key 4: G H I 4 % Key *: * + ; ) ( •
Key 5: J K L 5 & Key 0: @ _ , ’ / o
Key 6: M N Ñ 0 6 Key #: (Space) # : = <
You can change between uppercase
and lowercase (and vice versa) by
pressing the R/A-a key (8).
If correct a mistake, press the Borrar
key (17), which will delete the last
entered character.
If a message cannot be sent
immediately, it will be stored as
indicated in the viewer by a flashing
envelope *.
The DOMO Hands Free Messages
telephone allows you to send text
messages (SMT), e-mail and faxes.
Once you have typed a message, or
modified an existing one, pressing
Mensajes/Aceptar key (3) will allow
you to select the despatch format for
the message.
Text Messaging (SMT) is the default
option with E-MAIL and FAX being
accessed by using the p and q keys
(20). The following instructions details
how to proceed for each of these
options.
1. - To send a Text Message (SMT)
When this message is displayed in the
viewer -
Choosing
the despatch
format
(Message,
E-Mail or
Fax)
Press the Mensajes/Aceptar key (3).
The user’s telephone number will be
requested. Type the number using the
numeric keyboard (7) or select it from
the Phone Book by pressing the
Agenda key (9). Press the Mensajes/
Aceptar key (3) again.
Next you will be asked (optionally) to
type the user’s name (for purposes of
creating a Private Message). Press the
Mensajes/Aceptar key (3) anyway.
Next the destination extension will be
requested (optional - if there is more
than one extension on the telephone
number). Press the Mensajes/ Aceptar
key (3) anyway. The message will be
displayed in the viewer.
To complete despatch of the
message, press the Mensajes/
Aceptar key (3). Otherwise, press the
cursor keys p and q (20) until an M
is displayed.
Press the Mensajes/Aceptar key (3)
and use the cursor keys p and q (20)
to choose between the options to
keep or erase. Press the Mensajes/
Aceptar key (3) to confirm the
selected option.
2. - To send an E-mail
When the E-mail option is displayed
in the viewer, press the Mensajes/
Aceptar key (3). Type the email
address and press the Mensajes/
Aceptar key (3) again.
This message will be displayed -
To send the E-mail, press the
Mensajes/Aceptar key (3) and this
message will be displayed -
If you decide not to send the e-mail,
press the cursor keys p and q (20)
until this message is displayed -
ç è
ENVIAR MENSAJE
ç è
ENVIAR MENSAJE
DESTINATARIO
¿NOMBRE?
¿EXTENSION?
ENVIANDO
ENVIAR: NO
DESTINATARIO
ENVIANDO
ç è
ENVIAR: SI
ç è
ENVIAR: E-MAIL
ç è
ENVIAR: NO
ç è
ENVIAR: SI