Maintenance Procedures Continued
BLADE REMOVAL AND INSTALLATION
e following procedures cover removal and installation for 16” Tempest fans.
BLADE REMOVAL PROCEDURES
1. Remove the four bolts holding the front grille in place and remove the grille.
2. Remove the three bolts that secure the blade assembly to the hub. Ensuring the blade
assembly stays intact, remove the assembly and set aside.
3. Remove the two bolts that secure the bushing to the hub.
4. Put the two bolts in the threaded part of the bushing and turn evenly until bushing
separates from hub.
BLADE INSTALLATION PROCEDURES
1. Make sure that the sha and keyway are clean and
smooth before installing the blade.
2. Apply thread locking agent to the cap screws and
then insert them through the clearance holes in
the bushing and place loosely into the hub of the
blade. Do not press the bushing in.
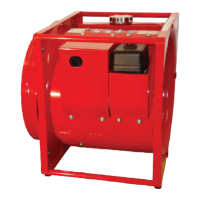
3. Turn cap screws just enough to engage the threads
in the tapped holes in the hub. e bushing should
be loose in the hub. If previously removed, reinsert
the key into the keyway (Figure 3.0) Tighten two
bolts drawing the bushing and hub together.
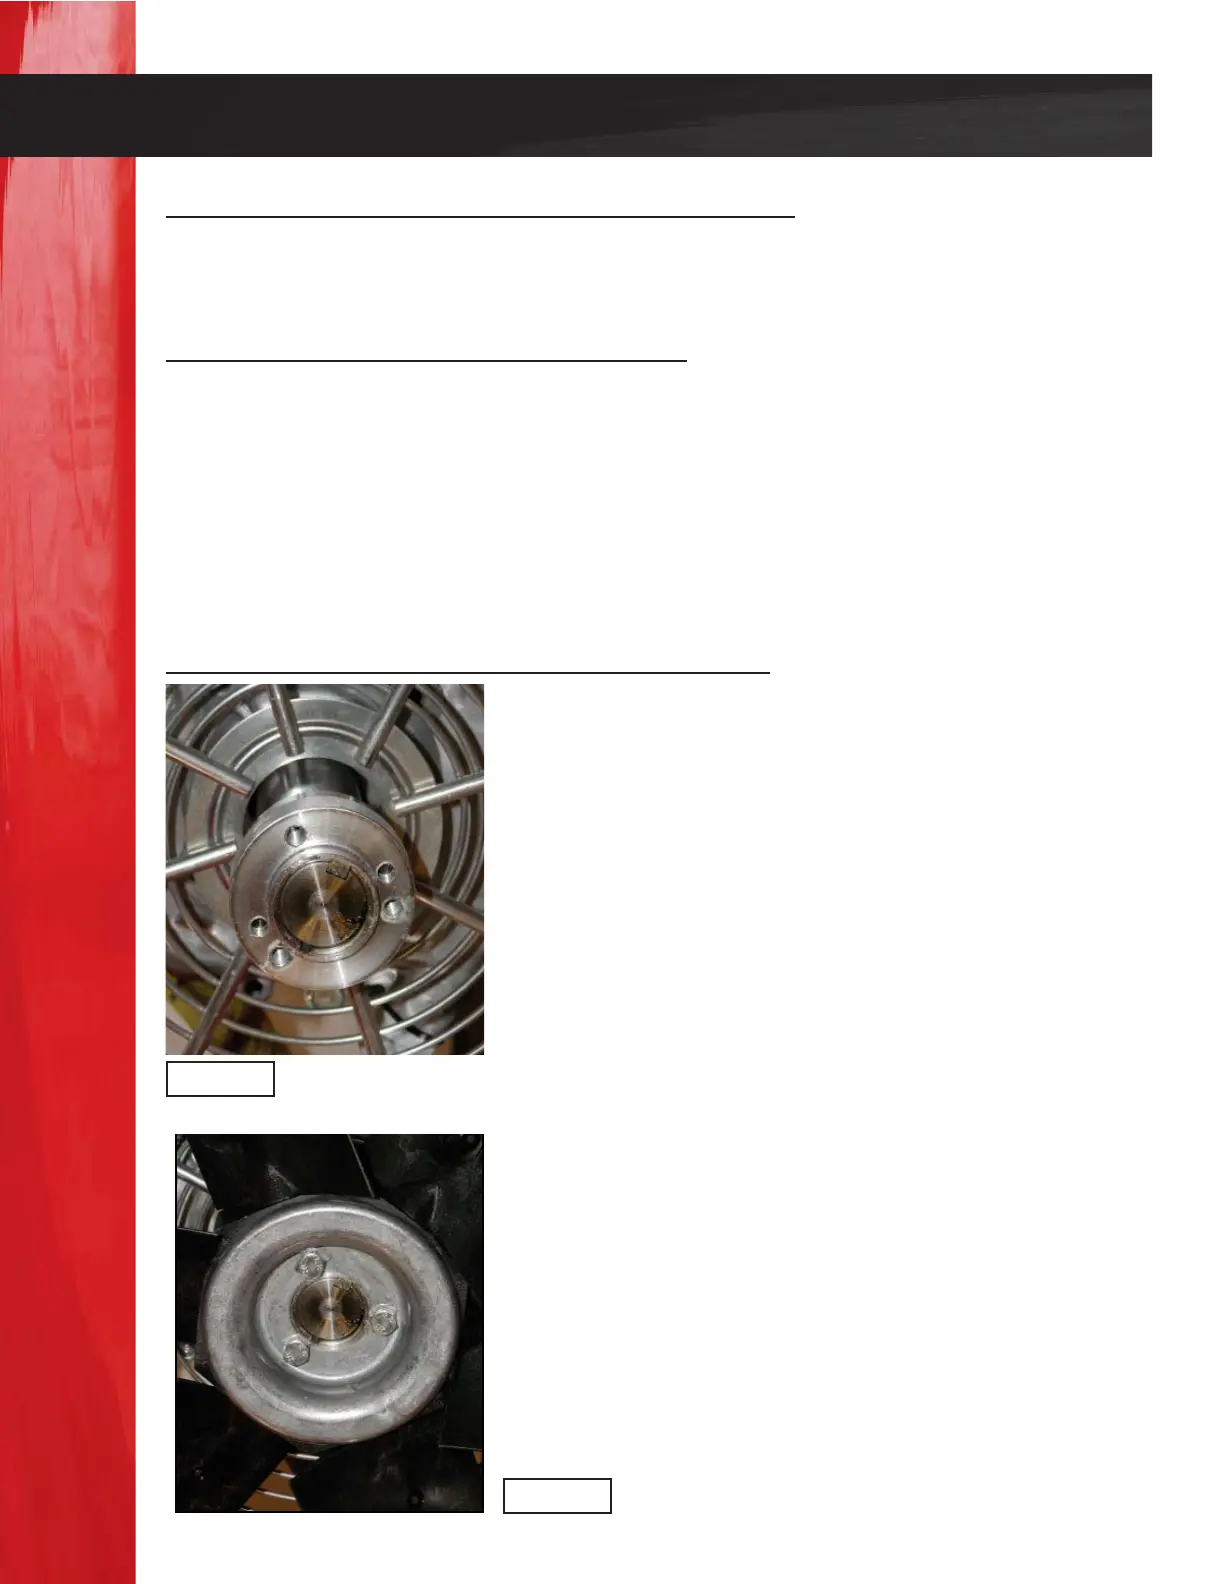
4. Slide the blade onto the bushing/hub assembly, apply
thread locking agent to the three screws and insert
them through the blade and turn evenly but do not
tighten. Make sure blade is in line with hub then
tighten screws (Figure 3.1). Locate the blade and
bushing so that the blade tips do not hit the rear grille
eyelets. On some models the blade and bushing may
be in beyond or out away from the end of the sha up
to ¼” but no further. is is necessary for proper
blade clearance.
Figure 3.0
Figure 3.1
Page 14