4
Accessing signals
• Power on the unit then allow the self test to complete.
• Press UTILITY button then F1 and the screen will display DEFAULT SETUP.
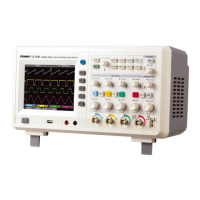
Note: The meter has quad input channels plus one external trigger input channel.
• Press CH1 to enter channel 1 menu.
• Connect the probe to the Ch1 input.
• Set the probe attenuation switch to 10X position.
Note: The oscilloscope attenuation has to be set as well.
• Press F4 until 10X displays. This changes the vertical range multiple to ensure the
measurement result correctly reects the amplitude of the measured signal.
• Connect both probe and ground clamp to the corresponding signal terminals.
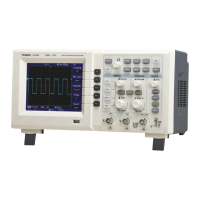
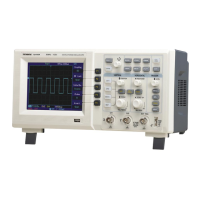
• Press AUTO and a square wave of about 3V at 1kHz is displayed for a moment.
• Press OFF then CH2 and repeat for channel 2.
OPERATION
AUTOSET WAVEFORM DISPLAY
Probe compensation
• Perform this adjustment when connecting the probes to any input channel for the
rst time or errors in the measurement may result.
• Connect the probe tip to the probe compensator’s signal output connector and
connect the ground clamp to the earth wire of the probe compensator.
• Enable CH1 and press AUTO.
• Observe the shape of the displayed waveform.
• Adjust the variable capacitor on the probe with an insulated screwdriver until a
correct waveform is achieved.
• The oscilloscope features an autoset function which automatically adjusts the
vertical deection factor, scanning time base and trigger mode based on the input
signal until the most appropriate waveform is displayed.
• This function only operates when the signal to be measured is 50Hz or above and
the duty ratio is larger than 1%.
Probe compensation


 To Next Page