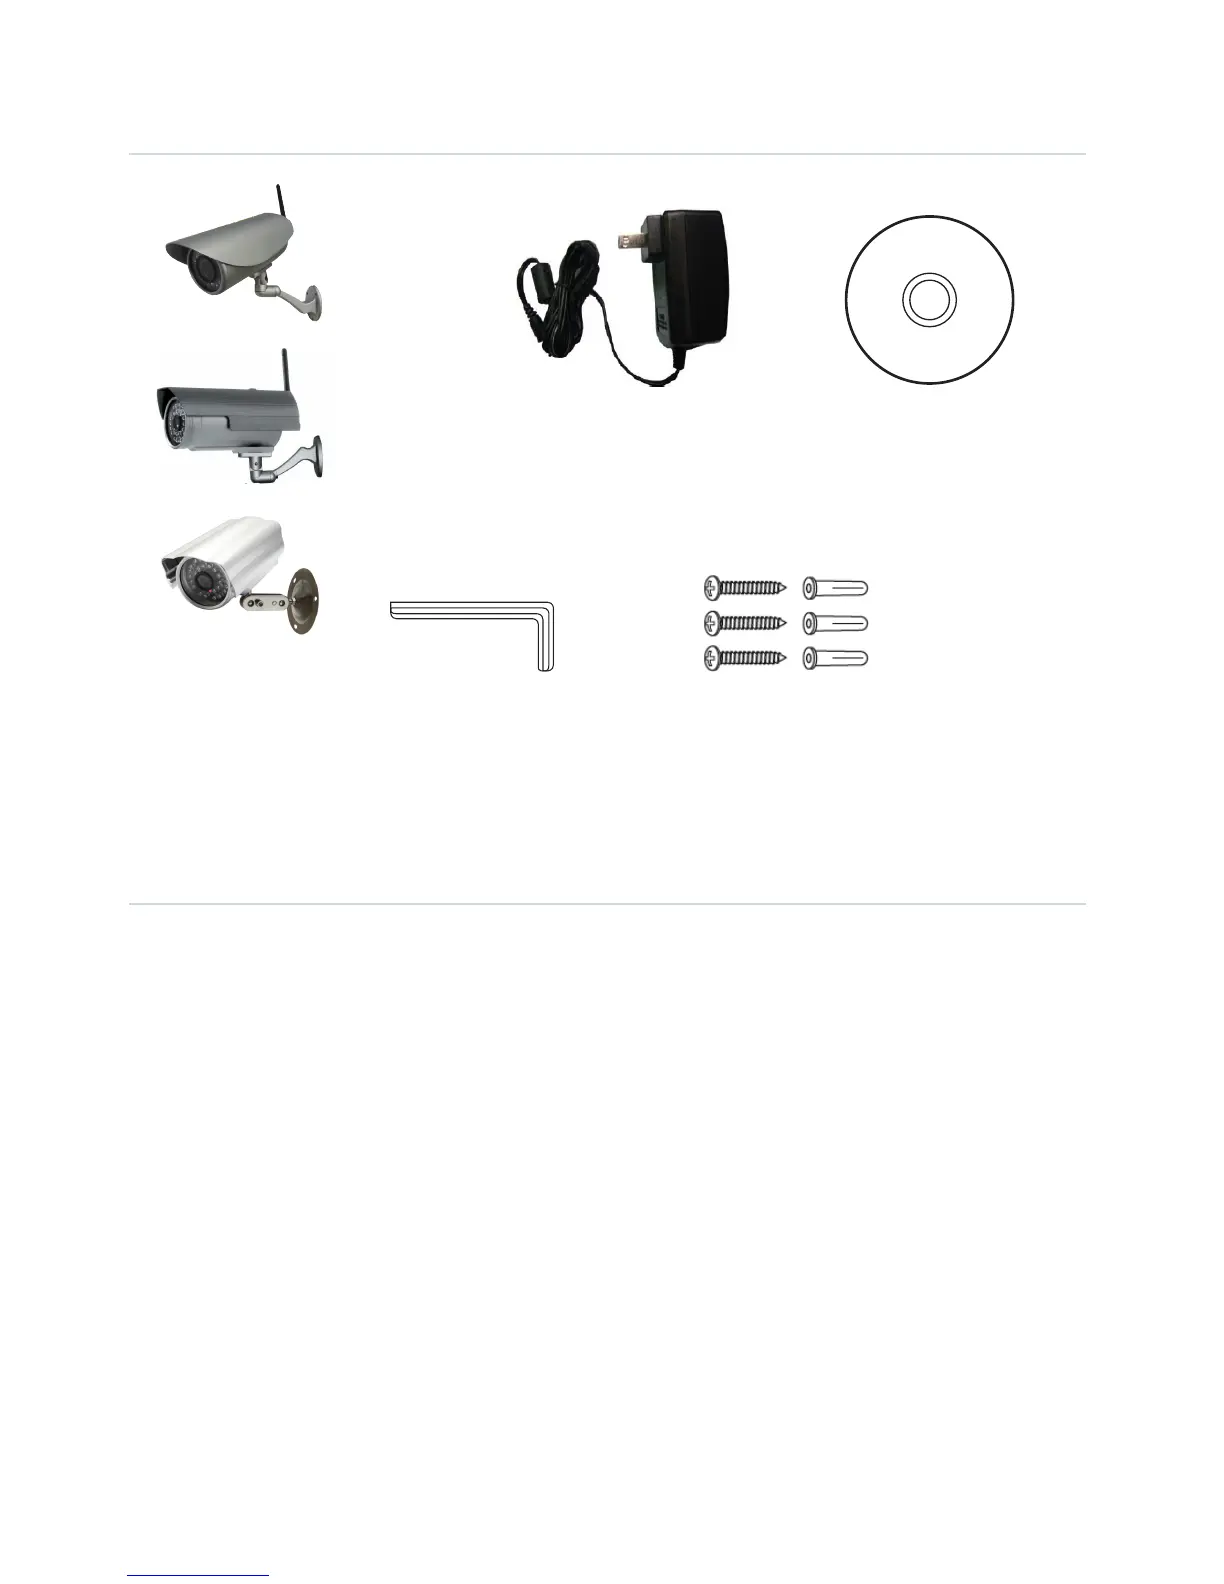
PACKAGE CONTENTS
Power Adaptor
Allen Key Screws and Wall Plugs
WiFi Camera with
Bracket & Antenna
Software
Installation CD
CAMERA INSTALLATION
1. Begin by screwing the antenna and bracket to the camera and power the camera using the power
supply provided.
2. Using a standard Ethernet network cable, connect the camera to your wireless network.
The camera can either be connected to a router/switch or directly to a PC with an Ethernet network
cable. We recommend you setup the camera initially on your network using a wired connection
before it is used wirelessly.
3. Continue with setup (read the next chapter) and once the camera has been successfully setup on
your network, it can be mounted on a wall using the wall plugs and screws provided. (Camera setup
is designed for Windows PCs only).