3
DEVICE OPERATION
• Keep the transmitter and receiver at close range for 60 seconds after powering on the devices. This
allows them to scan for and select the best wireless channel.
• For best results when using multiple Bolt systems in the same area, place the transmitters and
receivers a few feet apart from each other.
• Operation of other wireless equipment may interfere with the Bolt. Try to separate other wireless
transmitters and receivers as much as possible.
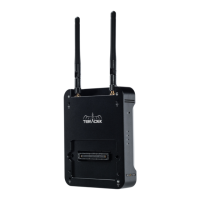
2
Conrm that Please activate pairing on TX is displayed on receiver’s OLED display (O) or on
the monitor.
Turn on the Bolt transmitter and receiver. If the Bolt receiver does not have an OLED display,
connect a monitor to the receiver’s video output.
1
PAIRING INSTRUCTIONS
3
Using the Menu joystick (N) on the receiver, navigate through the menus and select Pairing.
5
On the transmitter, use a paper clip (or similar) to press the Reset/Pairing button (E). After a few
seconds, Pairing: XXXXX... should be displayed on the receiver’s OLED display or on the monitor.
If not, power cycle the receiver and the transmitter, then try again.
4
Using the Menu joystick, select OK to nish pairing. This process takes up to a minute. If pairing
fails, power cycle the receiver and the transmitter and try again.
 Loading...