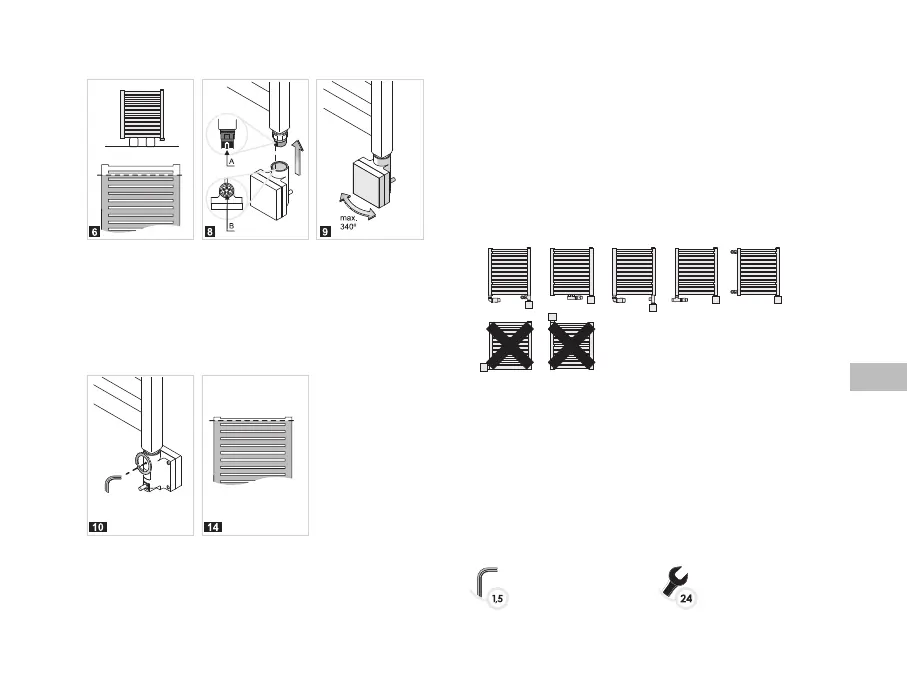
6. Put the radiator back in an upright posion and check the level of the liquid inside it.
7. Make sure that the connecon between the radiator and the heang element is ght.
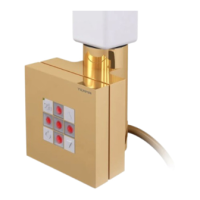
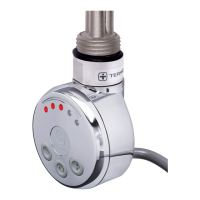
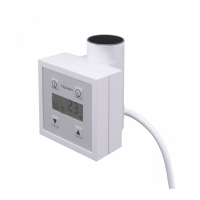
8. Install the controller – t the indents on the head (A) with the indents in the
controller (B).
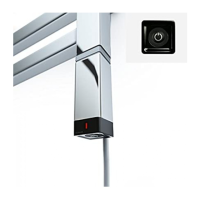
9. Posion the controller casing in a way providing an easy and comfortable access.
If you feel resistance when twisng the controller it means that you have
reached the maximum twisng span in that direcon. Try to twist the controller in the
opposite direcon. Any damage to the device will result in annulment of the warranty.
10. Secure the casing at the back with Allen key.
11. Connect the device to electricity and turn on the heang element unit (upper col-
lector opening must be open!). One can use a hot heang agent of temperature not
exceeding 65°C. In such case, ll the enre radiator, put it in an upright posion and
turn the heang element unit on!!
12. Set the maximum possible temperature required and observe the liquid level rise –
the excess liquid may be slopping through the upper opening – remove excess liquid
in order not to allow for the controller to be ooded or weed.
13. When the level of the heang agent stops rising, wait another 5 minutes, turn o the
heang element unit and disconnect the device from electricity.
14. Do not wait unl the radiator cools down and pour a small amount of the liquid out –
to the mid level of the top pipe.
15. Close the upper opening of the collector with a dedicated seal and put it back
on the wall.
16. Connect the heang element unit to the socket/installaon. The device is ready to
work.
1. Radiator connected to the central heang system to which heang element unit
is installed addionally.
2. Central heang installaon must be ed with the valves enabling disconnecng the
radiator from the rest of the system.
3. Temperature of the heang agent from the central heang system inside the radiator
must not exceed 82°C!
4. It is recommended to bleed the radiator aer every longer interval in use. The device
has a thermal fuse built in which protects the radiator from operang in dry condi-
ons. Acvaon of thermal fuse means that the heang element unit will have to be
returned to the Producer for servicing (not covered by warranty).
5. Heang element must not be installed horizontally or turned downwards.
– Allen key 1.5 (included) – spanner no 24