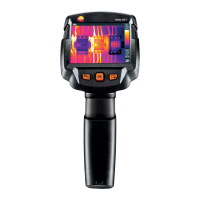
5 First steps
20
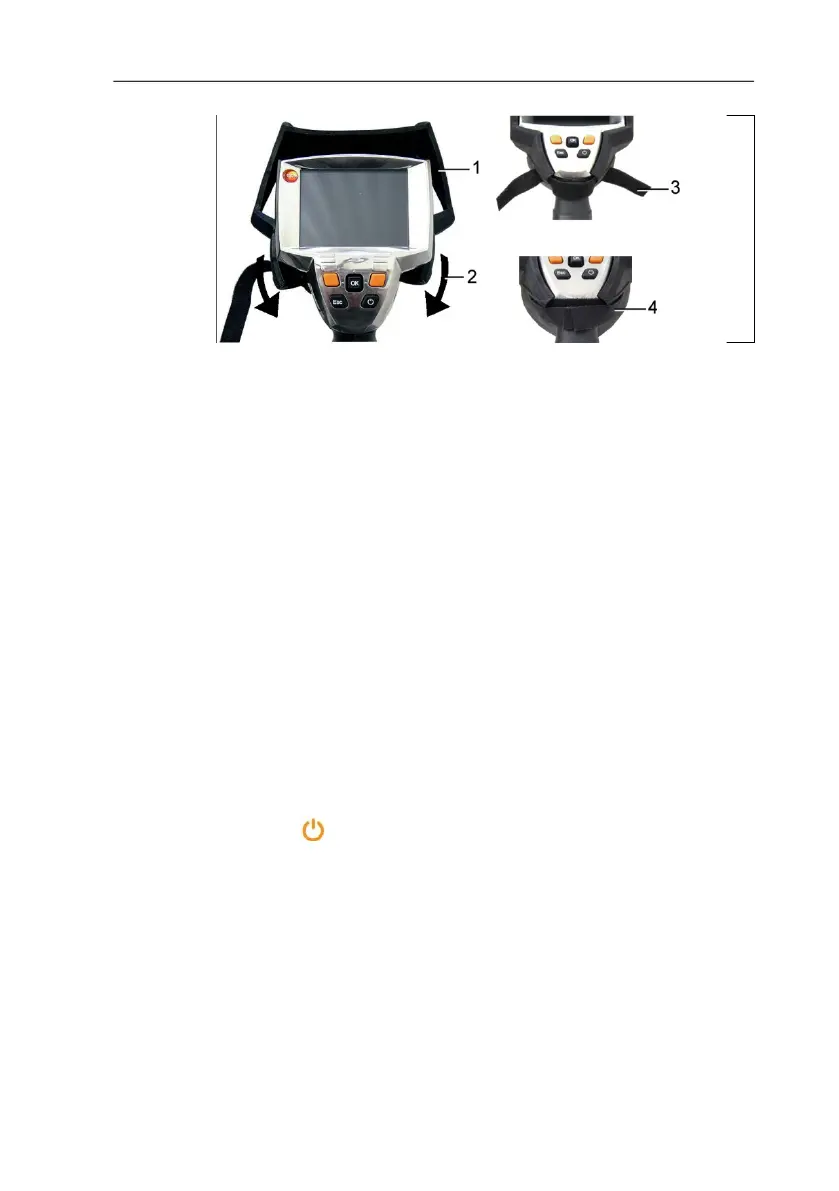
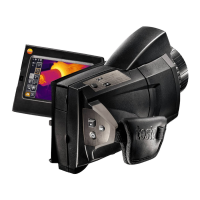
Changing lens
Only lenses that were adjusted to the respective thermal imager
can be used. The serial number on the lens must match the serial
number of the instrument, see Optics..., page 32.
> Switch instrument off before changing the lens.
> To keep the lens from falling out: Hold the instrument with the
lens pointing up.
1. Turn lens lock ring anticlockwise to the stop (approx. 2 cm).
2. Remove lens.
3. Insert new lens, taking care to align the white markings on the
lens and the instrument with one another.
4. Turn the lens lock ring clockwise to the stop.
Always store lenses not in use in the container designed for this in
the case.
> Turn the lens ring clockwise to the stop, place the lens in the
container and close it.
The following steps are only relevant for USA:
5. Note or remember the serial number (Serial no.) which is
displayed on the lens.
6. Press [
].
If you have changed from a wide-angle to a telephoto lens or vice
versa:
- The information No lens/wrong lens appears.
> Press [OK] to confirm the information.
If you have changed between two wide-angle or two telephoto
lenses:
> [OK] | Configuration… | [OK] | Optics… | [OK].
- The dialog Optics opens.
7. Move joystick up/down to select the lens used.
- The lens selected is outlined in orange.