5 First steps
17
- The charge status is indicated on the status LED:
• LED flashes: Charging in process.
• LED lights up: Battery charged, charging process finished.
4. Charge the rechargeable battery completely, then disconnect
the instrument from the mains unit.
- After the initial charging of the battery, the thermal imager is
ready for operation.
Charging the battery is also possible using a desktop charging
station (accessory).
Rechargeable battery care:
• Do not fully exhaust rechargeable batteries.
• Store rechargeable batteries only in charged condition
and at low temperatures, but not below 0°C (best
storage conditions with a charge level of 50-80%, at an
ambient temperature of 10-20°C, recharge completely
before use).
• During longer breaks, you should discharge and
recharge the batteries every 3-4 months. Trickle
charging should not exceed 2 days
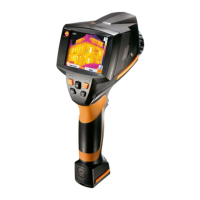
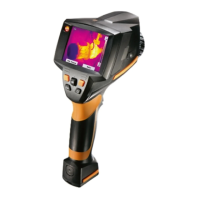
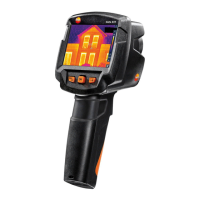
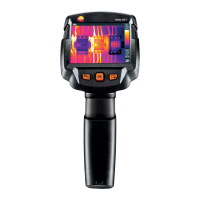
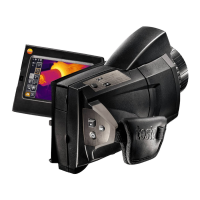
5.2. Getting to know the product
Insert the memory card
1. Open the cover on the left side of the thermal imager.
2. Insert memory card (SD card) into the card slot (SD) (1).
> To remove the memory card: Press on the memory card to
release the lock.
Inserting a radio module (accessory, testo 875-2i only)
Using a radio module (accessory) the instrument can be connected
with a radio humidity probe. The radio module must be connected
before switching on the instrument in order for the instrument to be
identified.