5 First steps
25
3. Connect the mains plug to a power socket.
- The imager starts automatically.
The rechargeable battery can be recharged with the imager
switched on or off. This has no effect on the time required
to charge the battery.
- Charging of the battery is started.
- The charge status is indicated by the status LED (3):
• LED flashes: charging in process.
• LED lights: battery charged, charging process finished.
4. Fully charge the battery, then disconnect the instrument from
the mains unit.
- After initial charging of the battery, the imager is ready for use.
A desktop charging station (accessory: 0554 8851) can also be
used to charge the battery.
Pos: 56 /TD/Übersc hriften/5.3 Produk t kennenlernen @ 0\mod_1 185342901015_79.doc x @ 1894 @ 2 @ 1
5.2. Getting to know the product
Pos: 57 /TD/Erst e Schritte/WBKs/ testo 885/Produkt kennen ler nen/885, 890: Drehbar er Handgriff/Handschlaufe @ 9\mod_ 1309334087308_79.doc x @ 81113 @ 333 @ 1
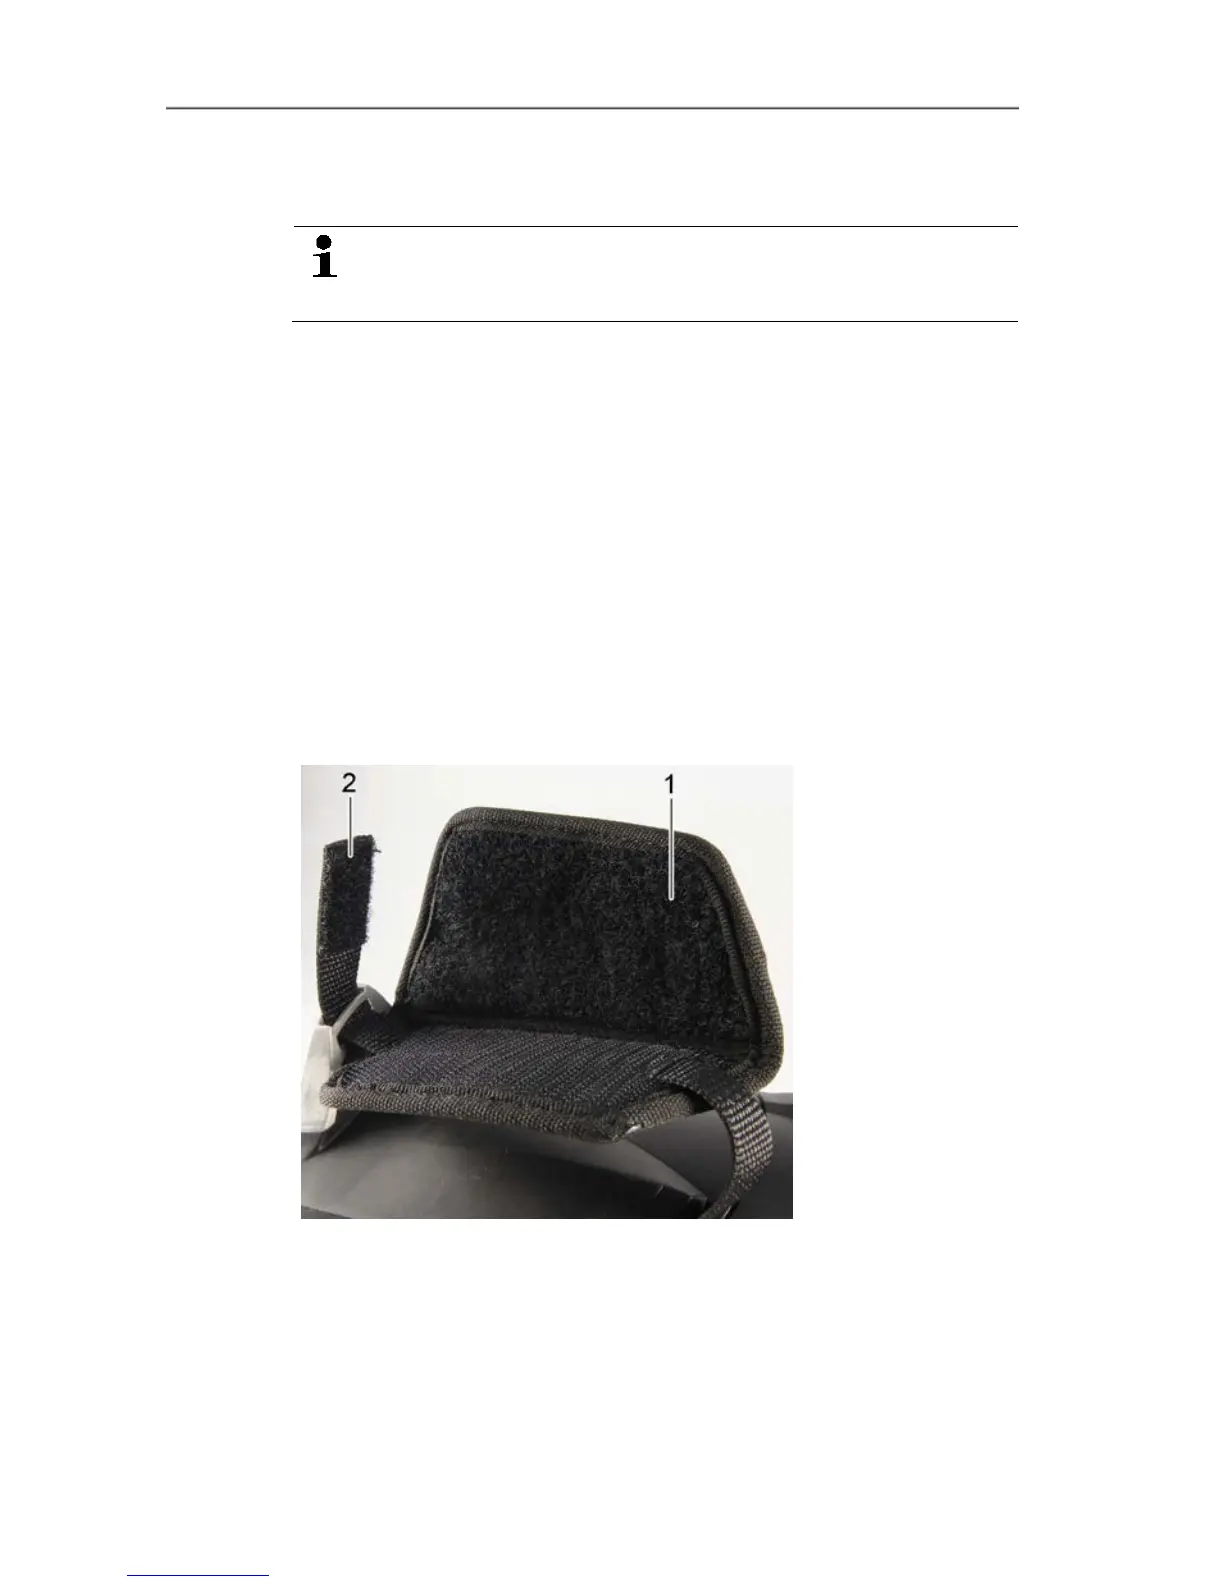
5.2.1. Adjusting the hand strap
> Lay the imager on its left side.
1. Open out the top of the hand strap padding (1).
2. Pull the fastening end of the strap up (2).