5 First steps
8
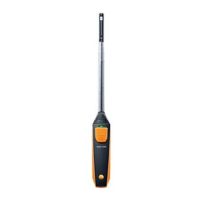
1 Measuring unit
2 LED
3 Key
4 Battery compartment (at the back)
5 Direction of flow testo 405i / testo 410i (not shown)
(An arrow on the top of the housing displays the direction of
flow in which the measuring instrument has been calibrated and
which achieves the best measurement results. Please note the
direction of flow during usage.)
4.2. LED status
LED status Meaning
Flashing red Low battery status
Flashing yellow
• Smart Probe is switched on.
• Smart Probe is searching for a BT connection, but is
not connected.
Flashing green
• Smart Probe is switched on.
• Bluetooth is connected.
5 First steps
5.1. Switching on/off
testo 549i
5.1.1. Switching on
1. Pull the film out of the battery compartment.
2. Press the button on your Smart Probe.
- The Smart Probe switches on.
www.GlobalTestSupply.com
Find Quality Products Online at: sales@GlobalTestSupply.com
 Loading...