1.
Welcome
2.
Safety Instructions
3.
Product Components
®
,.,
ff,
•••
lli1
,,,
Charging Instructions
iii
m•
._,.,.,.
01.The battery should be repaired and replaced by the aftersales depart-
ment.
02.For the very first operation, please
let
the
robot run
out
of
power.
03.When the
robot
is
charged, the Control button will flash a green lamp in
a circular manner.
04.lf
the
robot
is
out
of
service
for
a long time, please
turn
off
the power
switch.
OS.Please
charge the robot
as
soon
as
possible after
the
battery
is
used up.
06.The product
can
only
use
the
power adapter and charger provided by
the
factory.
07.Please charge
the
robot
for
12 hours
for
the first
time
of
operation.
When
the
charge
is
done, the Control button light turns off.
( Preset cleaning )
You
can
set
the robot by pressing the Time Settings button on the
remote control to the current U.S. time, and press
OK
button.
• 4.lnstructions for Use 5.Product Maintenance 6. Common Faults
4. 2 Operating Instructions
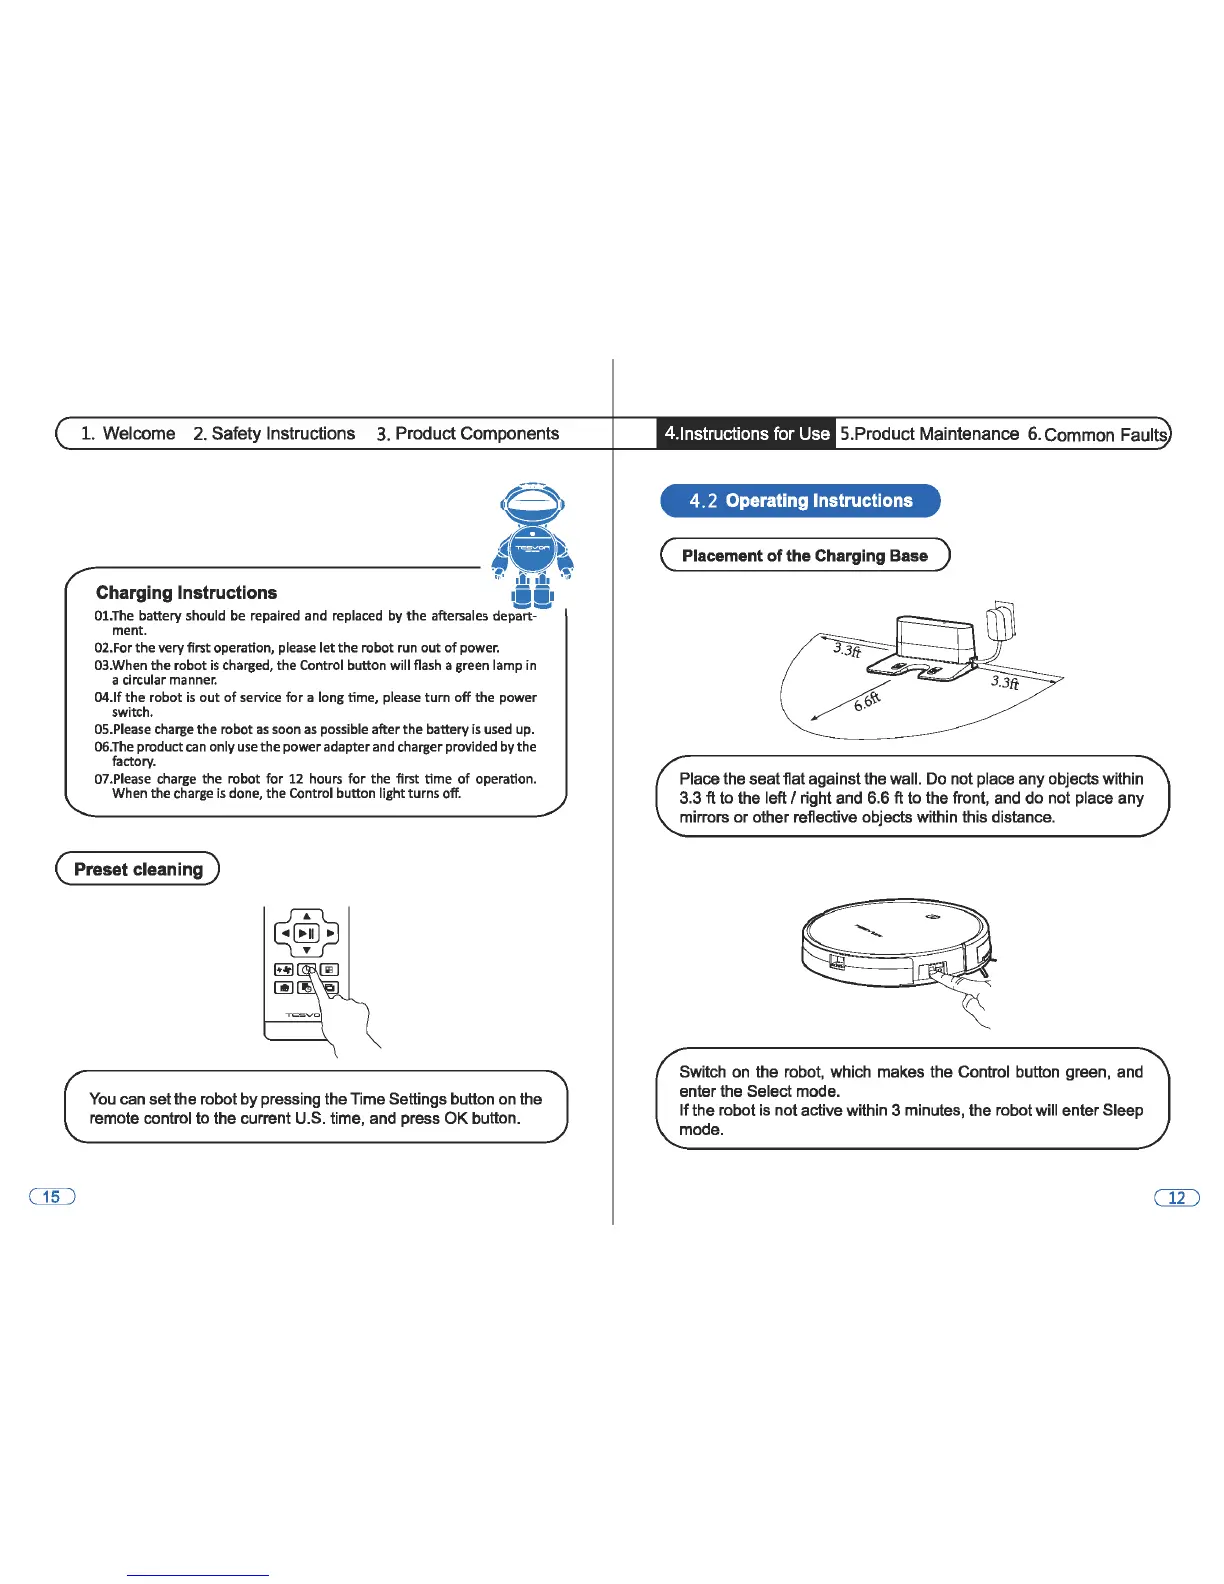
( Placement
of
the
Charging Base )
Place the seat flat against the wall. Do not place
any
objects within
3.3
ft to the left I right and 6.6 ft
to
the front, and do not place
any
mirrors
or
other reflective objects within this distance.
Switch on the robot, which makes the Control button green, and
enter the Select mode.
If
the robot is not active within 3 minutes, the robot will enter Sleep
mode.
 Loading...