Step 6:
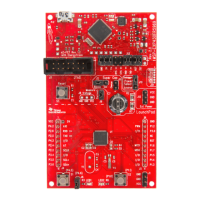
Attach the wires from J103 on the LaunchPad to their corresponding positions on whatever target board
you want to program. Not all signals are required from J103.
Step 7:
Attach the “TDI” and “SWO” wires to their corresponding positions on the target board.
Step 8:
Connect the MSP432P401R LaunchPad to the computer via the micro USB cable and check to see if
“LED102” is illuminated green near the reset button. If the LED is not on, try cycling the power on the
target board by quickly removing and replacing the +3.3V wire. Repeat with pauses in between until
LED02 illuminates.
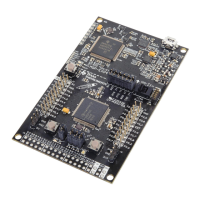
Figure 9: Launch Pad Connected to Target with LED02 Illuminated
Step 9:
Program the external target board using your preferred method. Note that I have only tried this with
Code Composer Studio and Energia and it works fine but I’m assuming it should work with other IDEs.
No guarantees though.
 Loading...


