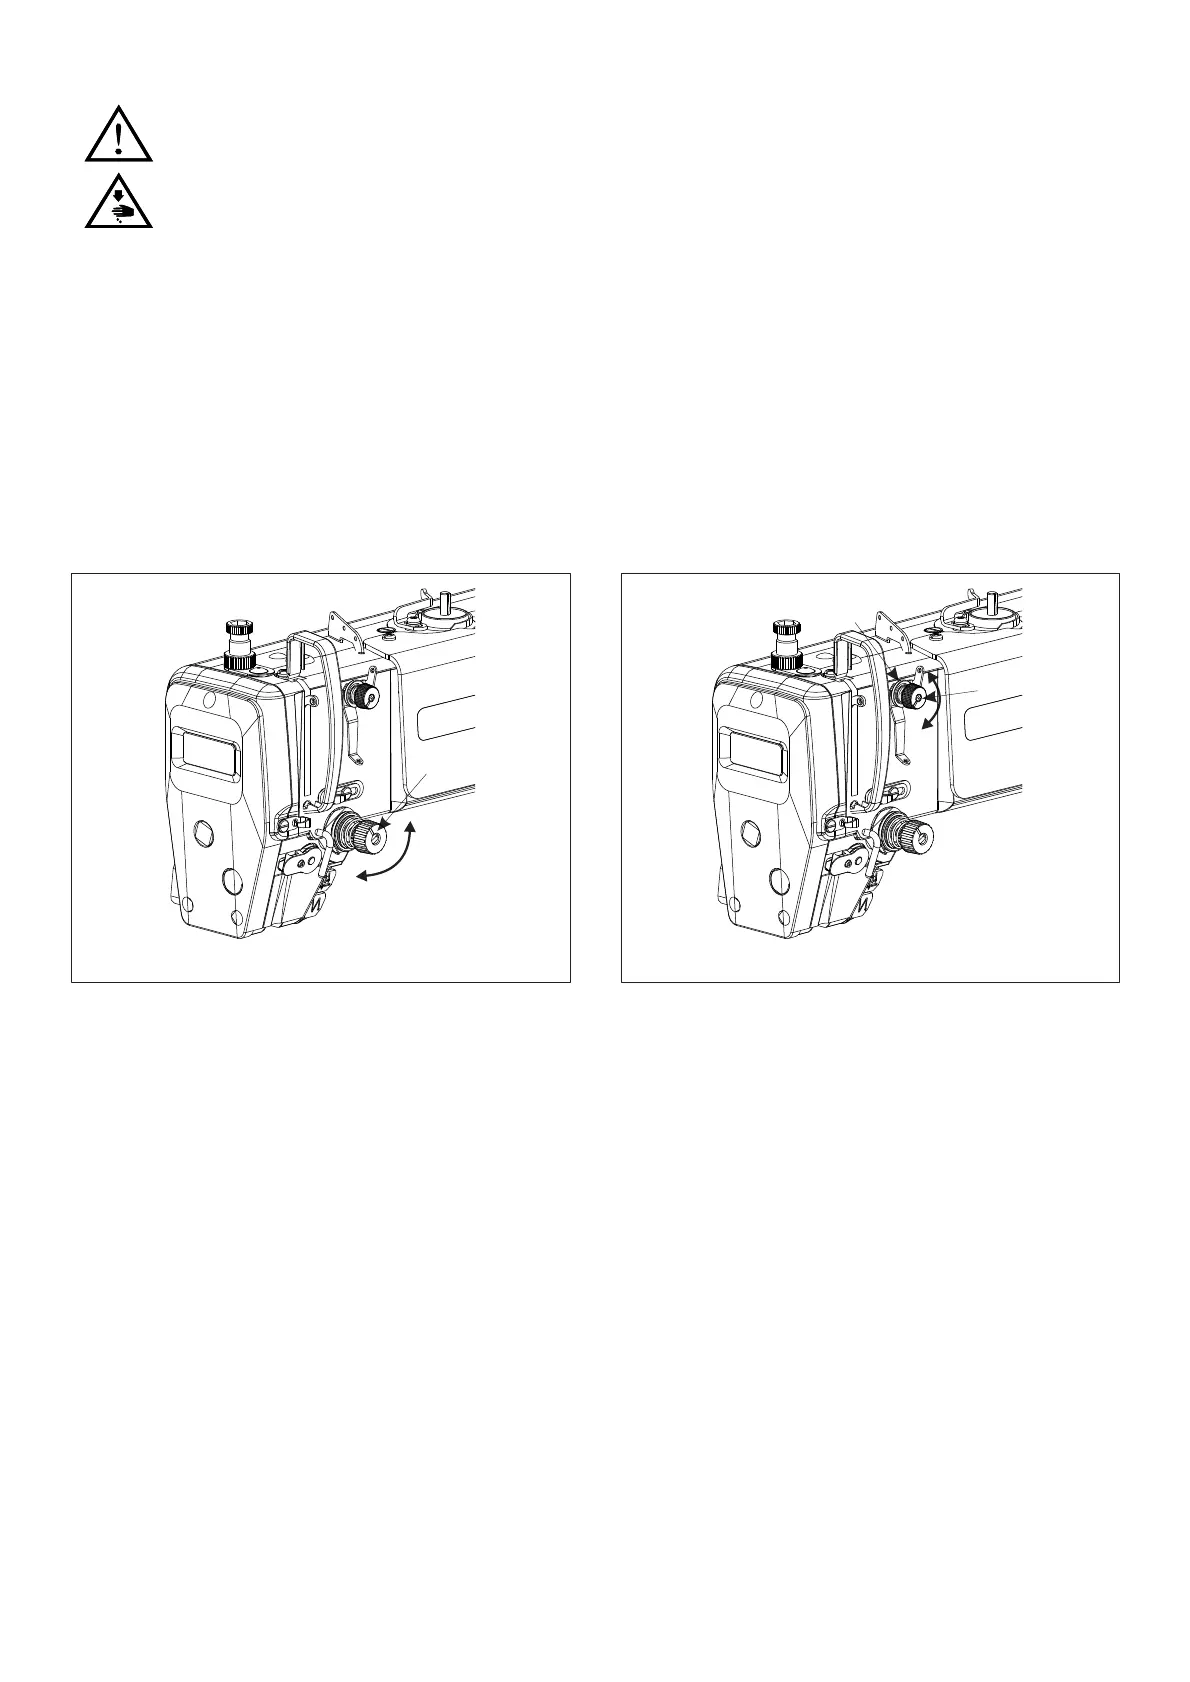
Adjustment o f the Upper Thread Lengthfter Trimming(Fig. 29)
Adjusting the Take-up Amount o f Take-up Lever(Fig. 30)
Fig.28
②
A
B
Caution:
1.To prevent the unexpected startup of sewing machine, trim off the power supply before
the operation is conducted.
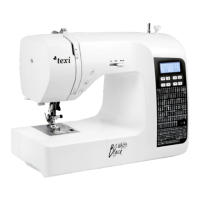
2.Adjusting the tension of needle thread
After the lower thread tension has been adjusted,adjust the upper thread tension so that a
good,even stitch is obtained.
1) Lower the presser foot by using the liftinglever.
2) Adjust by turning the tension nut
②
:
The tension of the upper thread will become strong when turning toward the clockwise(A),
otherwise weak when toward anti-clockwise (B).
Fig.29
②
A
①
B
22
At the time of thread trimming,the thread te- nsion is loosened and tension is applied by the
thread clamp ① only.If added the tension in the thread clamp
①, the upper thread length that left in
the pinhole will be shorter, and vice versa.
1. The length of upper thread which left in the pinhole will decrease when turning the adjusting
nut ② in the thread clamp ① towards the clockwise (A), otherwise it will increase when turn toward
anti-clockwise (B). (The standard length of the upper thread which left in the pinhole is 25~30mm)
23
 Loading...