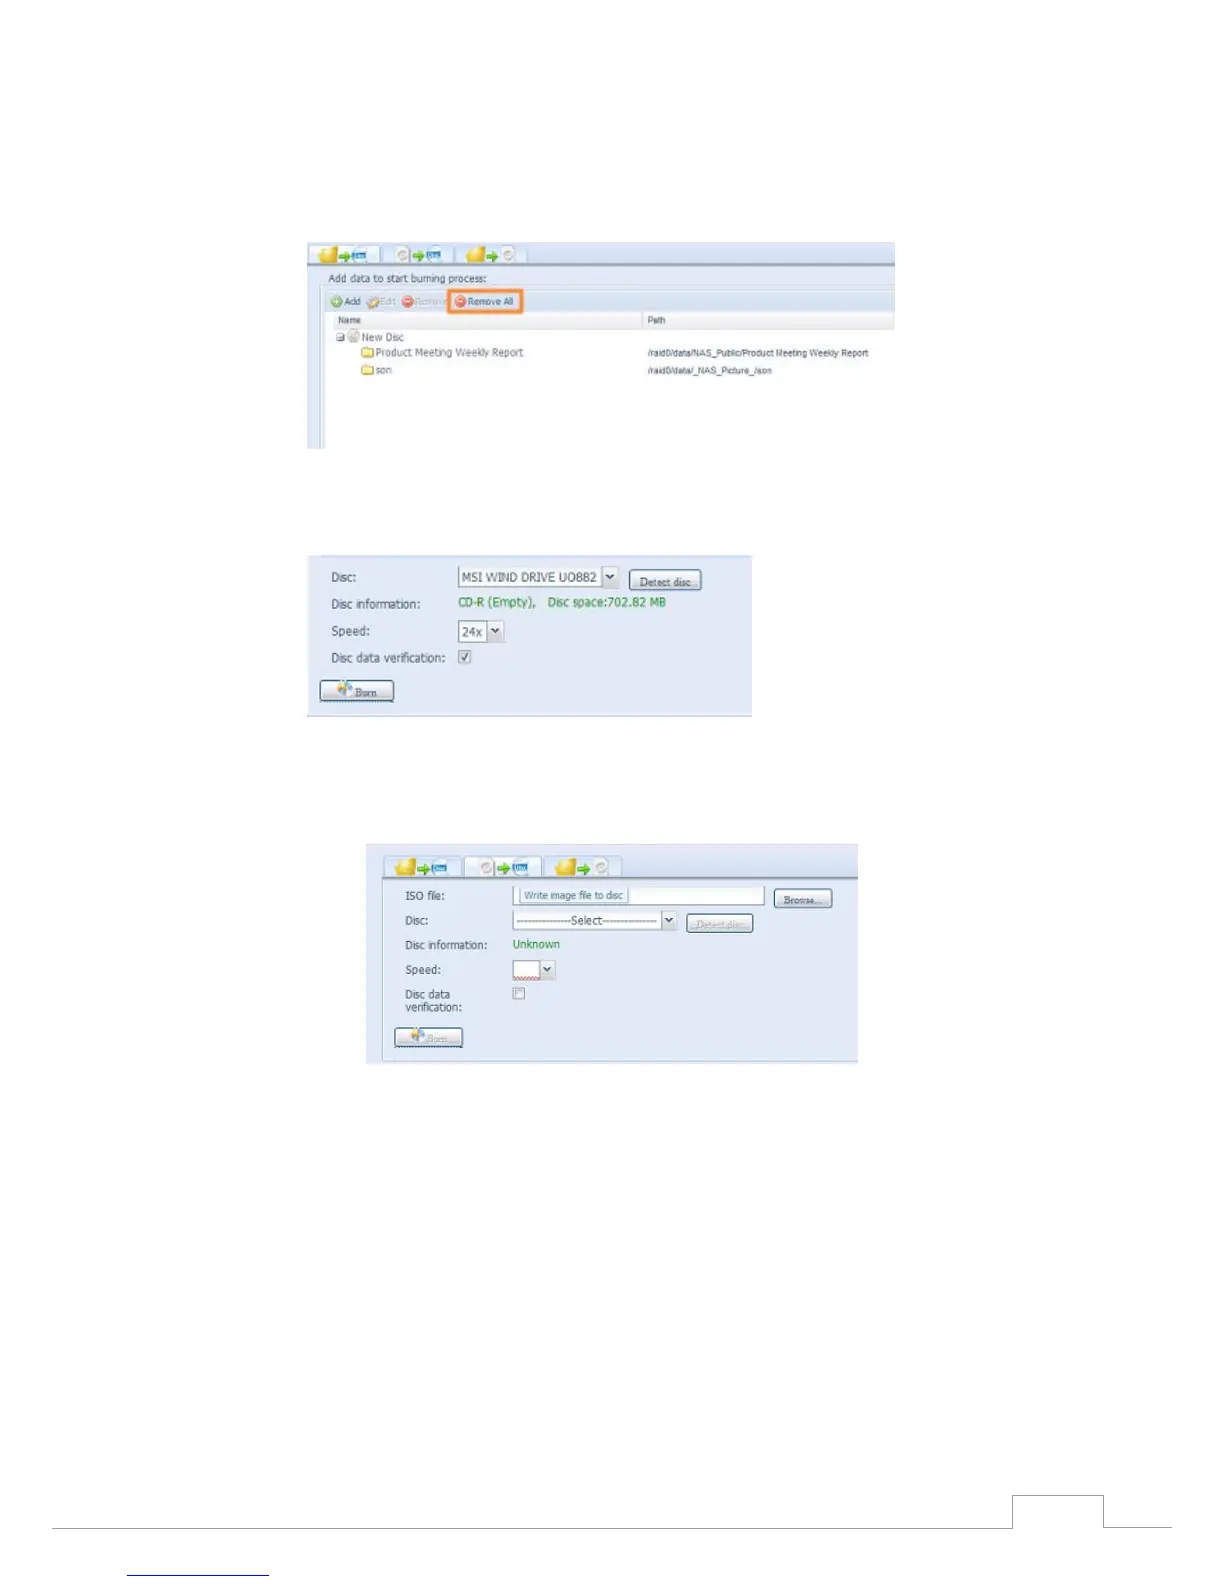
Select files/folders which you would like to burn. All of the selected folders/files will be b.
seen under the disc label name “New Disc”. The disc label name can be changed by
clicking on it and press “Edit” from menu bar. The selected folders/files also can be
removed by clicking on them and then pressing “remove” or “remove all” for all selected
items.
Select from the installed USB burning devices. Please click the “detect disc” button to c.
check the status once the disc is inserted.
Select the burning speed from the drop down list. d.
Select whether disc data verification is required or not. e.
Click “Burn” to start disc burning. f.
Write image file to disc.2.
Click “Browser” and the NAS share list will appear to locate the desired image file to a.
burn.
 Loading...