Do you have a question about the Thermalright Macho 120 Rev.A and is the answer not in the manual?
Remove the fan and apply anti-vibration padding to the heatsink body corners.
Install screw pillars with washers and screw nuts for Intel socket compatibility.
Secure the anchoring mount onto the screw nuts using M3L6 screws.
Apply thermal paste evenly to the heatsink base and CPU surface.
Place heatsink body on CPU, pass mounting plate through, and fasten with M3L6 screws.
Use screwdriver through heatsink hole for easier access to M3L6 screws.
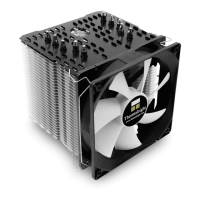
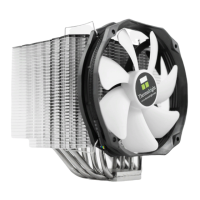
Attach the 120mm fan to the heatsink body using fan clips.
Plug the fan connector into the CPU PWM Fan socket on the motherboard.
Prepare cooler by removing fan and applying padding for installation.
Install screw pillars with washers and nuts for Intel 2011 socket.
Secure anchoring mount to screw nuts using M3L6 screws.
Apply thermal paste to heatsink base and CPU surface.
Place heatsink, pass mounting plate, and fasten with screws.
Use screwdriver through heatsink for easier screw access.
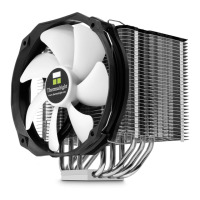
Attach 120mm fan to heatsink using fan clips.
Connect fan to CPU PWM Fan socket on motherboard.
Prepare cooler by removing fan and applying padding for installation.
Install screw pillars with AMD washers and nuts.
Secure anchoring mount to screw nuts using M3L6 screws.
Apply thermal paste to heatsink base and CPU surface.
Place heatsink, pass mounting plate, and fasten with screws.
Use screwdriver through heatsink for easier screw access.
Attach 120mm fan to heatsink using fan clips.
Connect fan to CPU PWM Fan socket on motherboard.
| Brand | Thermalright |
|---|---|
| Model | Macho 120 Rev.A |
| Category | Computer Hardware |
| Language | English |