Do you have a question about the Thermaltake TOWER 300 and is the answer not in the manual?
Remove all three front glass panels to access the back side of the case.
Turn the case around and remove the top panel by pulling up.
Loosen the 2 thumb screws to swing the top fan bracket latch open.
Feed your cables through the vent located on the right side of the case.
Connect peripherals to motherboard I/O ports. Connect monitors to GPU, not motherboard.
Visual examples of how to route cables for a clean build.
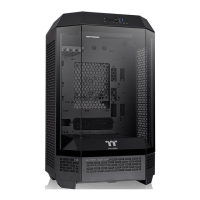
| Motherboard Support | Mini-ITX, Micro-ATX |
|---|---|
| Material | Tempered Glass |
| Drive Bays | 2 x 2.5" |
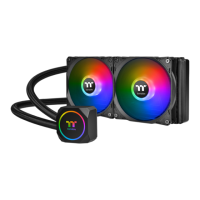
| Cooling System | 2 x 120mm fans (included) |
| Radiator Support | 120mm, 240mm |
| I/O Ports | 2 x USB 3.0 |