Disassembly
and Reassembly
{Rev.
7. 12l01)
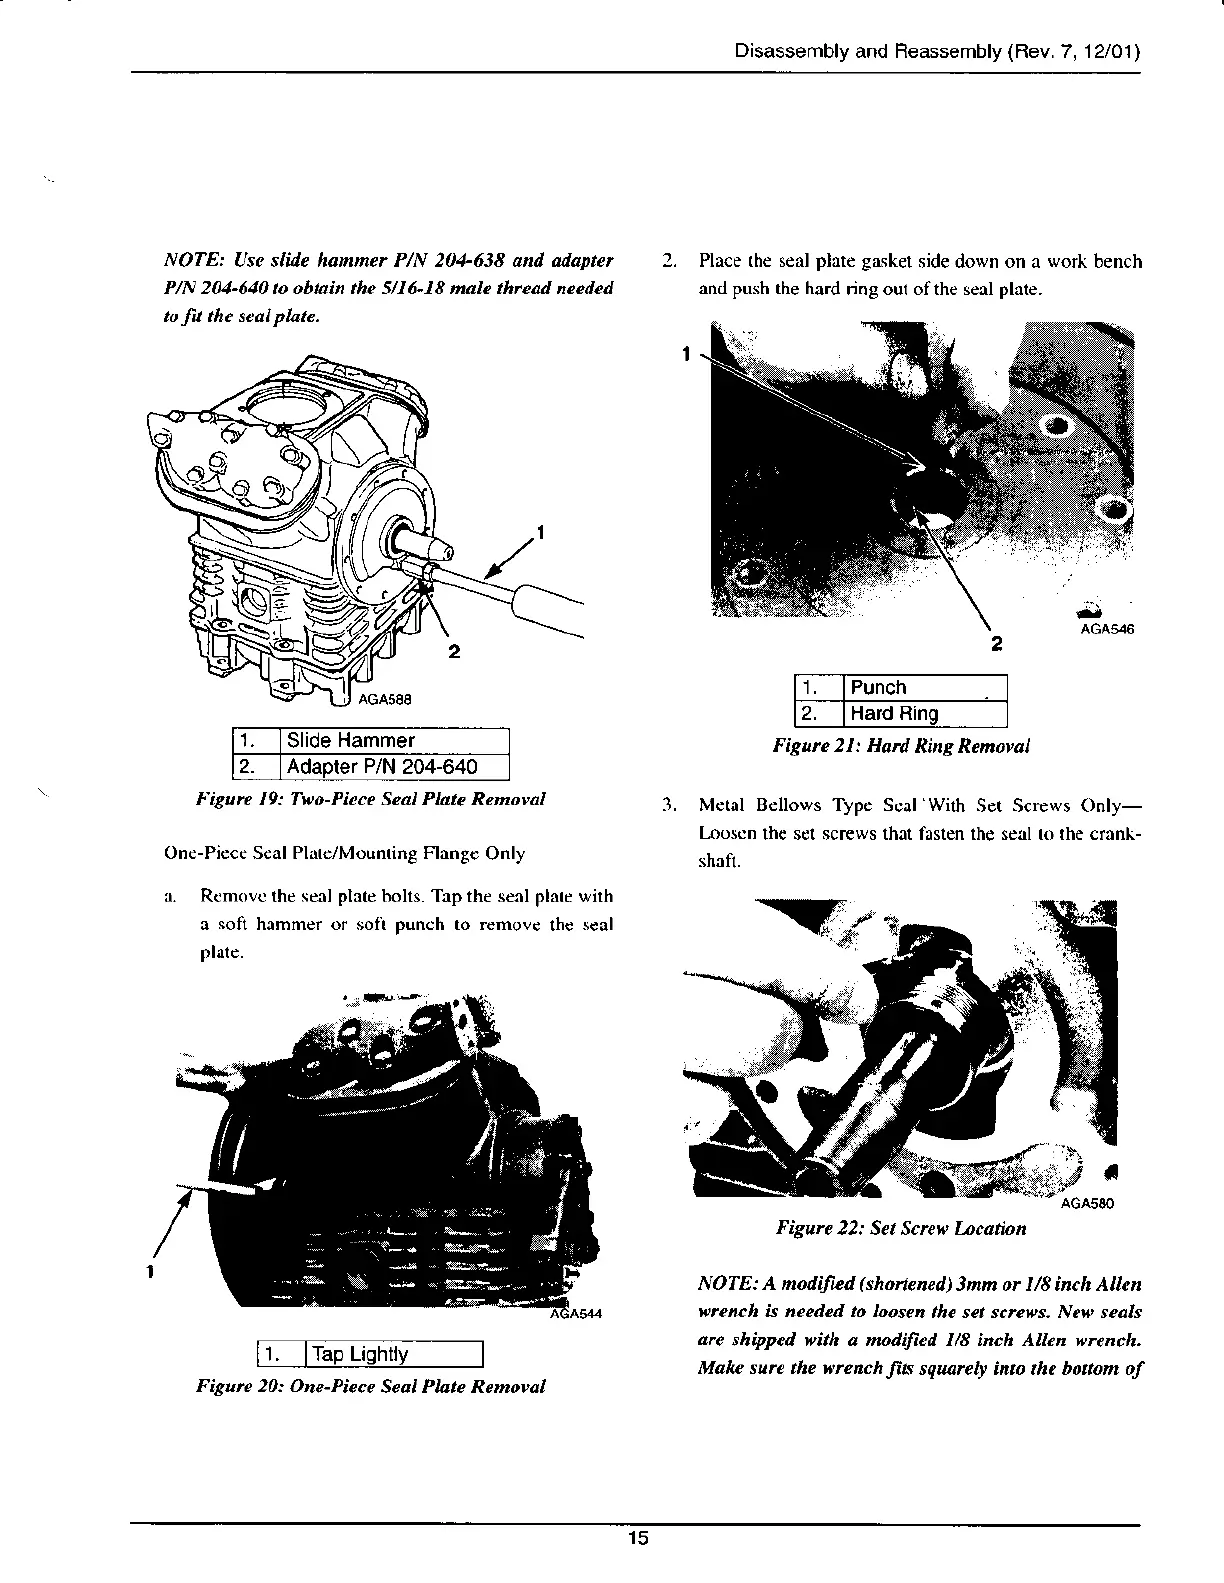
NOTE:
Use slde homner P/N 201-638 and adapter
PlN 20+640 to obtai theS 6-18 male thrcM needcd
Pla€e the seal
phte
gasket
side down on a
work
bench
and push the hard
ring our of the seal
plate.
1. Punch
2. Hard Rinq
l'igure 19: Ttro-Picce Seal Plate Removal
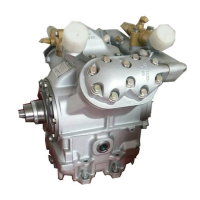
One-Piece Seal Phte/Mor!nting Flang€
Only
a. Rcnovc the
seal plate
bolls. Tap the senl
plare
wirh
a
soft
hammer or soti
punch
to removc
lhc
scal
Slide
Hammer
2. Adaoter P/N
204-640
Figure 2I: Hard
Nng Renoval
Metal Bellows Type Scal Wilh
Ser S$ews Only-
Looscn
thc scl scrcws that fasten the seal ro the €r:rnl-
sh.fi.
3.
l.
lTap
Ligh
NOTE: A nodiJied
(shortened)3nn
or I/8 inch Allen
NJrcnch k nee.led to loosen
the set screes. New seals
arc
shipped with a nodiied I/8 ineh Allen '9rench.
Make surc the *rcnch
Jfits
squarcb into the bottom of
Figure
22: Set Screw bcat rn
Figun 20: One-Piecc
Seal Plate Removal