Disassembly and Feassembly
{Rev.
7. 12/01)
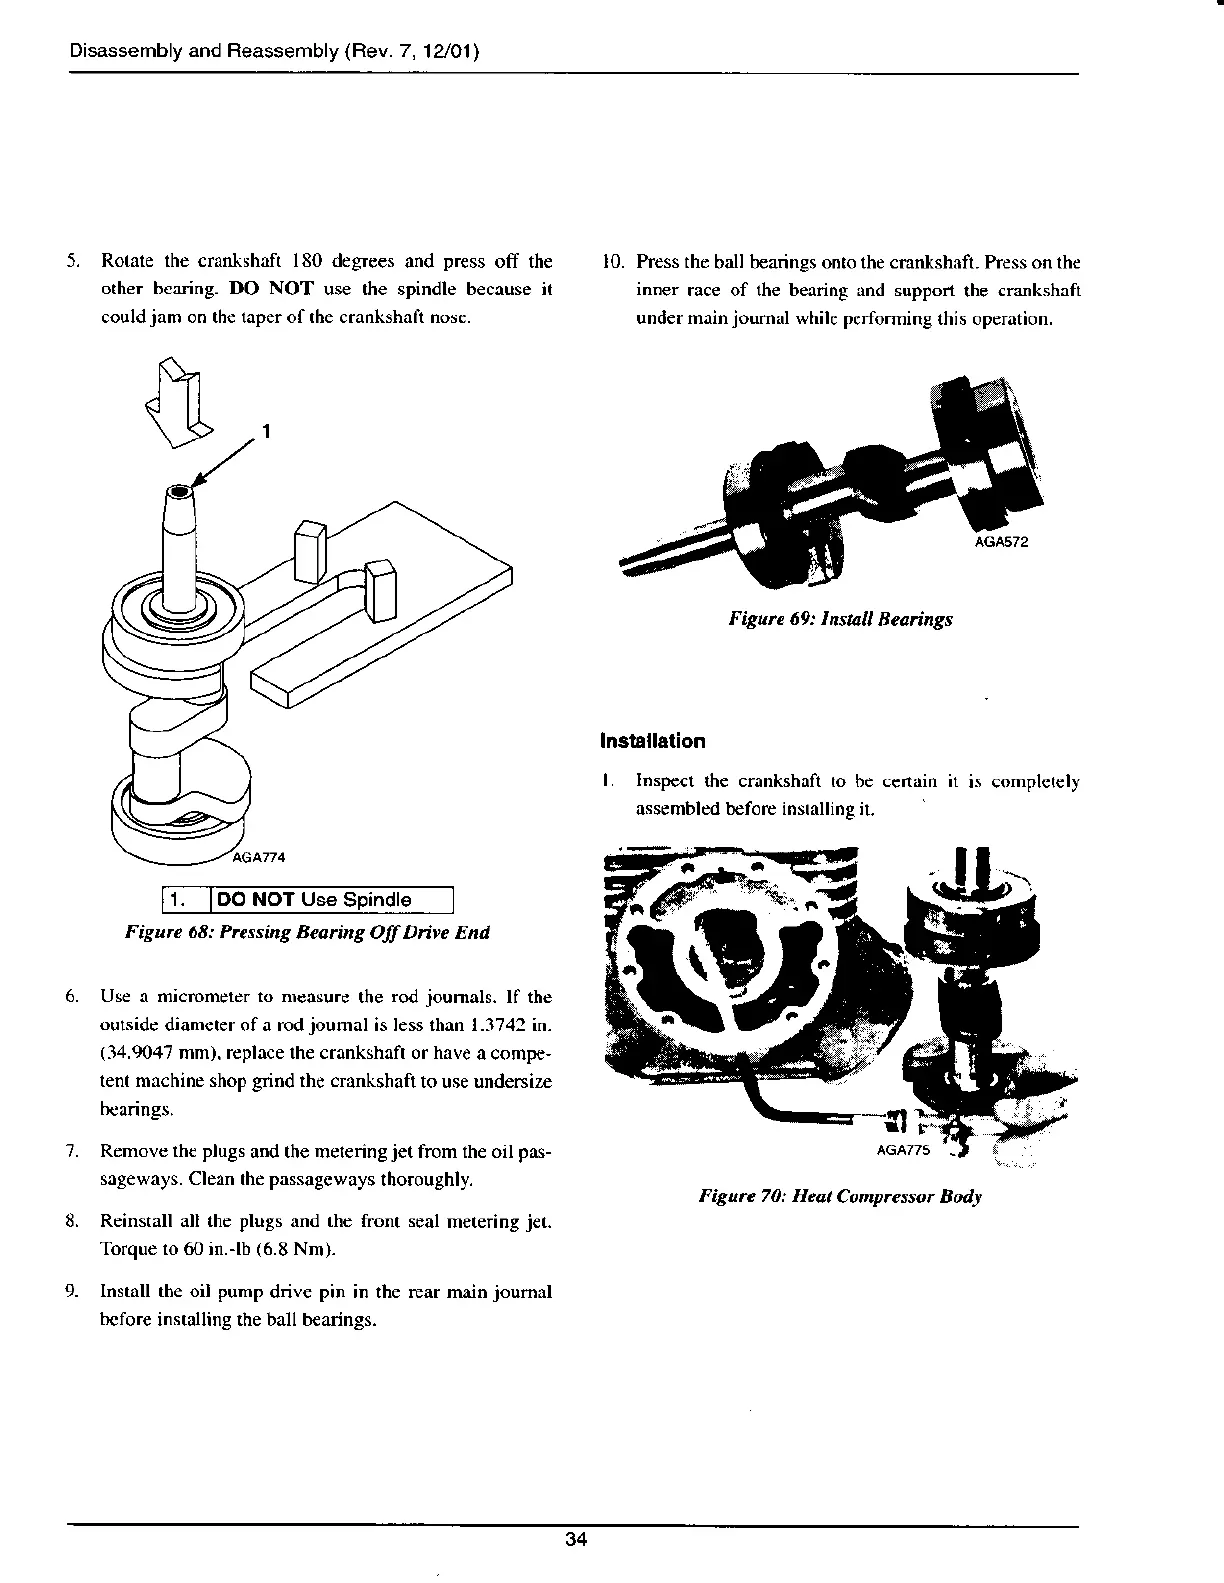
5. Rolate the cranlishaft l8O degrees
and
press
off the
other beeing. DO NOT
use the spindle because it
couldjam on th€ taperofthe crankshaft nose.
10. Press the
ball b€arings onto the cmnkshaft. Press on the
inner
race of the bearing and suppon
|he
cmkshafi
under mainjoumal while performing
this operation.
Figure 69: Ins.a
Bearings
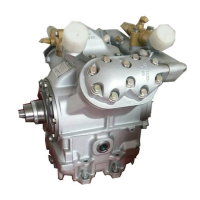
lnsiallation
L Insp€cl
the crankshft to be
assembled before instdling it.
1.
IOO
NOT Use
SDindl€
6.
1.
Figun 68: Prcssins
Beotins OJJ D^,e End
Use a micrometer to nr€asurc
the
rod
joumals.
lf the
oulside
diamcter of a rod
joumal
is less than 1.3742 in-
(34.9047
rnrn). replace the crankshaft or have
a compe,
tenl mrchine shop
grind
the cnnkshaft
to use undenize
Remove rhe plugs
and the meleringjet fmn the oil
pas-
sageways. Clem the passageways
lhoroughly.
Reinsrall all the
plugs
and the front seal
metering
jet.
Torque 1o 60 in.-lb
(6.8
Nrn)-
lnstall tbe oil pump
drive
pin
in the rear rnain
joumil
bcfore
installing the ball b€arings.
Figure 70: Hcat
Conprcssor Rody
9.
34