Do you have a question about the ThermoPro TP-08 and is the answer not in the manual?
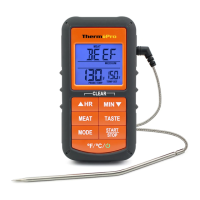
Congratulations on purchasing the Professional Remote Food Thermometer.
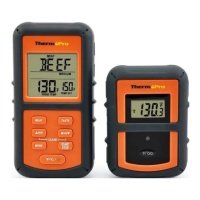
Lists receiver unit, transmitter unit, probes, and batteries included.
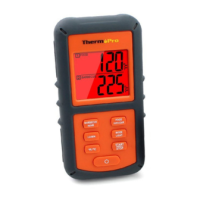
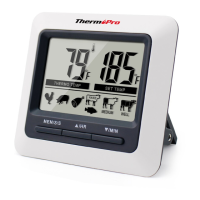
Details of the receiver's LCD, battery compartment, and belt clip/stand.
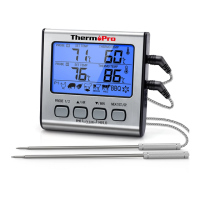
Functionality of each button on the receiver unit (HI/HR, LO/MIN, MODE/LIGHT, etc.).
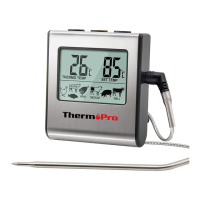
Overview of the transmitter's LCD, battery compartment, and probe ports.
Instructions for inserting AAA batteries into both receiver and transmitter.
Procedure for powering the receiver and transmitter units.
Steps to pair the transmitter and receiver for data transmission.
Configure the desired high-temperature alert for the FOOD probe.
Set the high limit for the BARBECUE/oven/smoker temperature.
Set the low limit for the BARBECUE/oven/smoker temperature.
Enable or disable temperature alarms for FOOD and BARBECUE probes.
Instructions for using the countdown and count-up timer functions.
Using TIMER and TEMPERATURE modes concurrently.
Step-by-step guide for setting up and monitoring a barbecue.
Adjusting temperature settings while in Timer Mode.
Tips for troubleshooting display issues and probe contact.
Safety guidelines for handling probes and device usage.
Regulatory information regarding radio frequency energy and interference.
Details of the product warranty against defects in parts and workmanship.
USDA recommended internal temperatures for various meats and doneness levels.
Information for contacting support via phone or email.
| Temperature Range | 32°F to 572°F (0°C to 300°C) |
|---|---|
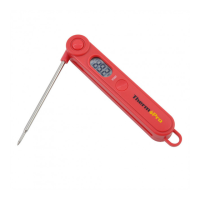
| Probe Material | Stainless Steel |
| Wireless Range | 300 feet |
| Display | LCD |
| Timer | Yes |
| Alarm | Yes |
| Probe Length | 6.5 inches |
| Type | Wireless Digital Thermometer |
| Cable Length | 40 inches (1 meter) |
| Power Source | 2 AAA Batteries |