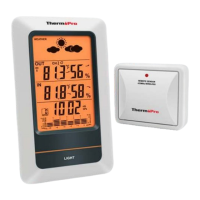
6 Temperature & HUMIDITY Trend
1. indicates the temperature & humidity is in an increasing trend.
2. indicates the temperature & humidity is in an no change trend.
3. indicates the temperature & humidity is in a decreasing trend.
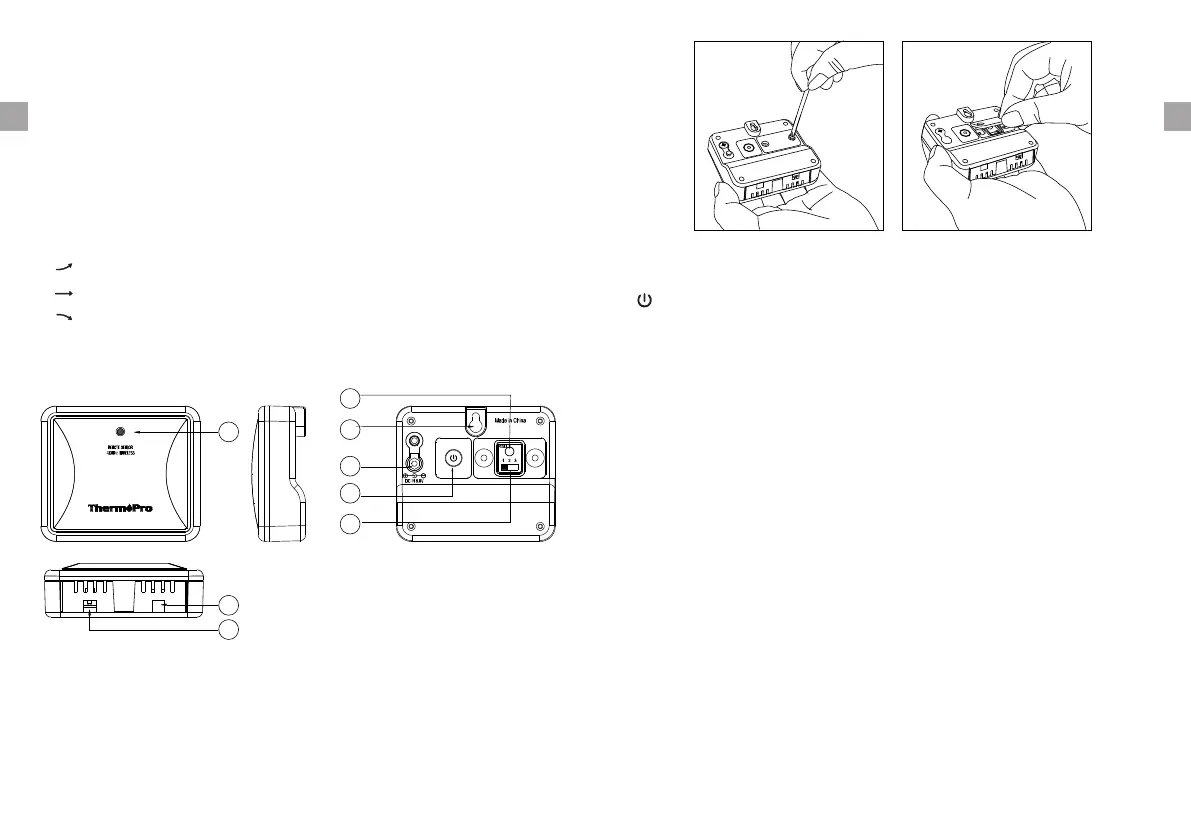
7 Outdoor Remote Sensor (Transmitter)
Note: To access CHANNEL SELECTOR and RESET buttons, you need to unscrew
the cover as per below Figure.
8 Charging Remote Sensor
1. Remote sensor: A built-in rechargeable lithium battery is installed in the
remote sensor. Although there could be some power in the rechargeable
battery before the unit leaves our manufacturing facility, we always
recommend to fully recharge the remote sensor before use by following the
steps below:
a. Note, the package does not INCLUDE a wall adapter. Simply use any cellphone
wall charger with USB socket to charge the battery. Connect the charging
cable (provided in the package contents) into your wall adapter and take the
other end of the plug and insert into the charging socket located on the back
of the remote sensor;
b. Plug the wall charger into a standard AC outlet
c. The red light on the remote sensor will light up
d. Charge the remote sensor for at least 4 hours until the light changes from
red to green which indicates charging is complete.
-4- -5-
EN EN
7. CHANNEL: Press once to display the temperature /humidity readings from
up to 3 outdoor remote sensors; Press and hold to enter the synchronization
mode.
5. HISTORY: Press to display the record of barometric pressure for the past 12
hours.
6. MAX/MIN: Press once to display the maximum and minimum temperature
and humidity since last reset. Press and hold to clear the MAX/MIN records.
CHANNEL Selector (1,2,3): Slide to set Channel 1,2 or 3.
RESET: Press once to reset the remote sensor.
: Press and hold for 2 seconds to turn ON/OFF the unit.
(ON: Flash 1 time , OFF: Flash 3 times)
01 LED
02 Reset
03
04 Charging Socket
Wall Mount
05
06 Channel Selector
ON/OFF
07 Humidity Sensor
08 Temperature Sensor
01
02
03
04
05
06
07
08