Rev A Nov 2017
Page 7
Chapter 3 Installation
6) Make connections using connector CON2 as shown in
Fig. 3.3
. Use the cable
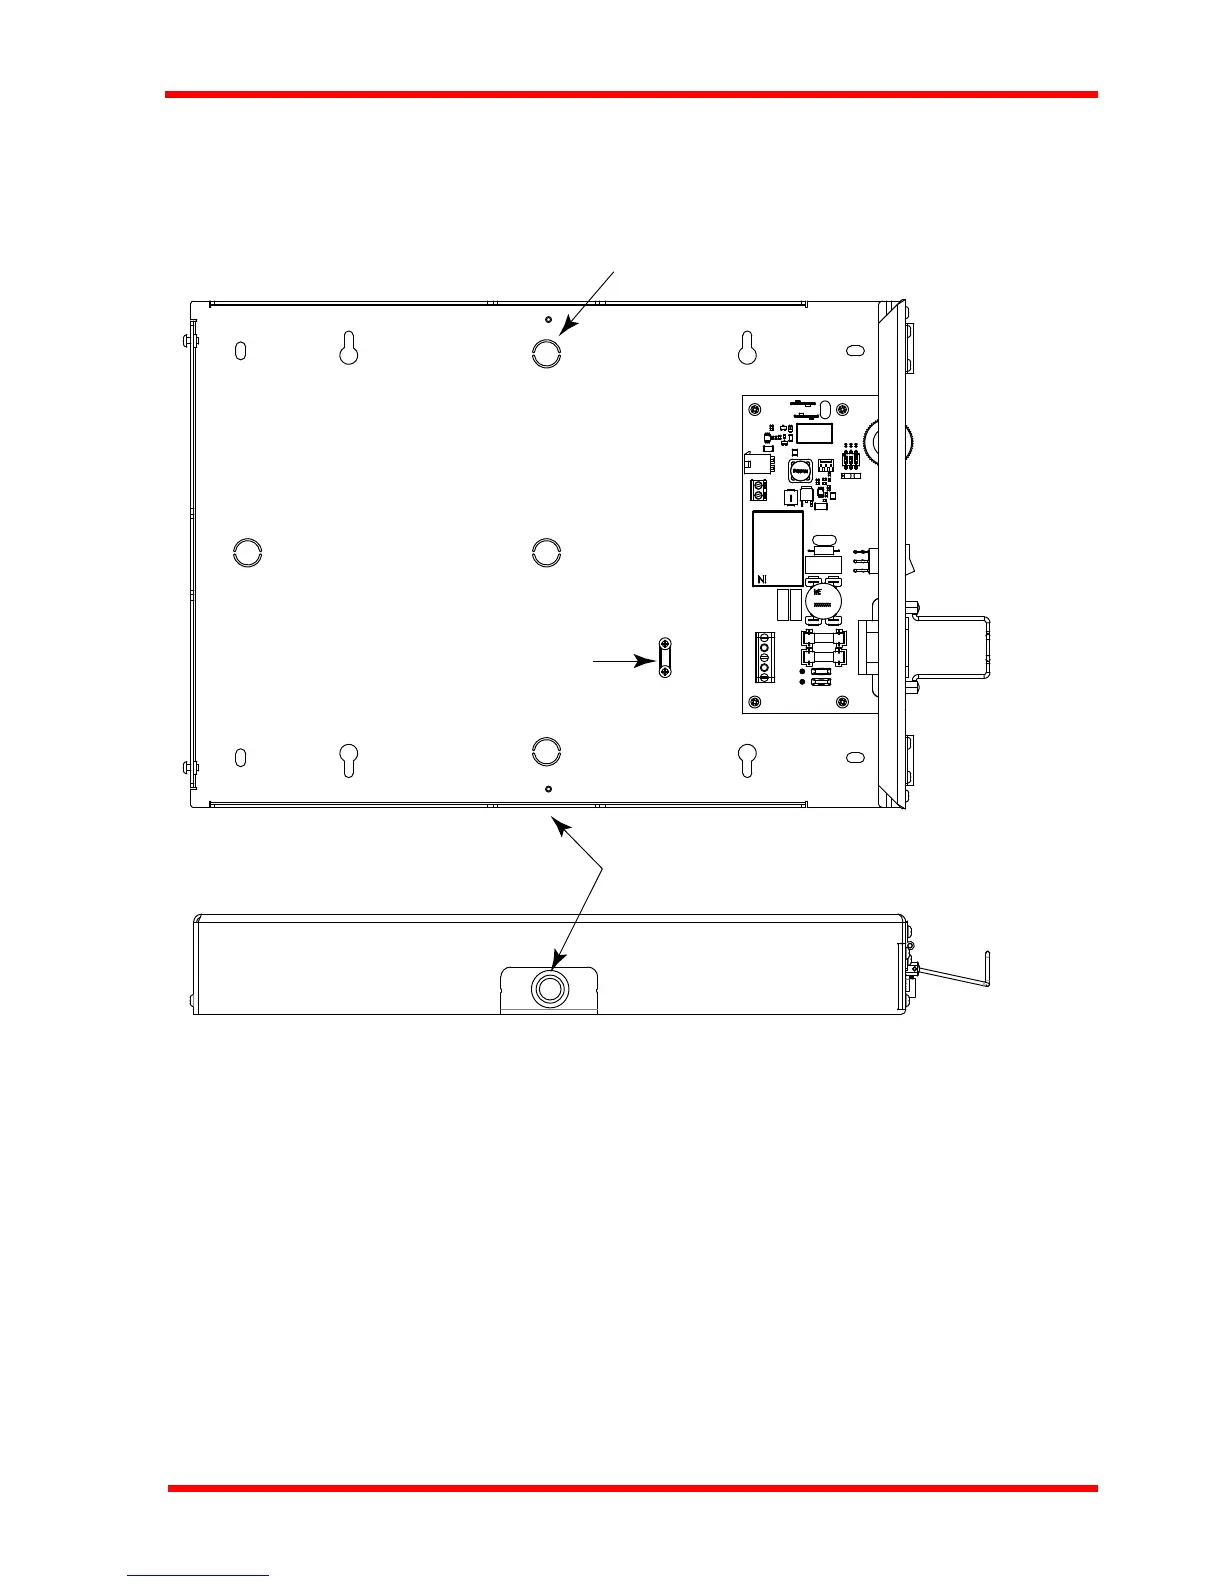
knock-outs, grommets (supplied) and strain relief clamps provided to ensure that
the cable is adequately supported and restrained - see Fig. 3.4.
Fig. 3.4 Cable knock-outs and strain relief clamp locations
7) If using an internal safety interlock, perform the procedure detailed in Section 4.2.
8) Re-connect the LED circuit at CON4.
9) Refit the front panel.
10) To change from hard-wired power to using the panel connections, isolate the unit
from the mains supply, then reverse the steps previously described.
Knock-outs in rear panel 4 Places
Knock-outs in side faces 3 Places
Strain relief clamp
 Loading...