2007.03.07 Flow2 stairlift Tab 04: Install, adjust and release
www.ThyssenKruppAccessibility.nl 15
Assembly
8. Put the transformer plug in the wall socket.
9. Drive the drive unit from the top to the bottom to the reset point (lowermost charging contact)
and stop a few millimeters above the centre of this charging contact. At the moment that the
charging blades come into contact with the reset point the message 'rSt' must appear briefly in
the display. If this does not occur, check whether the reset point has been correctly connected
and that there is a voltage at the contact.
3.4 Registering the radio frequency equipment
Now the radio frequency (RF) equipment can be registered. The Flow2 has a number of standard and
a number of optional RF equipments.
Standard:
- armrest control
- call and park units
Optional:
- attendant control unit
- repeater.
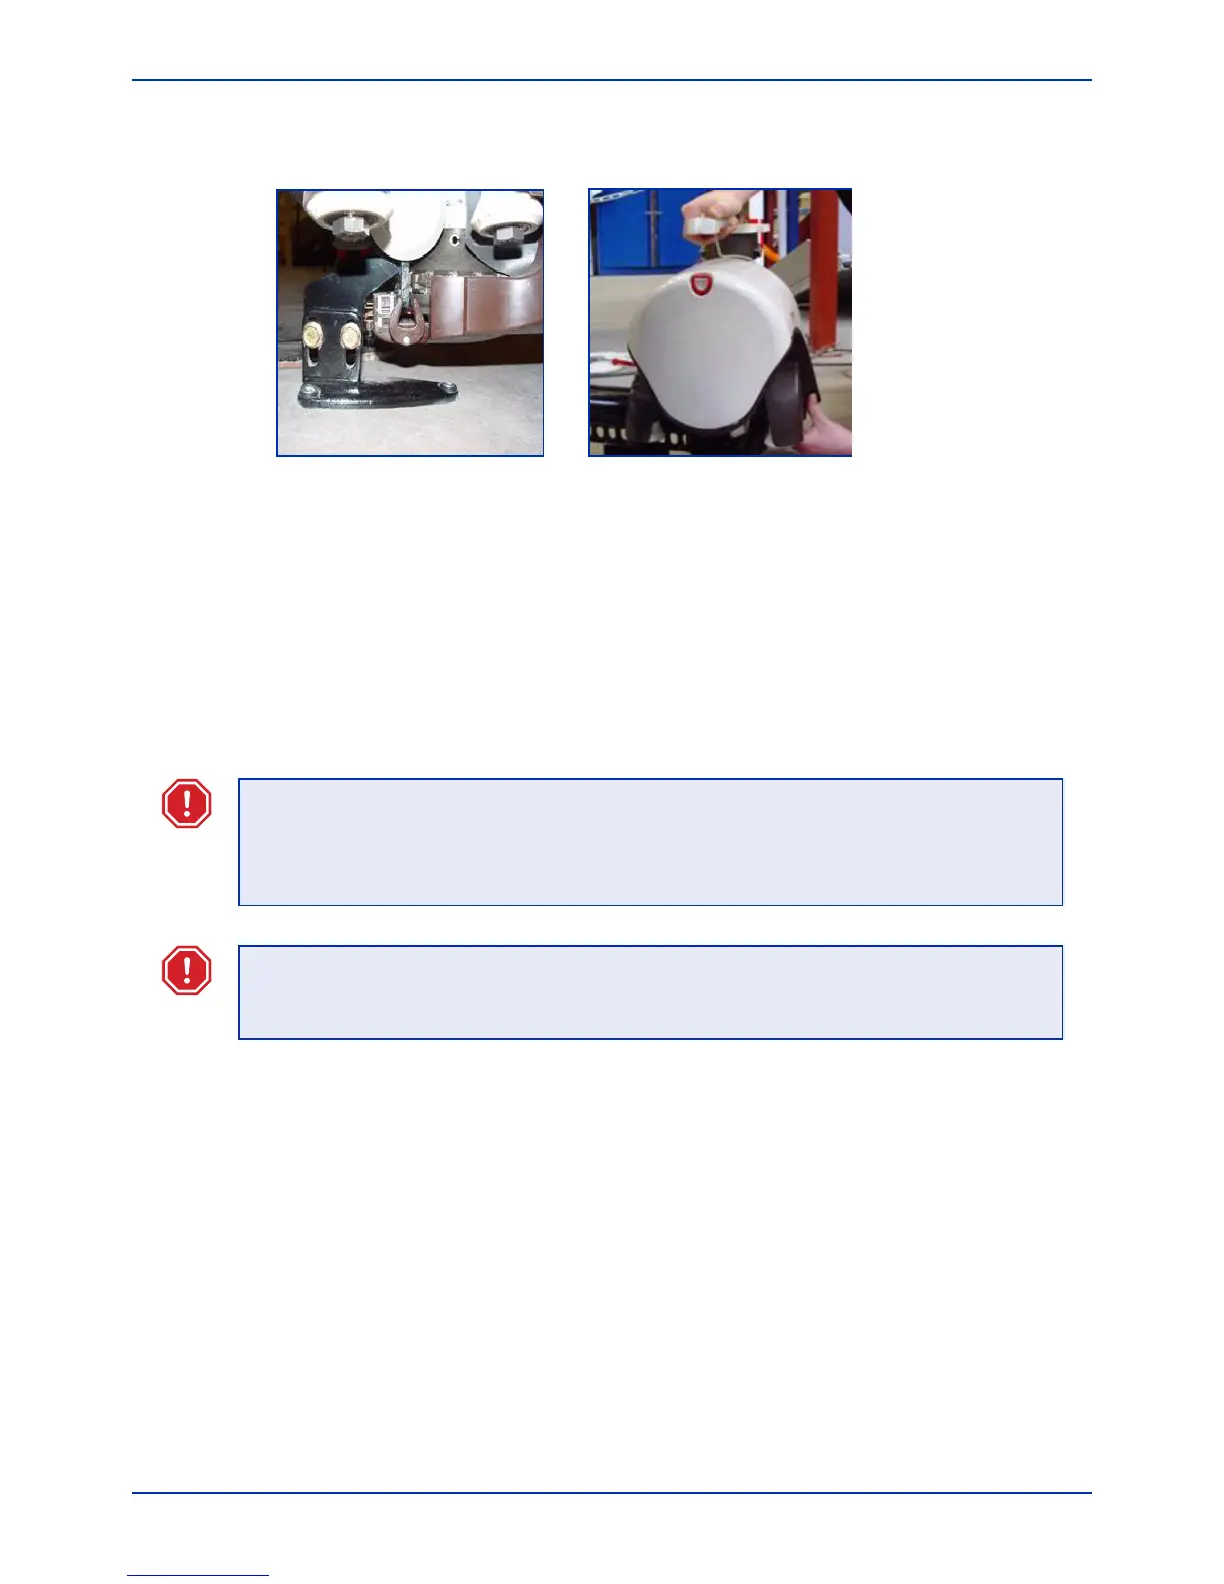
Fig. 3-12 Check the position of
the forks
1
Fig. 3-13 Driving onto the rail
1
WARNING
A reset must be done in the downwards direction. For driving onto the rail downwards
this means: first drive past the reset point and then drive back again. The ‘rSt’ message
only appears when the drive module is moving.
WARNING
Driving on mode (-3-) and programming mode (-6-) take no account of the position on
the rail. Ensure that the lift does not drive into the ground or off the rail.