20
❏ ❏ 8. Mount the cowl ring to the cowl mounting
tabs with four 4-40 x 1/2" SHCS, #4 lock washers and
#4 fl at washers. Note that the top screw goes in from
the front, but the other three go in through the back. A
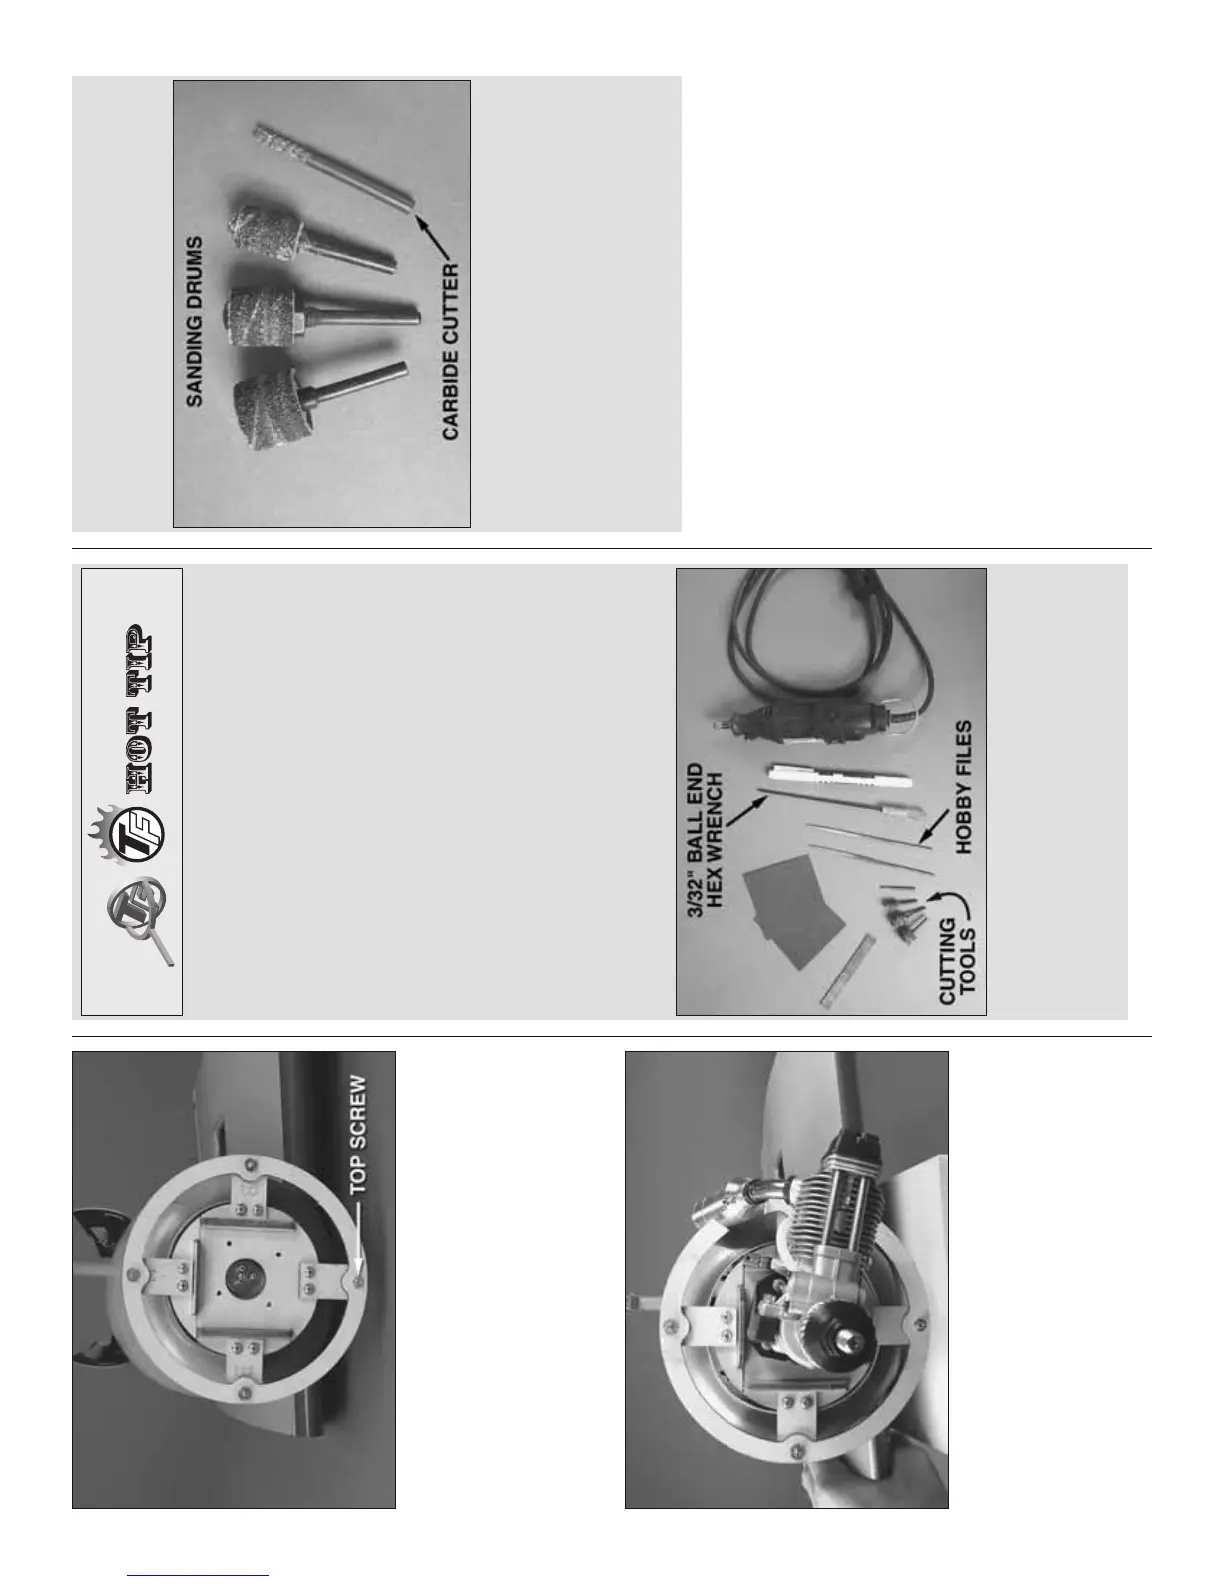
3/32" ball end hex wrench (GPMR8002) is virtually a
must from here on out. Once the cowl ring has been
fastened to all the tabs, go ahead and tighten up the
screws holding the tabs to the fi rewall.
❏ ❏ 9. Mount the engine mount and engine without
the muffl er. Trim the cowl ring as necessary until you
can get the muffl er to fi t.
❏ ❏ 10. Remove the muffl er from the engine. Get
ready to start cutting fi berglass and read the Hot Tip
below that lists recommended tools, working tips and
safety warnings for cutting fi berglass.
Tools For Cutting Fiberglass
There are several fi berglass parts on this model. A
few of them will require cutting and trimming to end up
with the best fi t. Follow these warnings and use the
suggested tools for working safely with fi berglass.
A. Do not be casual when working with fi berglass.
Always wear eye and respiratory protection.
B. Work in a well-ventilated area—working under an
exhaust fan that will draw fi berglass dust away is
best. If possible, cutting fi berglass outdoors may
also be a good idea.
C. Wear a long-sleeve shirt when cutting fi berglass.
D. If using a high-speed rotary tool, hearing
protection is recommended.
E. Following are the best tools for cutting fi berglass:
I. A rotary tool.
II. A fi ne-point, felt-tip pen for marking. (Afterward,
ink can be removed with a paper towel and
denatured alcohol.)
III. A 3/32" ball driver will be indispensable when
fi tting the cowl later.
IV. Curved and fl at hobby fi les.
V. Various cutting bits for your rotary tool—the
carbide cutter is best for making initial cuts.
Abrasive drum sanders work well for “fi ne-
tuning.”
VI. A small sanding board made from a piece of
plywood with sandpaper glued on.
VII. Small sheets of medium-grit sandpaper to
smooth rough edges.
❏ ❏ 11. Retrieve your fi berglass cutting tools and
safety equipment. Cut one of the fi berglass engine
cowls to fi t over the engine—it doesn’t matter which
of the two cowls you choose because they are both
the same. Cutting the hole is basically a trial-and-error
process where you cut-and-fi t and cut-and-fi t the cowl
until it goes over the engine. If using a 4-stroke, the
cowl fi tting procedure will be easier if the valve cover
is temporarily removed. If using a 2-stroke the cowl
will be easier to fi t if the head is temporarily removed.
This will allow the cowl to fi t without having to fi nalize
the exact size, shape and location of the cutout until
after the cowl has been permanently mounted. Start
by trying to fi t the cowl over the engine as far as it
will go. Use a fi ne-point felt-tip pen or a lead pencil
to mark the inside of the cowl in the approximate
location where the engine will stick out.