37
MAINTENANCE SECTION
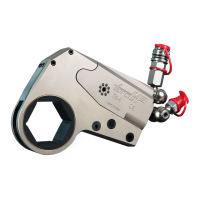
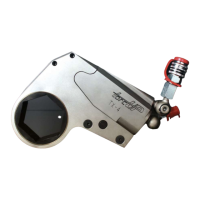
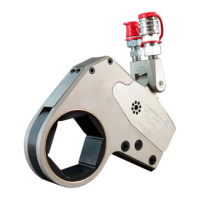
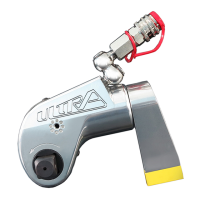
ASSEMBLY
ASSEMBLY OF TX-1 CYLINDER ASSEMBLIES
1. Press the slider pin (14) into one of the sliders (6) until ush with one side. Install the pin through
the hole in the piston rod (2A) and press the remaining slider into the pin.
2. With the inlet end of the housing upward, press the brass bushing (20), with the shoulder trailing,
into the housing.
3. Clamp the housing in copper-covered or leather-covered vise jaws with the inlet end downward.
4. Insert the piston rod (2A), threaded end leading, into the small central opening in the housing. The
notch in the trailing end of the rod should be towards the retaining pin hub.
5. Reclamp the housing in the vise with the inlet end upwards.
6. Insert the piston cap (2B), hex end trailing, into the bore of the housing and use a socket to thread
and tighten the piston cap onto the piston rod.
7. Thread the end cap (7), O-ring leading, into the bore of the housing and tighten.
8. Wrap the threads of the whip hoses (26) with Teon tape.
9. Install the male coupler hose into the end cap port and the female coupler hose into the housing
port
ASSEMBLY OF TX-2, TX-4, AND TX-8 CYLINDER ASSEMBLIES
1. Clamp the housing (1) in copper-covered or leather-covered vise jaws with the inlet end downward.
2. Apply a non-permanent thread-locking compound to the threads of the cylinder gland (20). Use
the gland removal tool (41) to thread the bushing into the small central opening in the housing and
tighten until ush with the housing (1). Note: TX-2 does not have a cylinder gland.
3. Flip the housing (1) in the vise and install the seal insertion tool (40). Note: Lubricating the inside of
the insertion tool and the sides of the piston rod assembly and end cap will ease installation.
4. Insert the piston (2) into the seal insertion tool (41), notched end leading and toward the link pin
hub, and tap into housing approximately 1”.
5. Insert the end cap (7), swivel inlet toward the link pin hub, into the seal insertion tool (40), and tap in
until the piston (2) bottoms out against the housing (1).
6. Install retaining rings (8), tapered edge leading into the grooves in the housing.
7. Flip the housing in the vise and drive the piston (2) into the housing with a brass tap until the end
cap (7) seats in the retaining rings (8).
8. Install the end cover (10), applying a non-permanent thread-locking compound to the end cover
screw (11) threads.
9. Remove the housing from the vice and place on a soft block with the engraved side up.
10. Install sliders (6), one on each side of piston (2). For TX-8 models: Install sliders with the cutout
towards the piston. Align the holes in the sliders with the holes in the piston and the housing.
11. Install slider pin (14) until ush with top slider.
12. Apply moly grease to the face of the sliders and the notch in the piston.
13. Wrap the threads of the swivel assemblies (27) with Teon tape.
14. Install the male coupler swivel into the end cap port and the female coupler swivel into the housing.
Inspect all parts prior to assembly. Replace any worn or damaged parts.
NOTICE
 Loading...